Launching a Website on Your Domain
Ready to get started? Great!
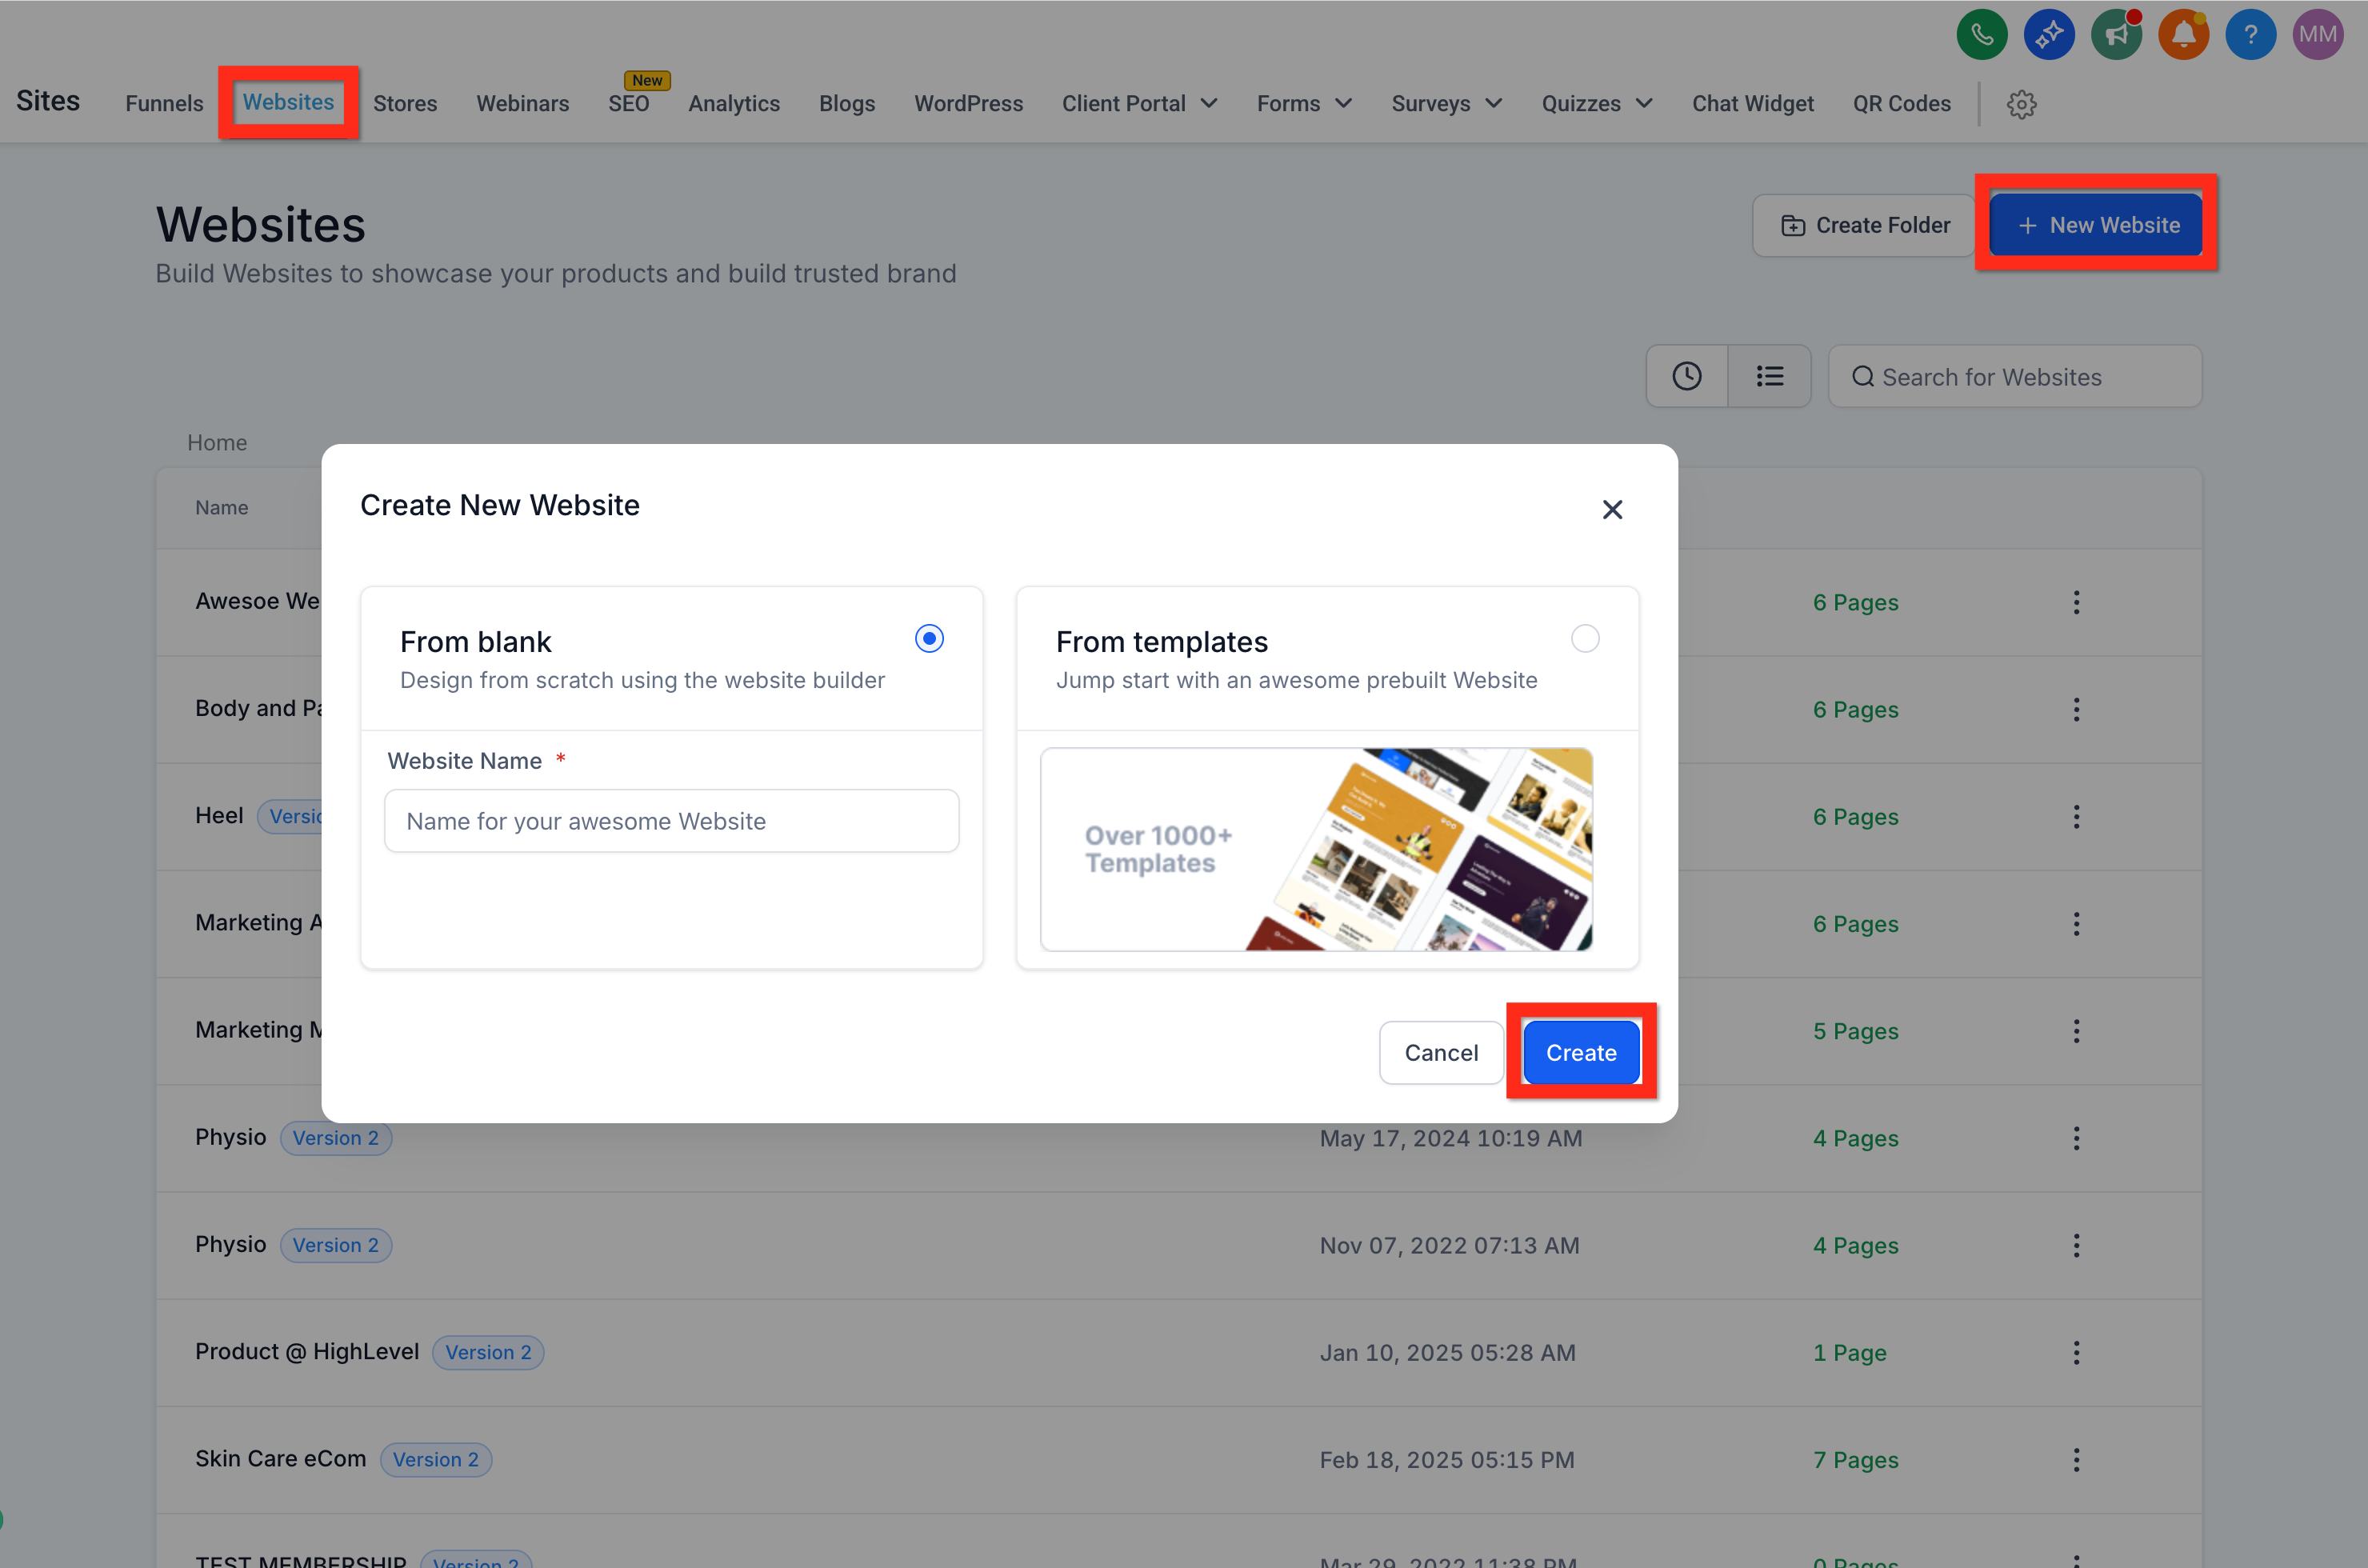
1. Navigate to Sites > Websites
First, let's head to the Websites section to kick things off.
2. Click New Website
Look for the "New Website" button. Easy to find, right?
3. Choose Your Starting Point:
- From Blank: Feeling creative and adventurous? This gives you total freedom!
- From Templates: Want something polished and quick? Let's start here.
4. Select From Templates and Click Create
Browse through our gorgeous templates. Once you've found your match, click "preview" to see it live, then hit Continue.
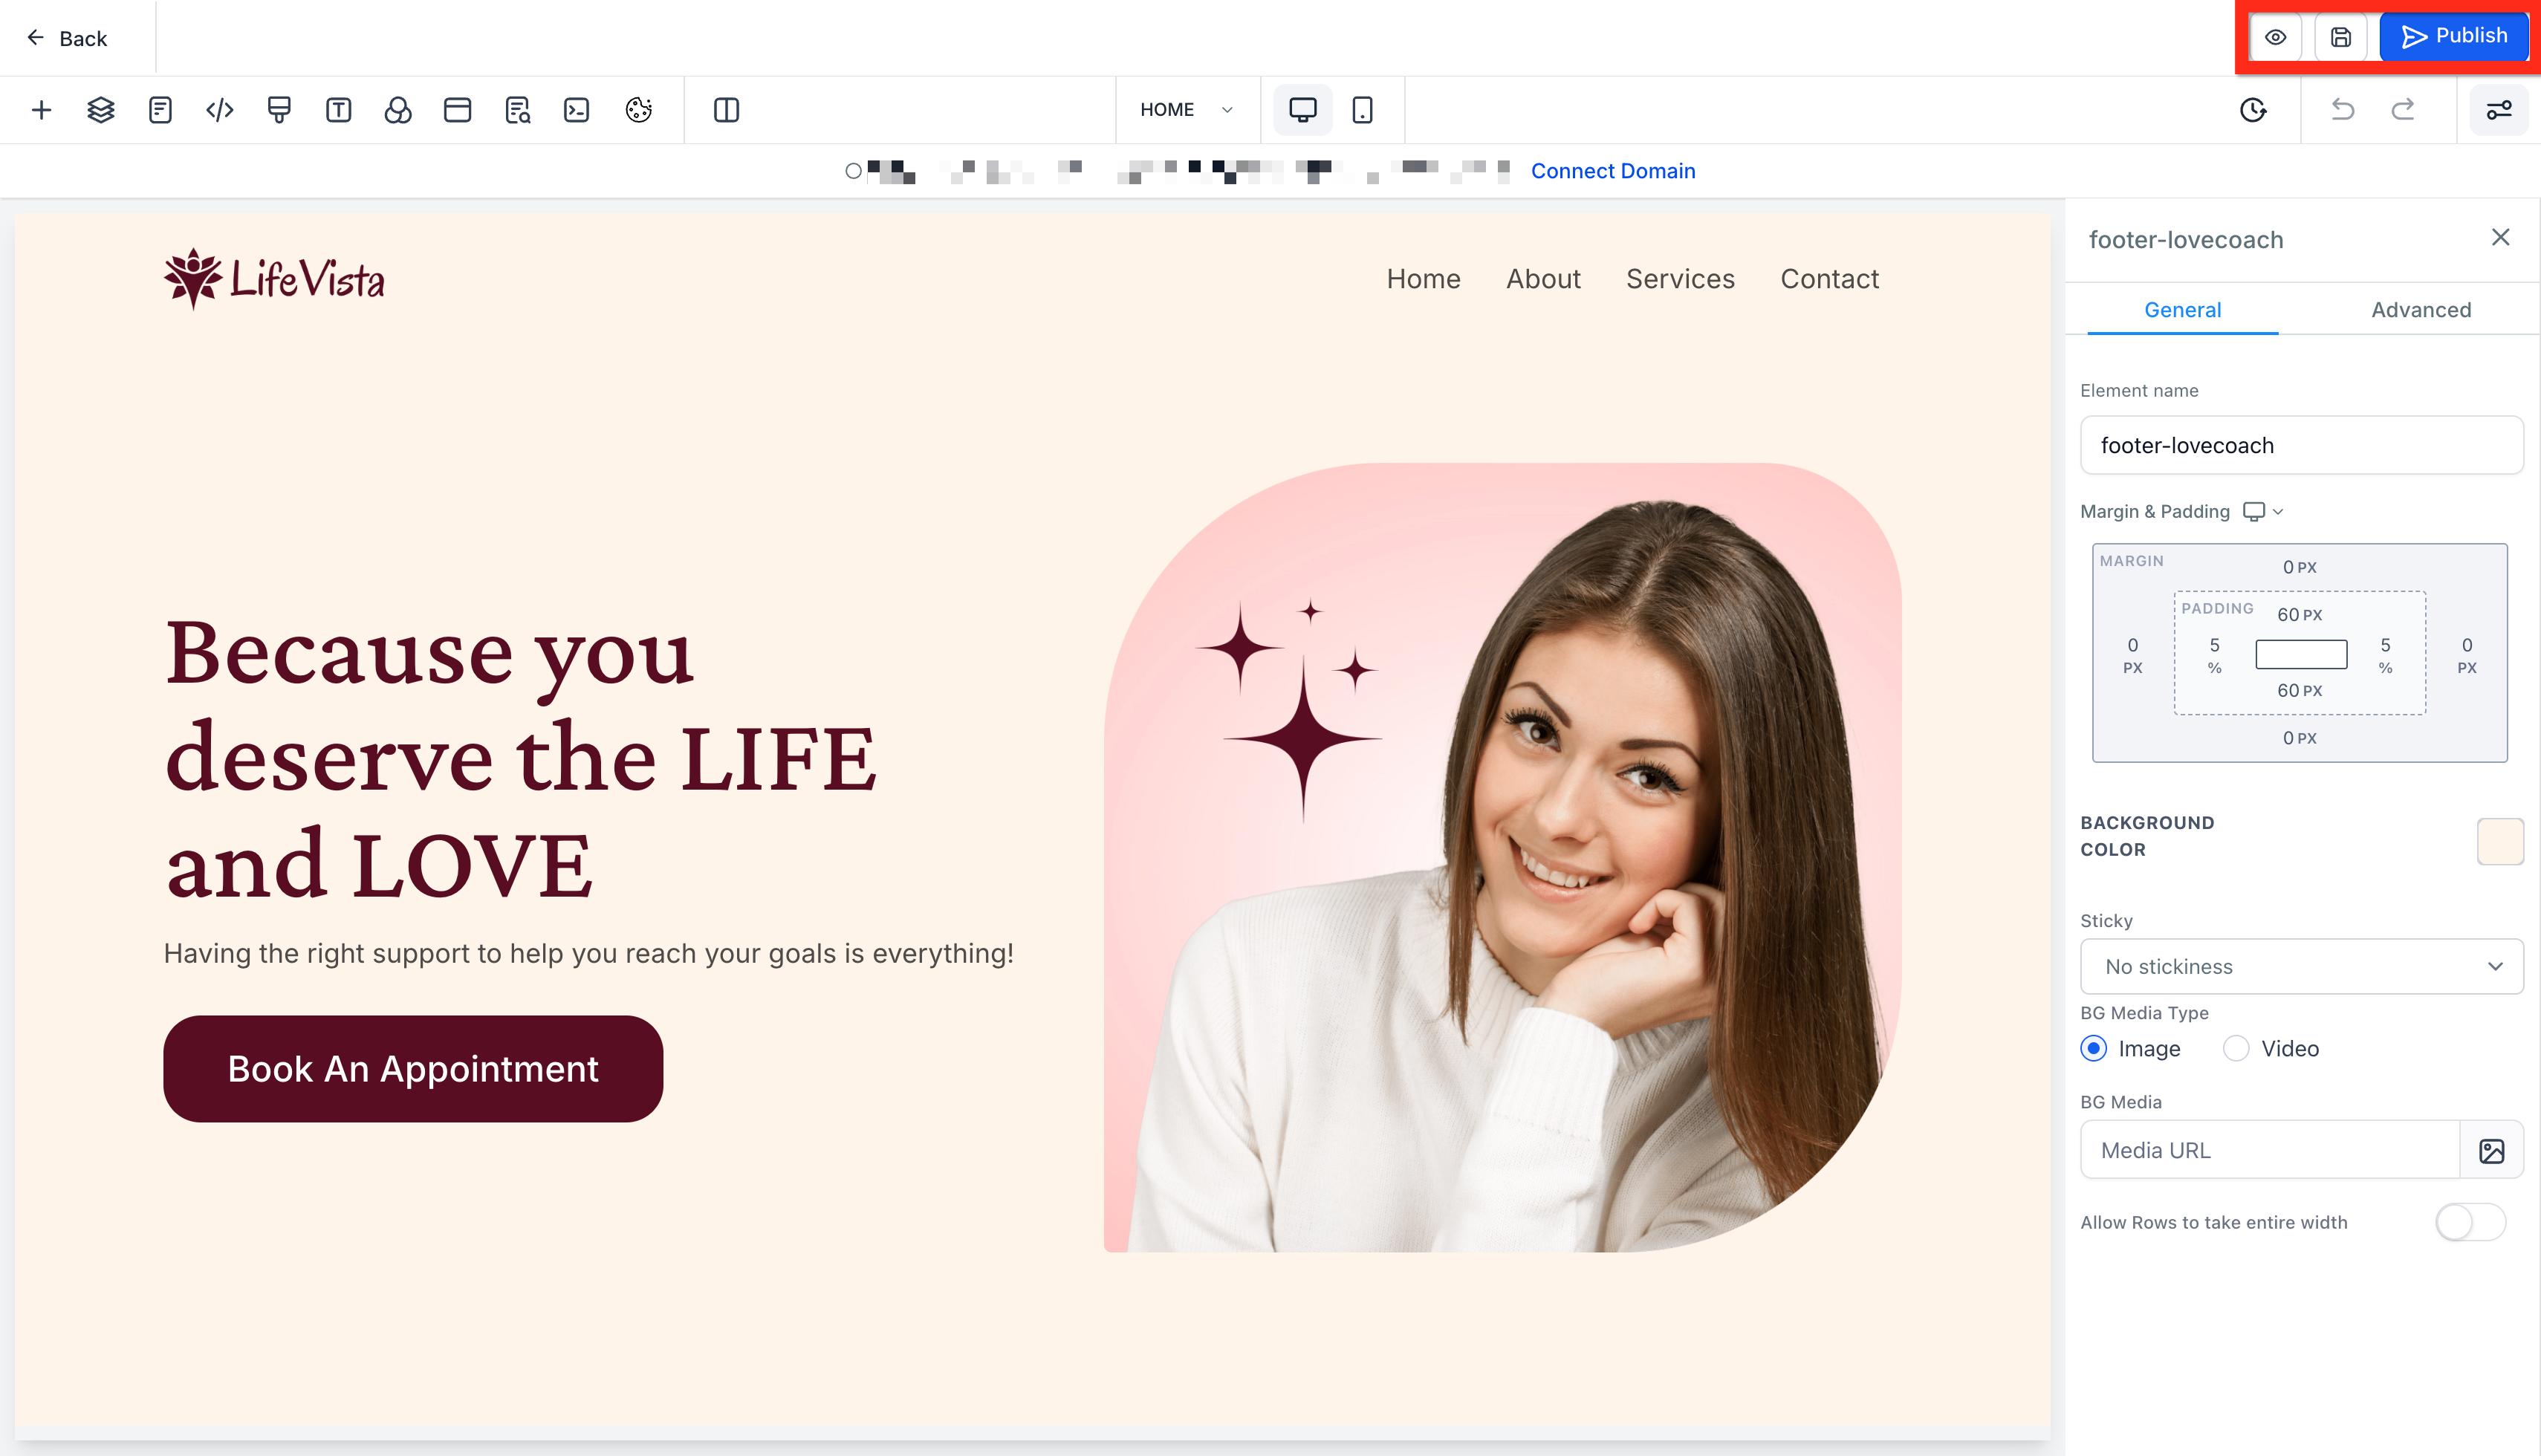
5. In Website Editor, Configure Website
Play around, tweak colors, add images, and really make it yours.
6. Click Save
Don't forget to save your masterpiece!
7. Click Publish
Make it live for the whole world.
8. Click Back (to exit Website Editor)
Time to wrap things up and get your site online.
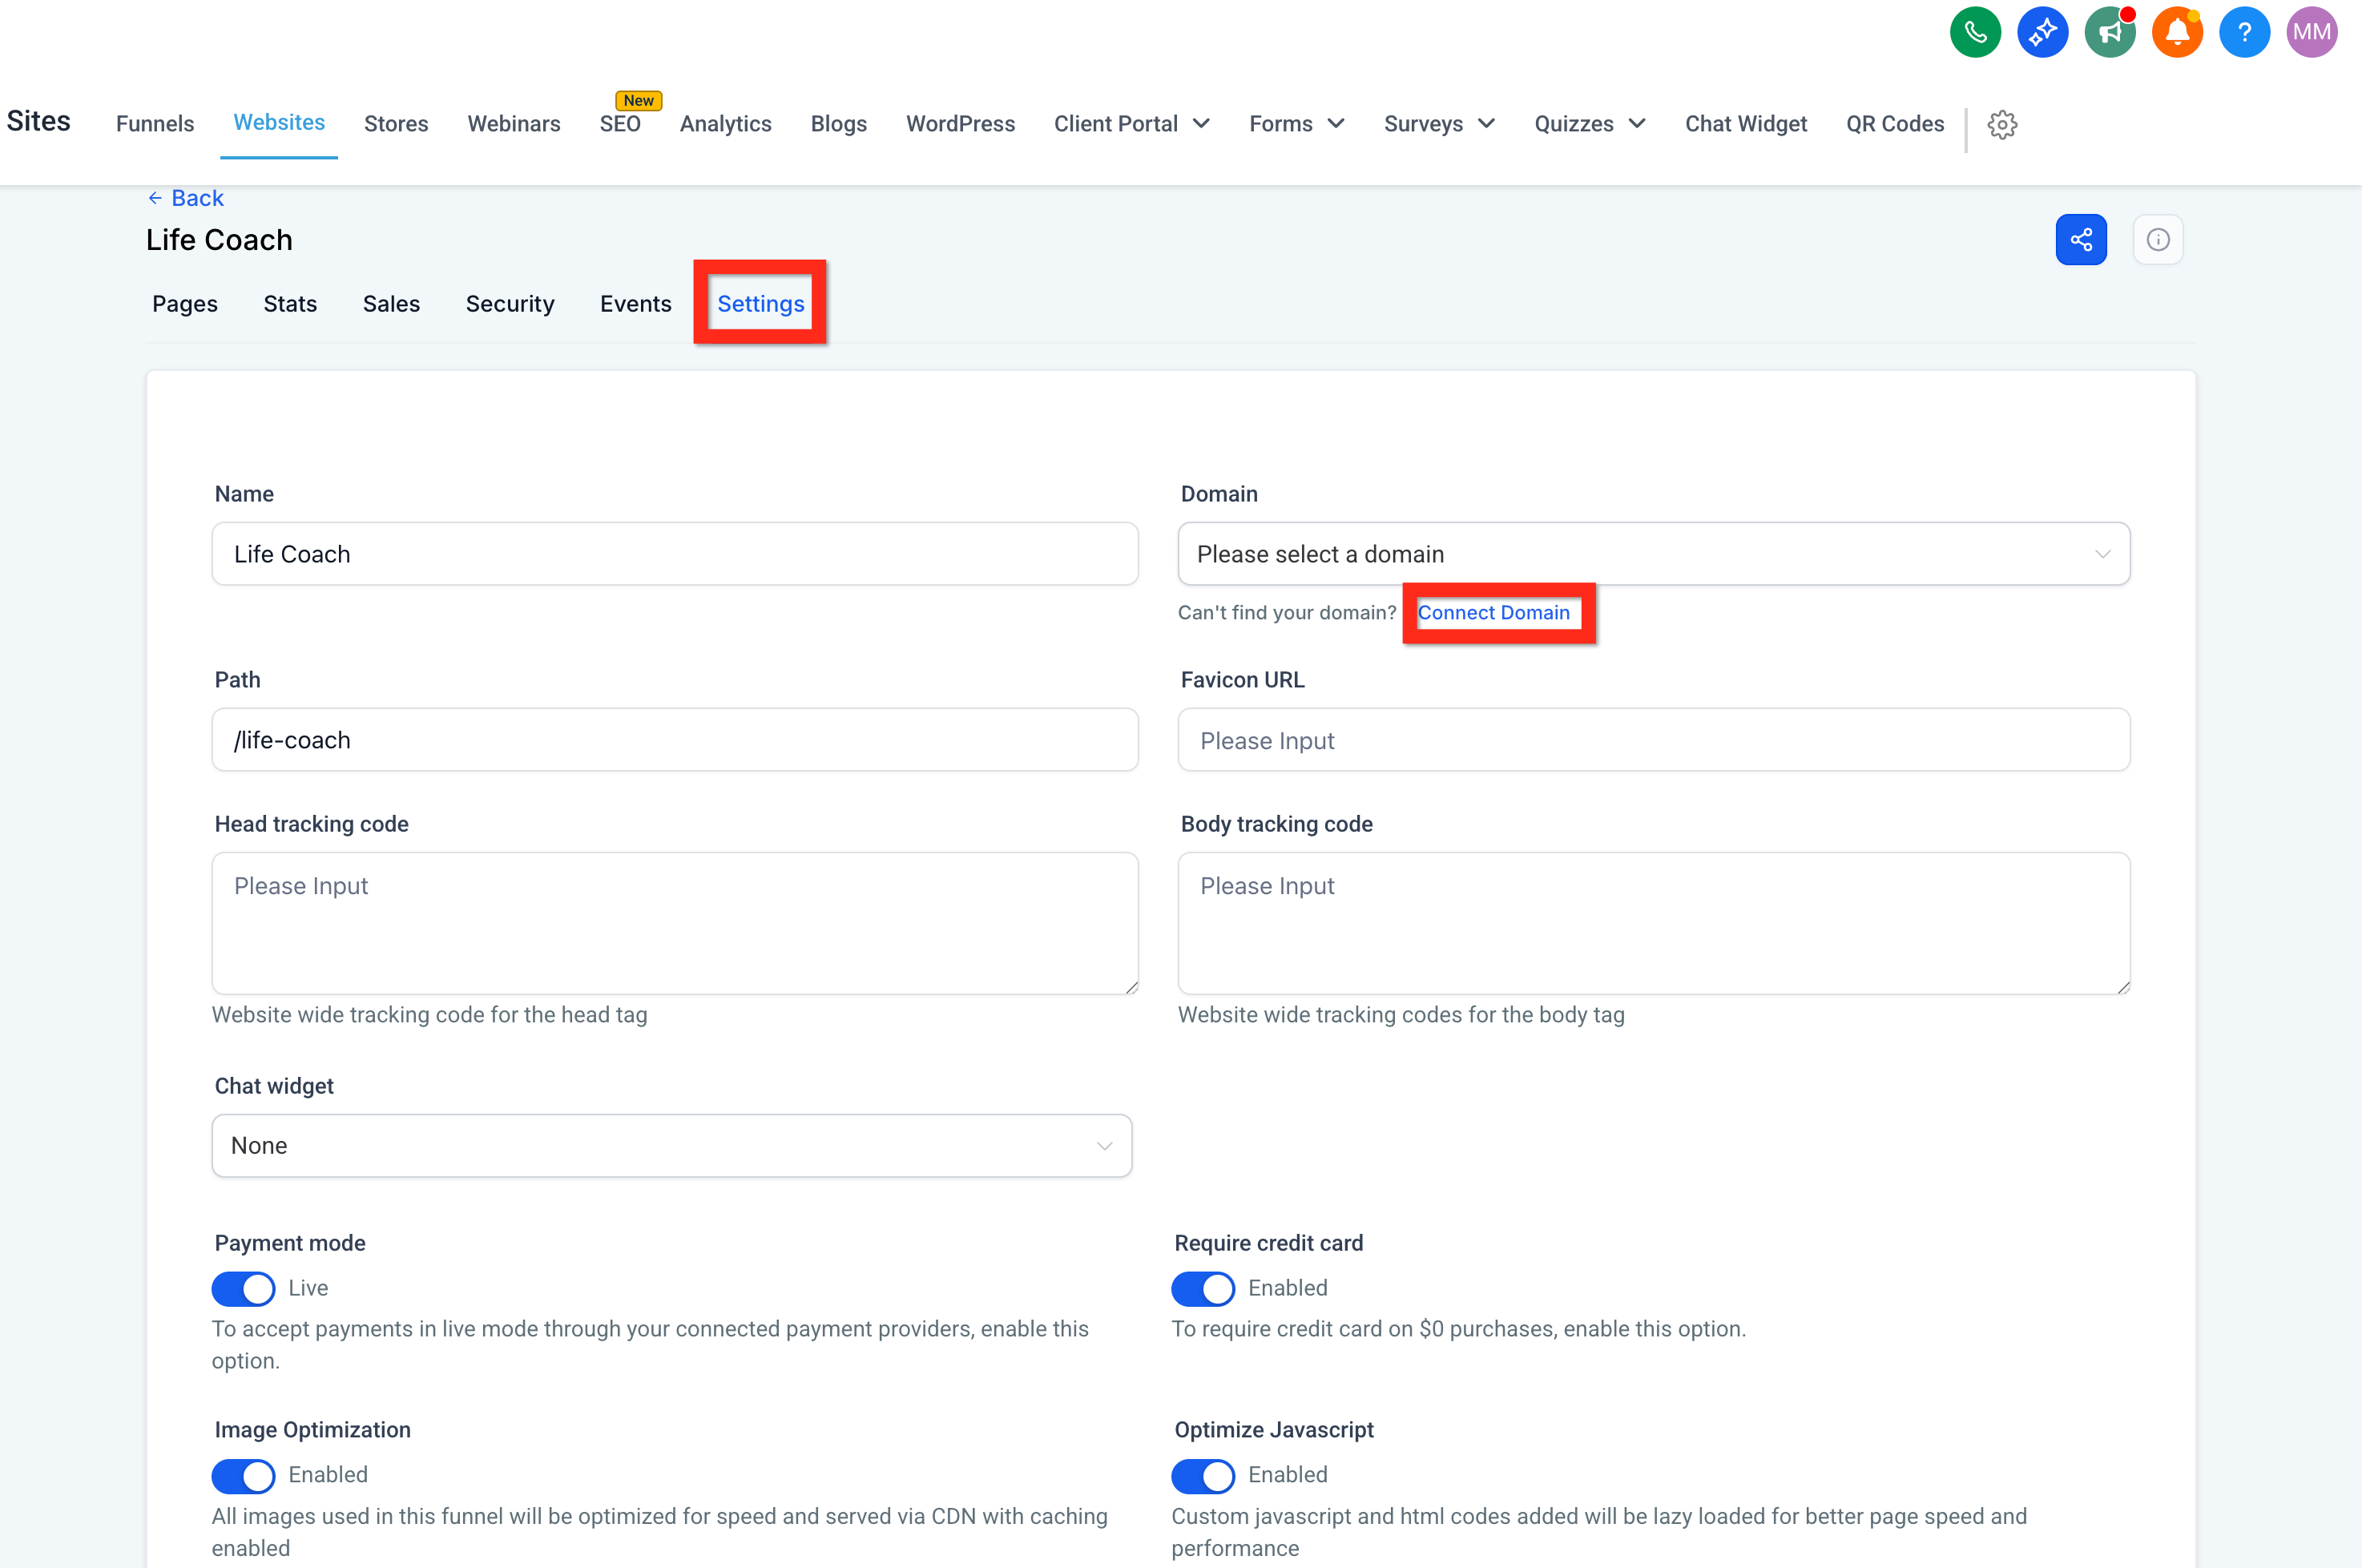
9. Click Settings Tab
Jump over to the settings to connect your unique web address.
10. Under Domain Click Connect Domain
Find the domain dropdown and click the Connect Domain link underneath.
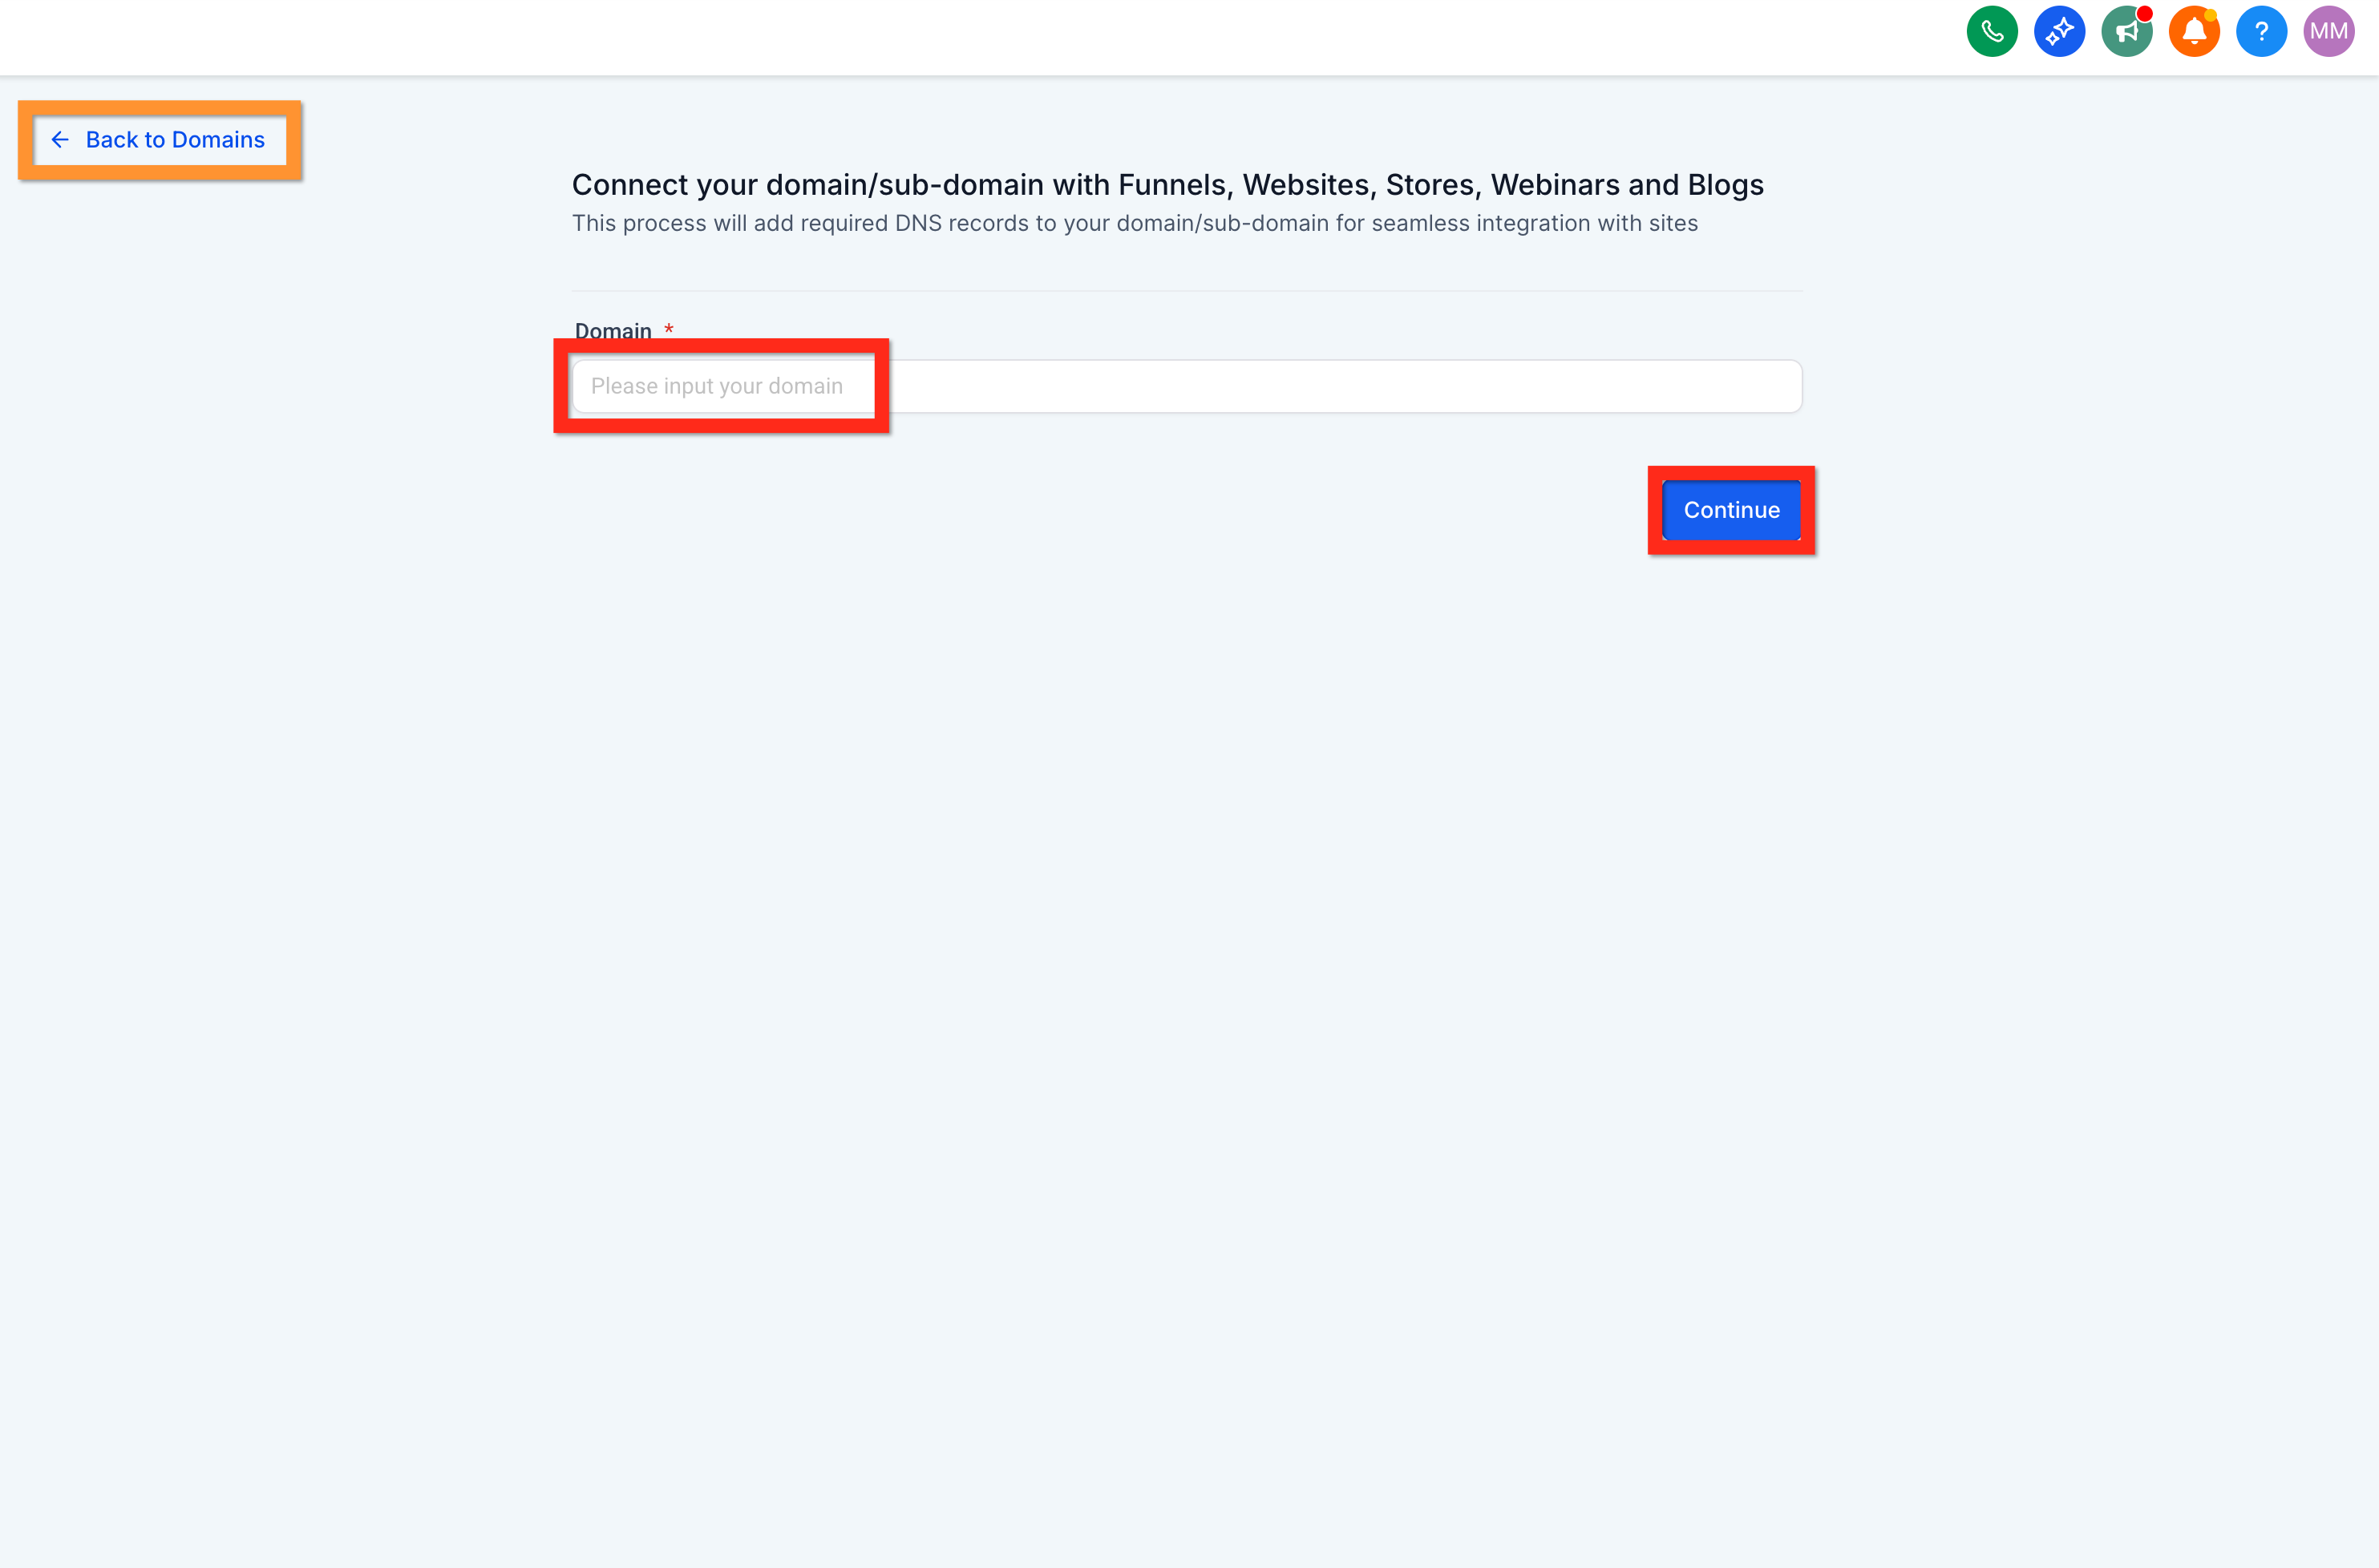
After clicking Connect Domain, you might go straight to this page. In that case, you can enter your domain and click Continue, or click Back to Domains to go to the Settings > Domains list of domains.
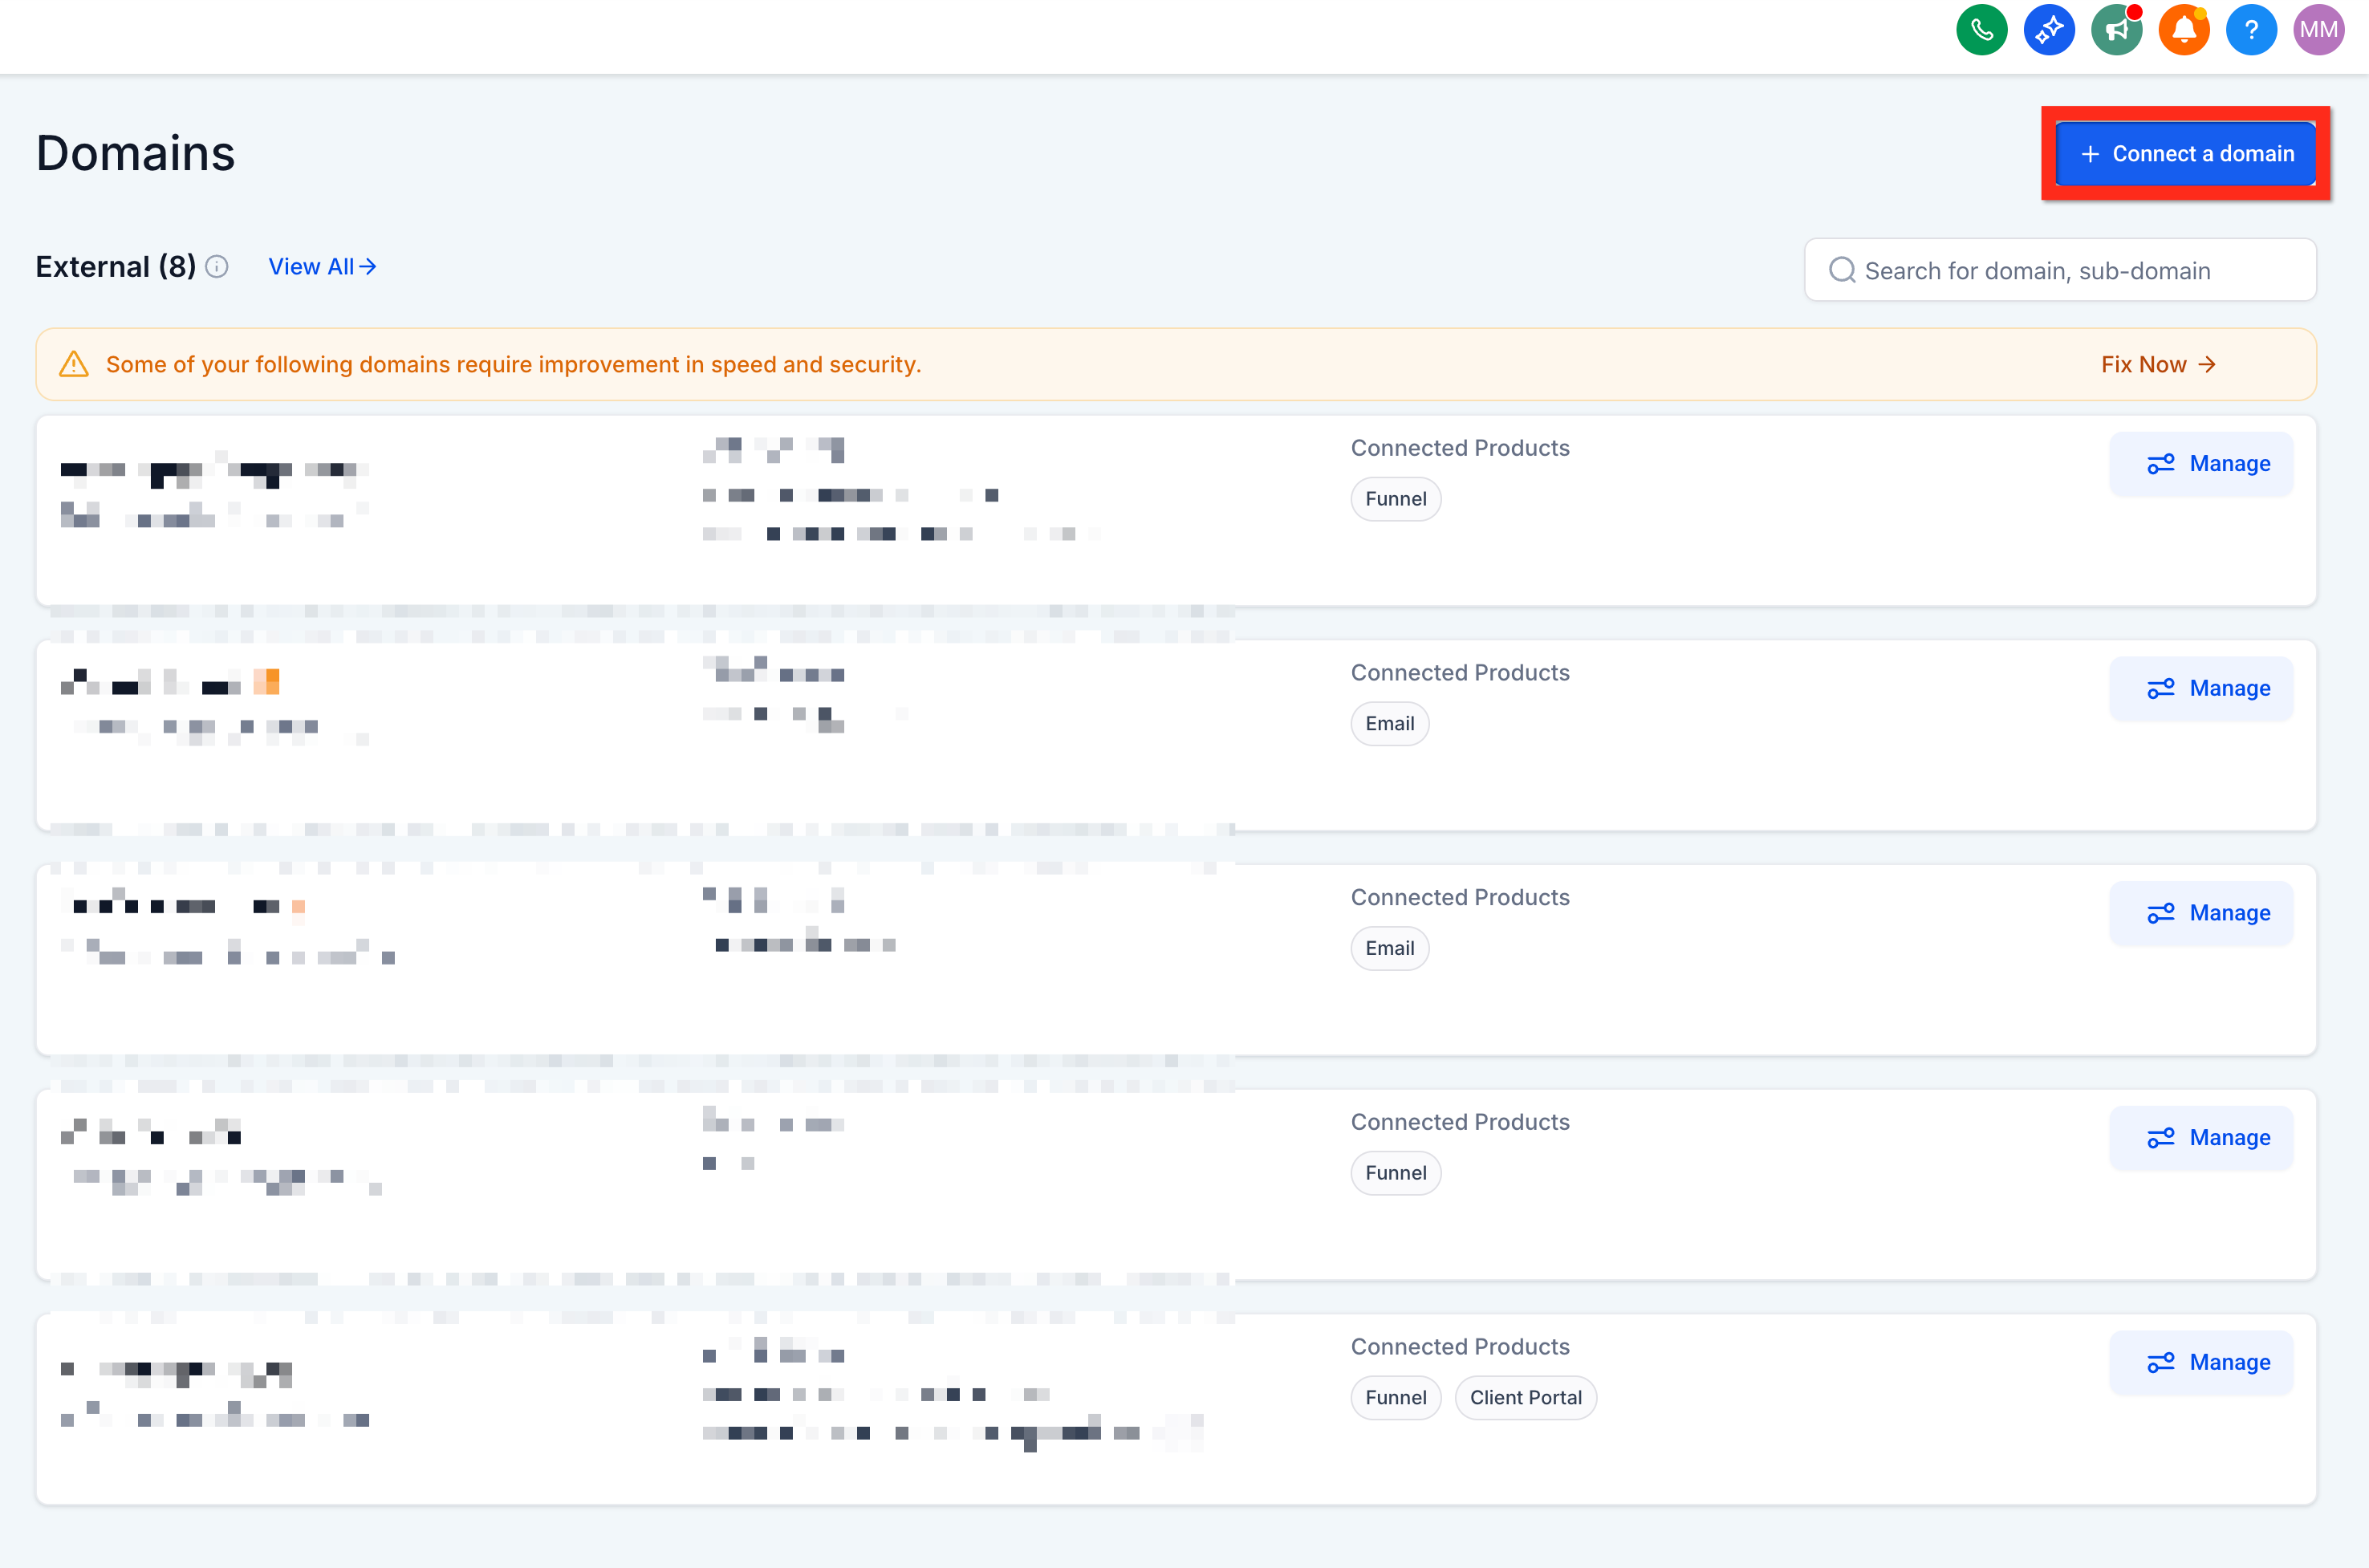
11. Click Connect a Domain
Enter your domain name, and click "Continue" twice. Almost there!
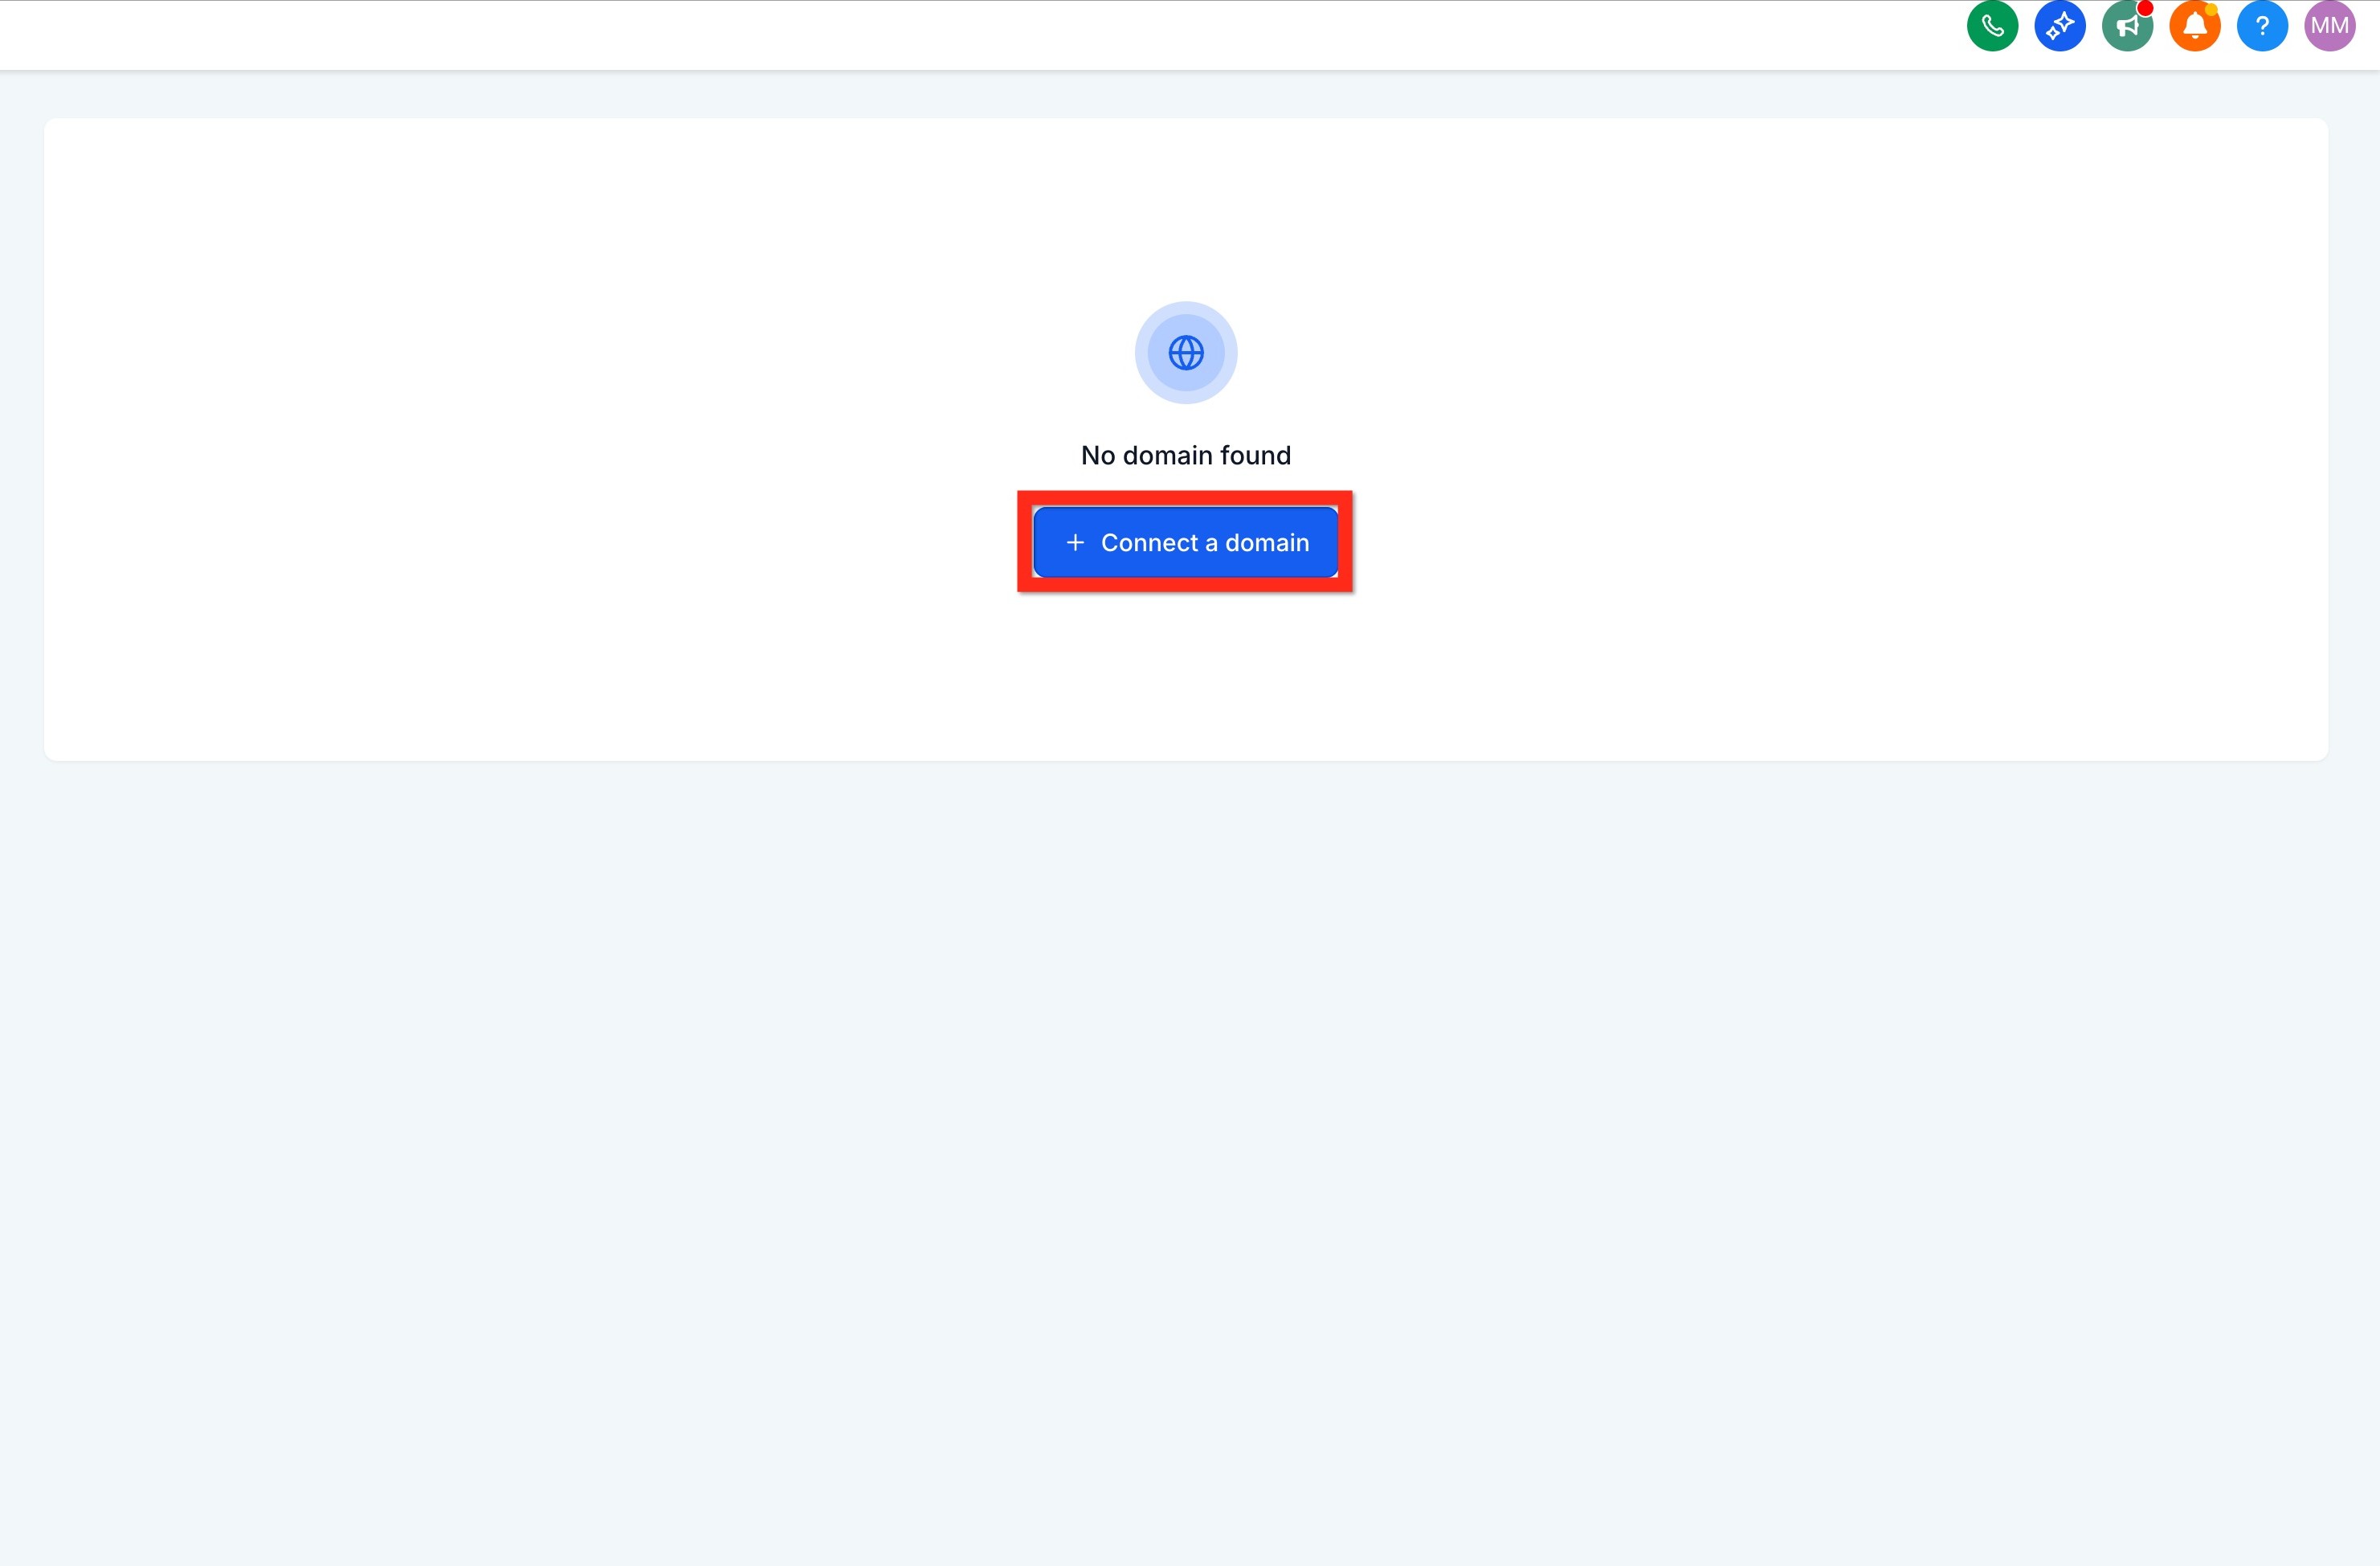
If you don't have any domains yet, this is the page you will see. Just click Connect a Domain.
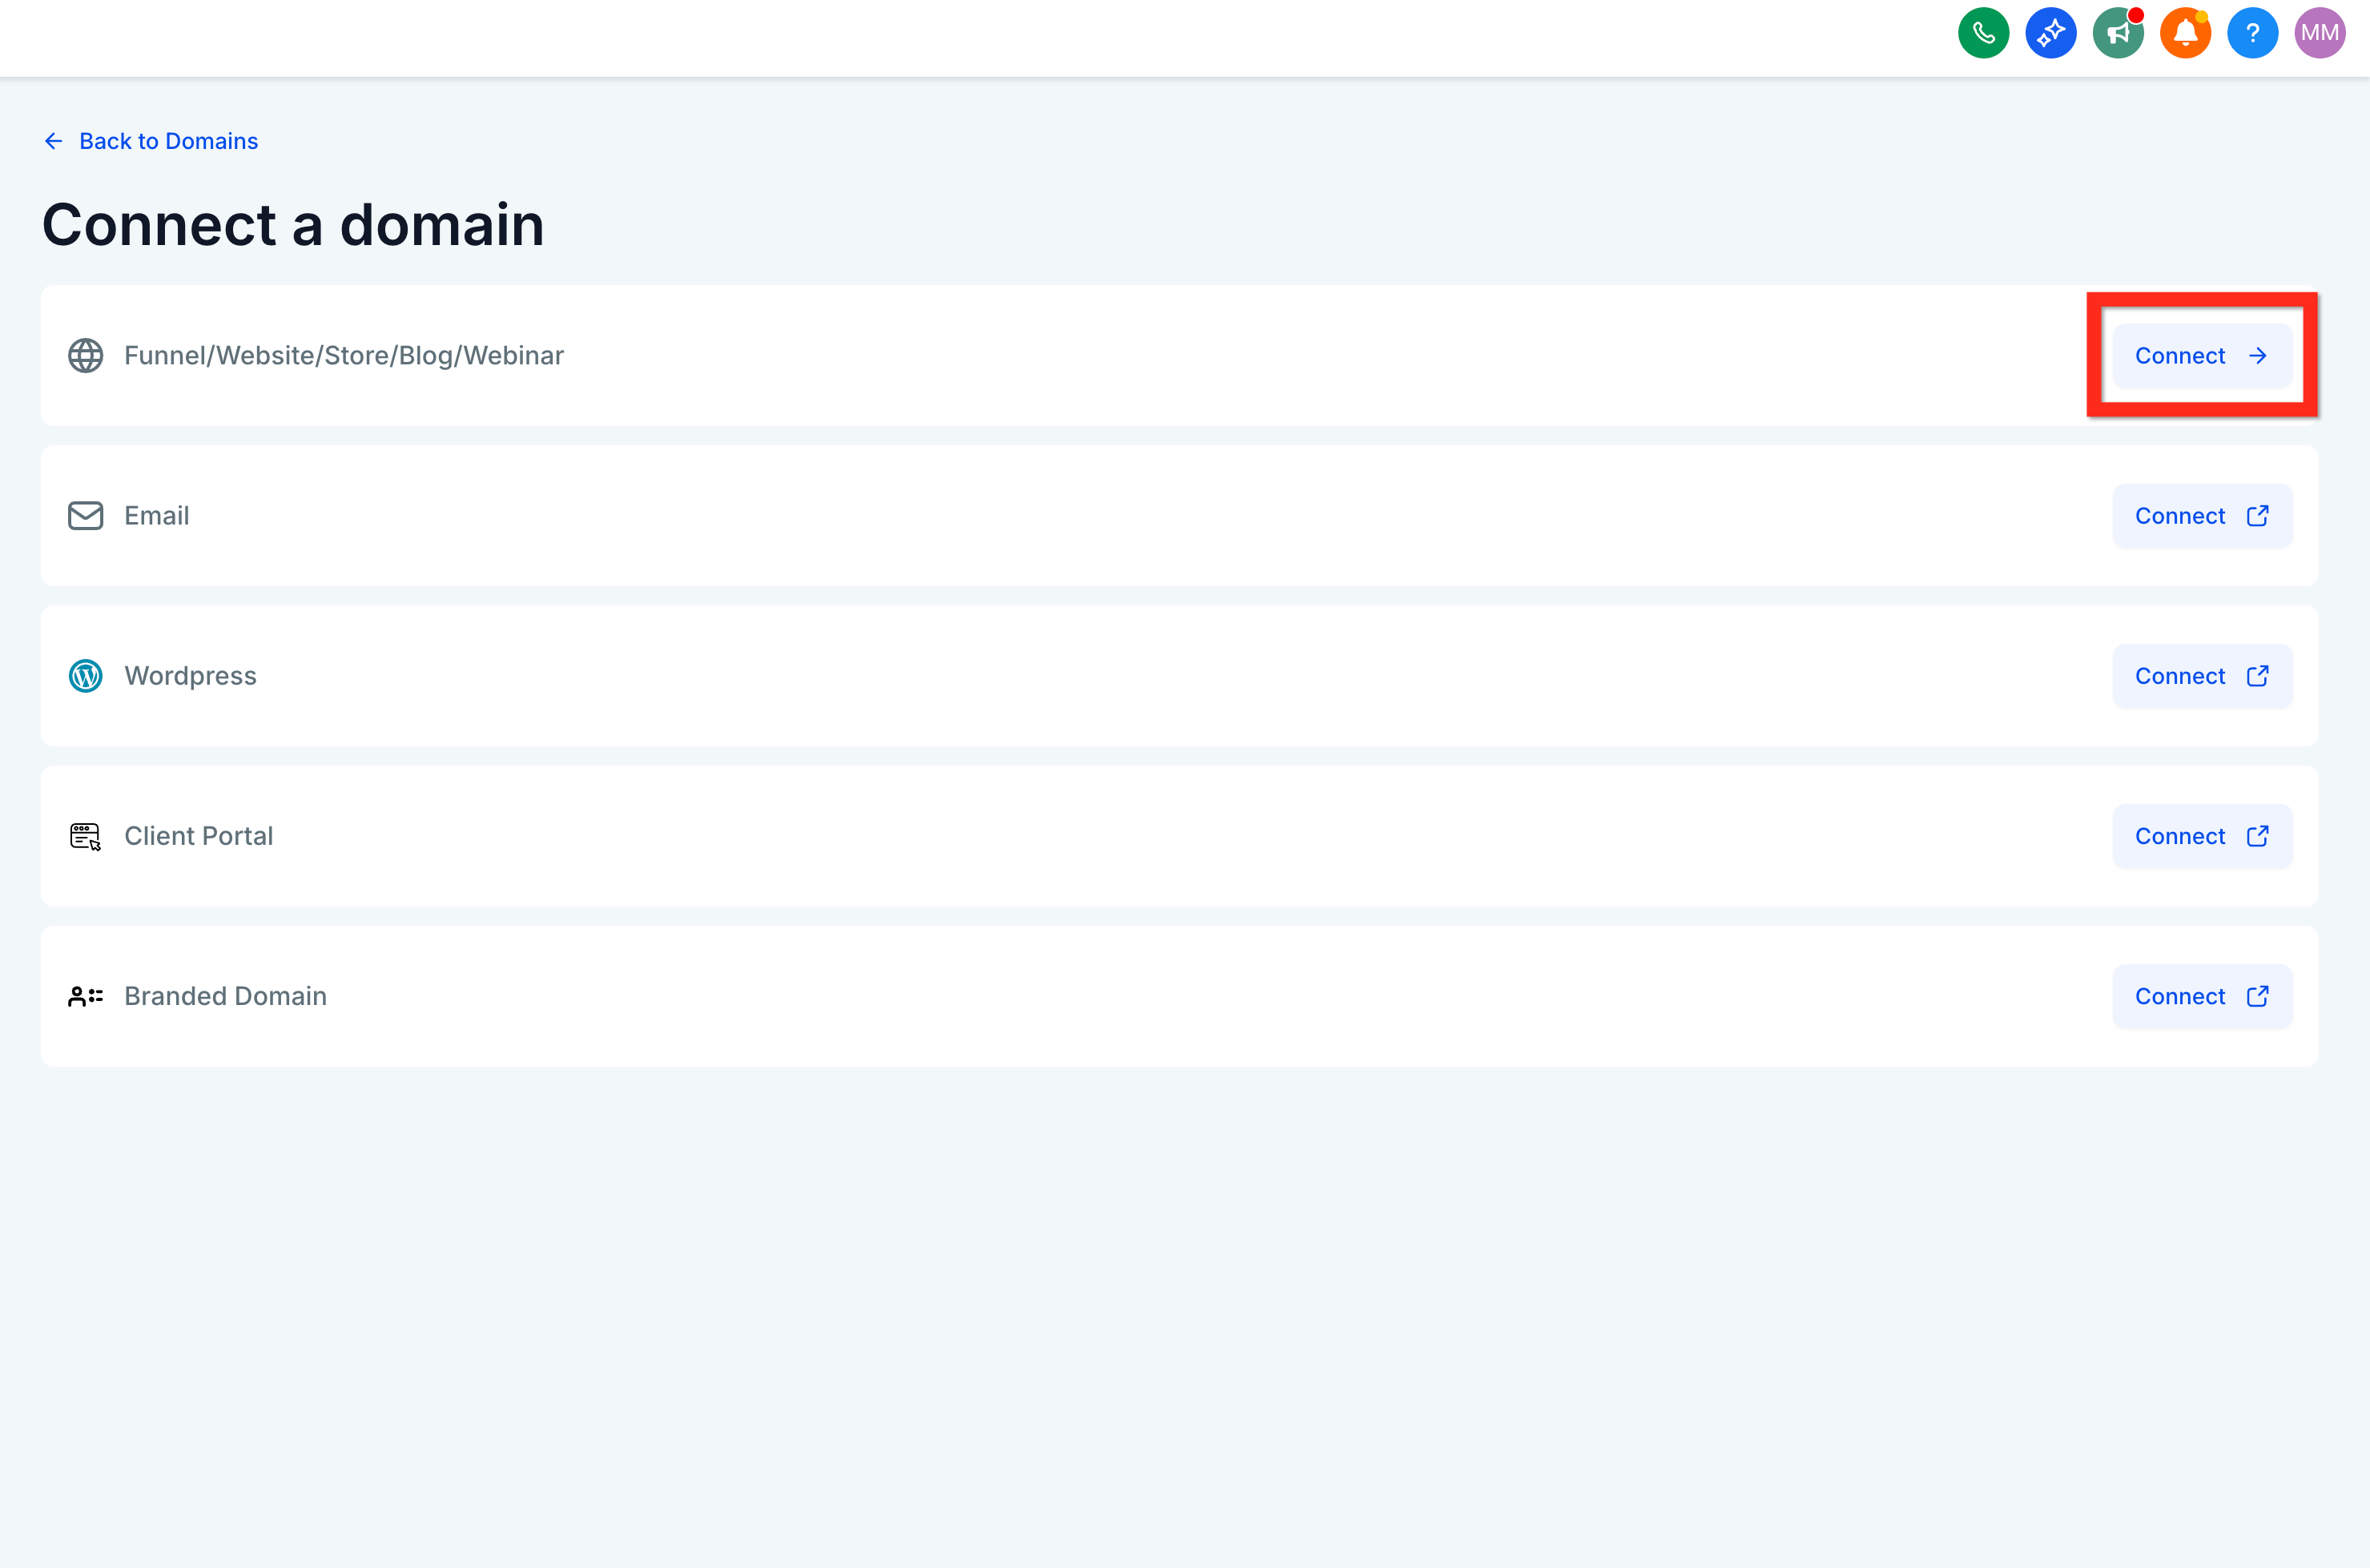
12. Click to connect a website
Use the option for blog/funnel/website/etc.
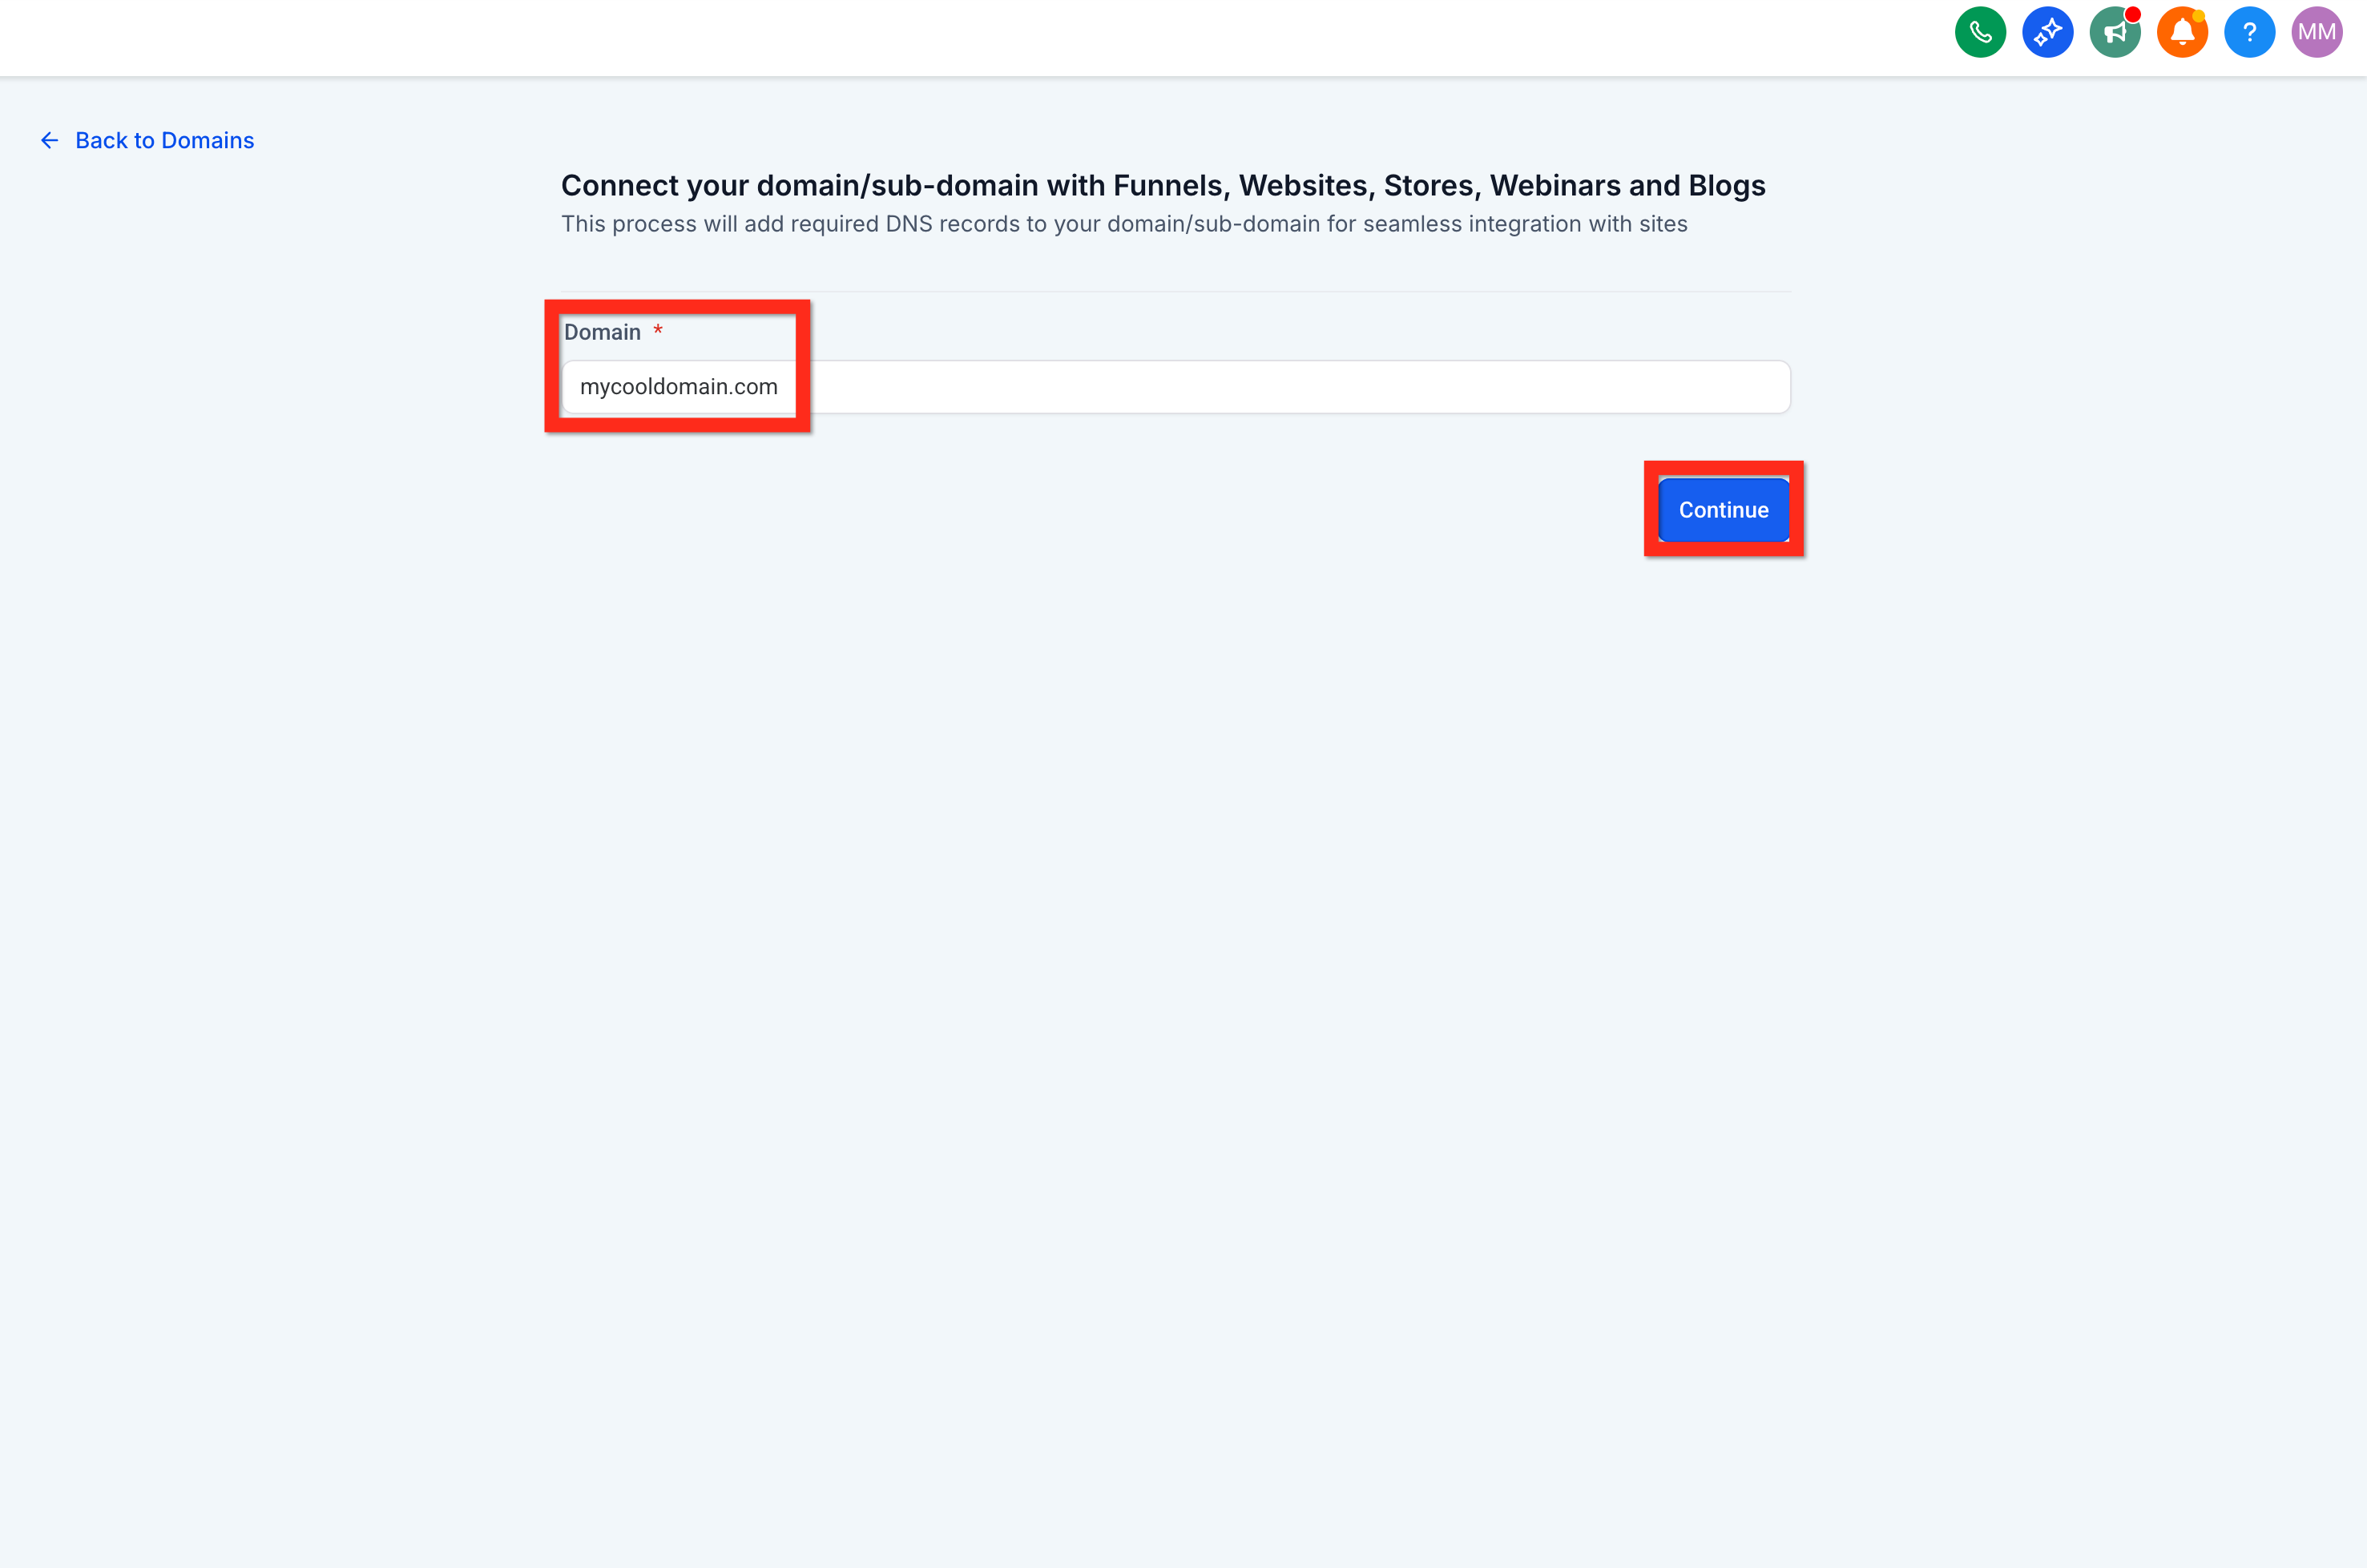
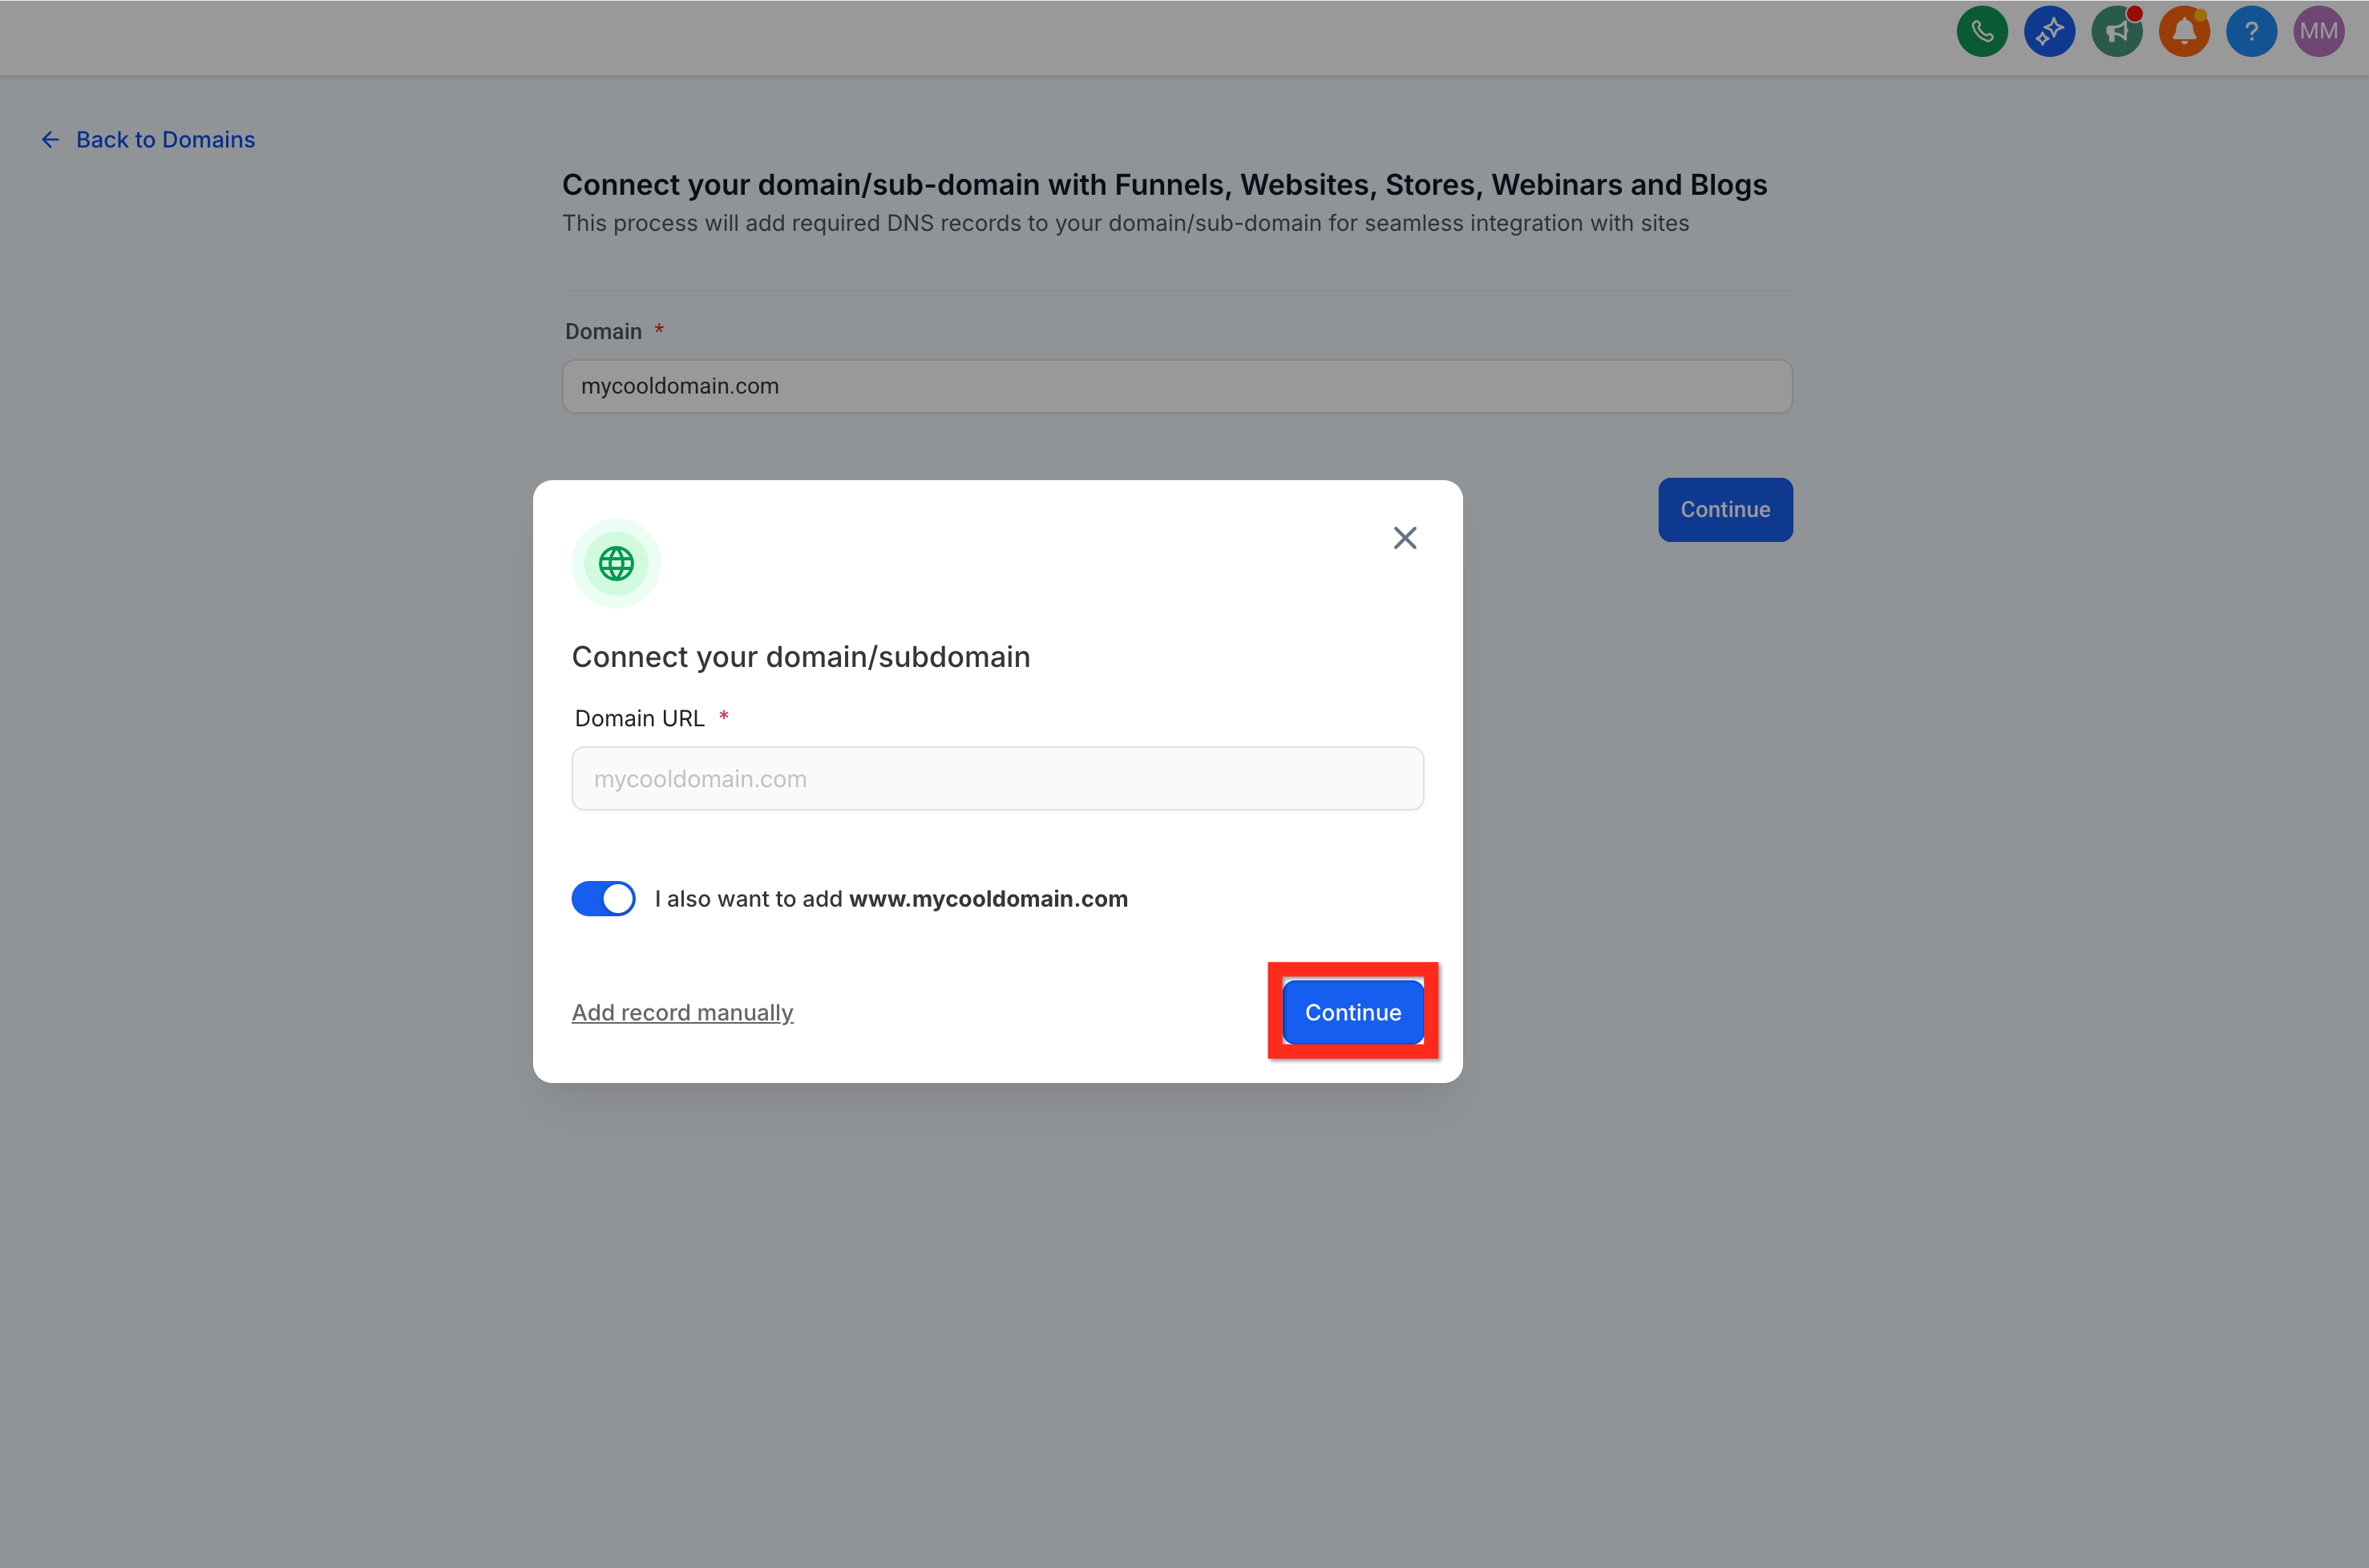
13. Enter the domain and click Continue
This is where you specify the domain you want your website to launch on.
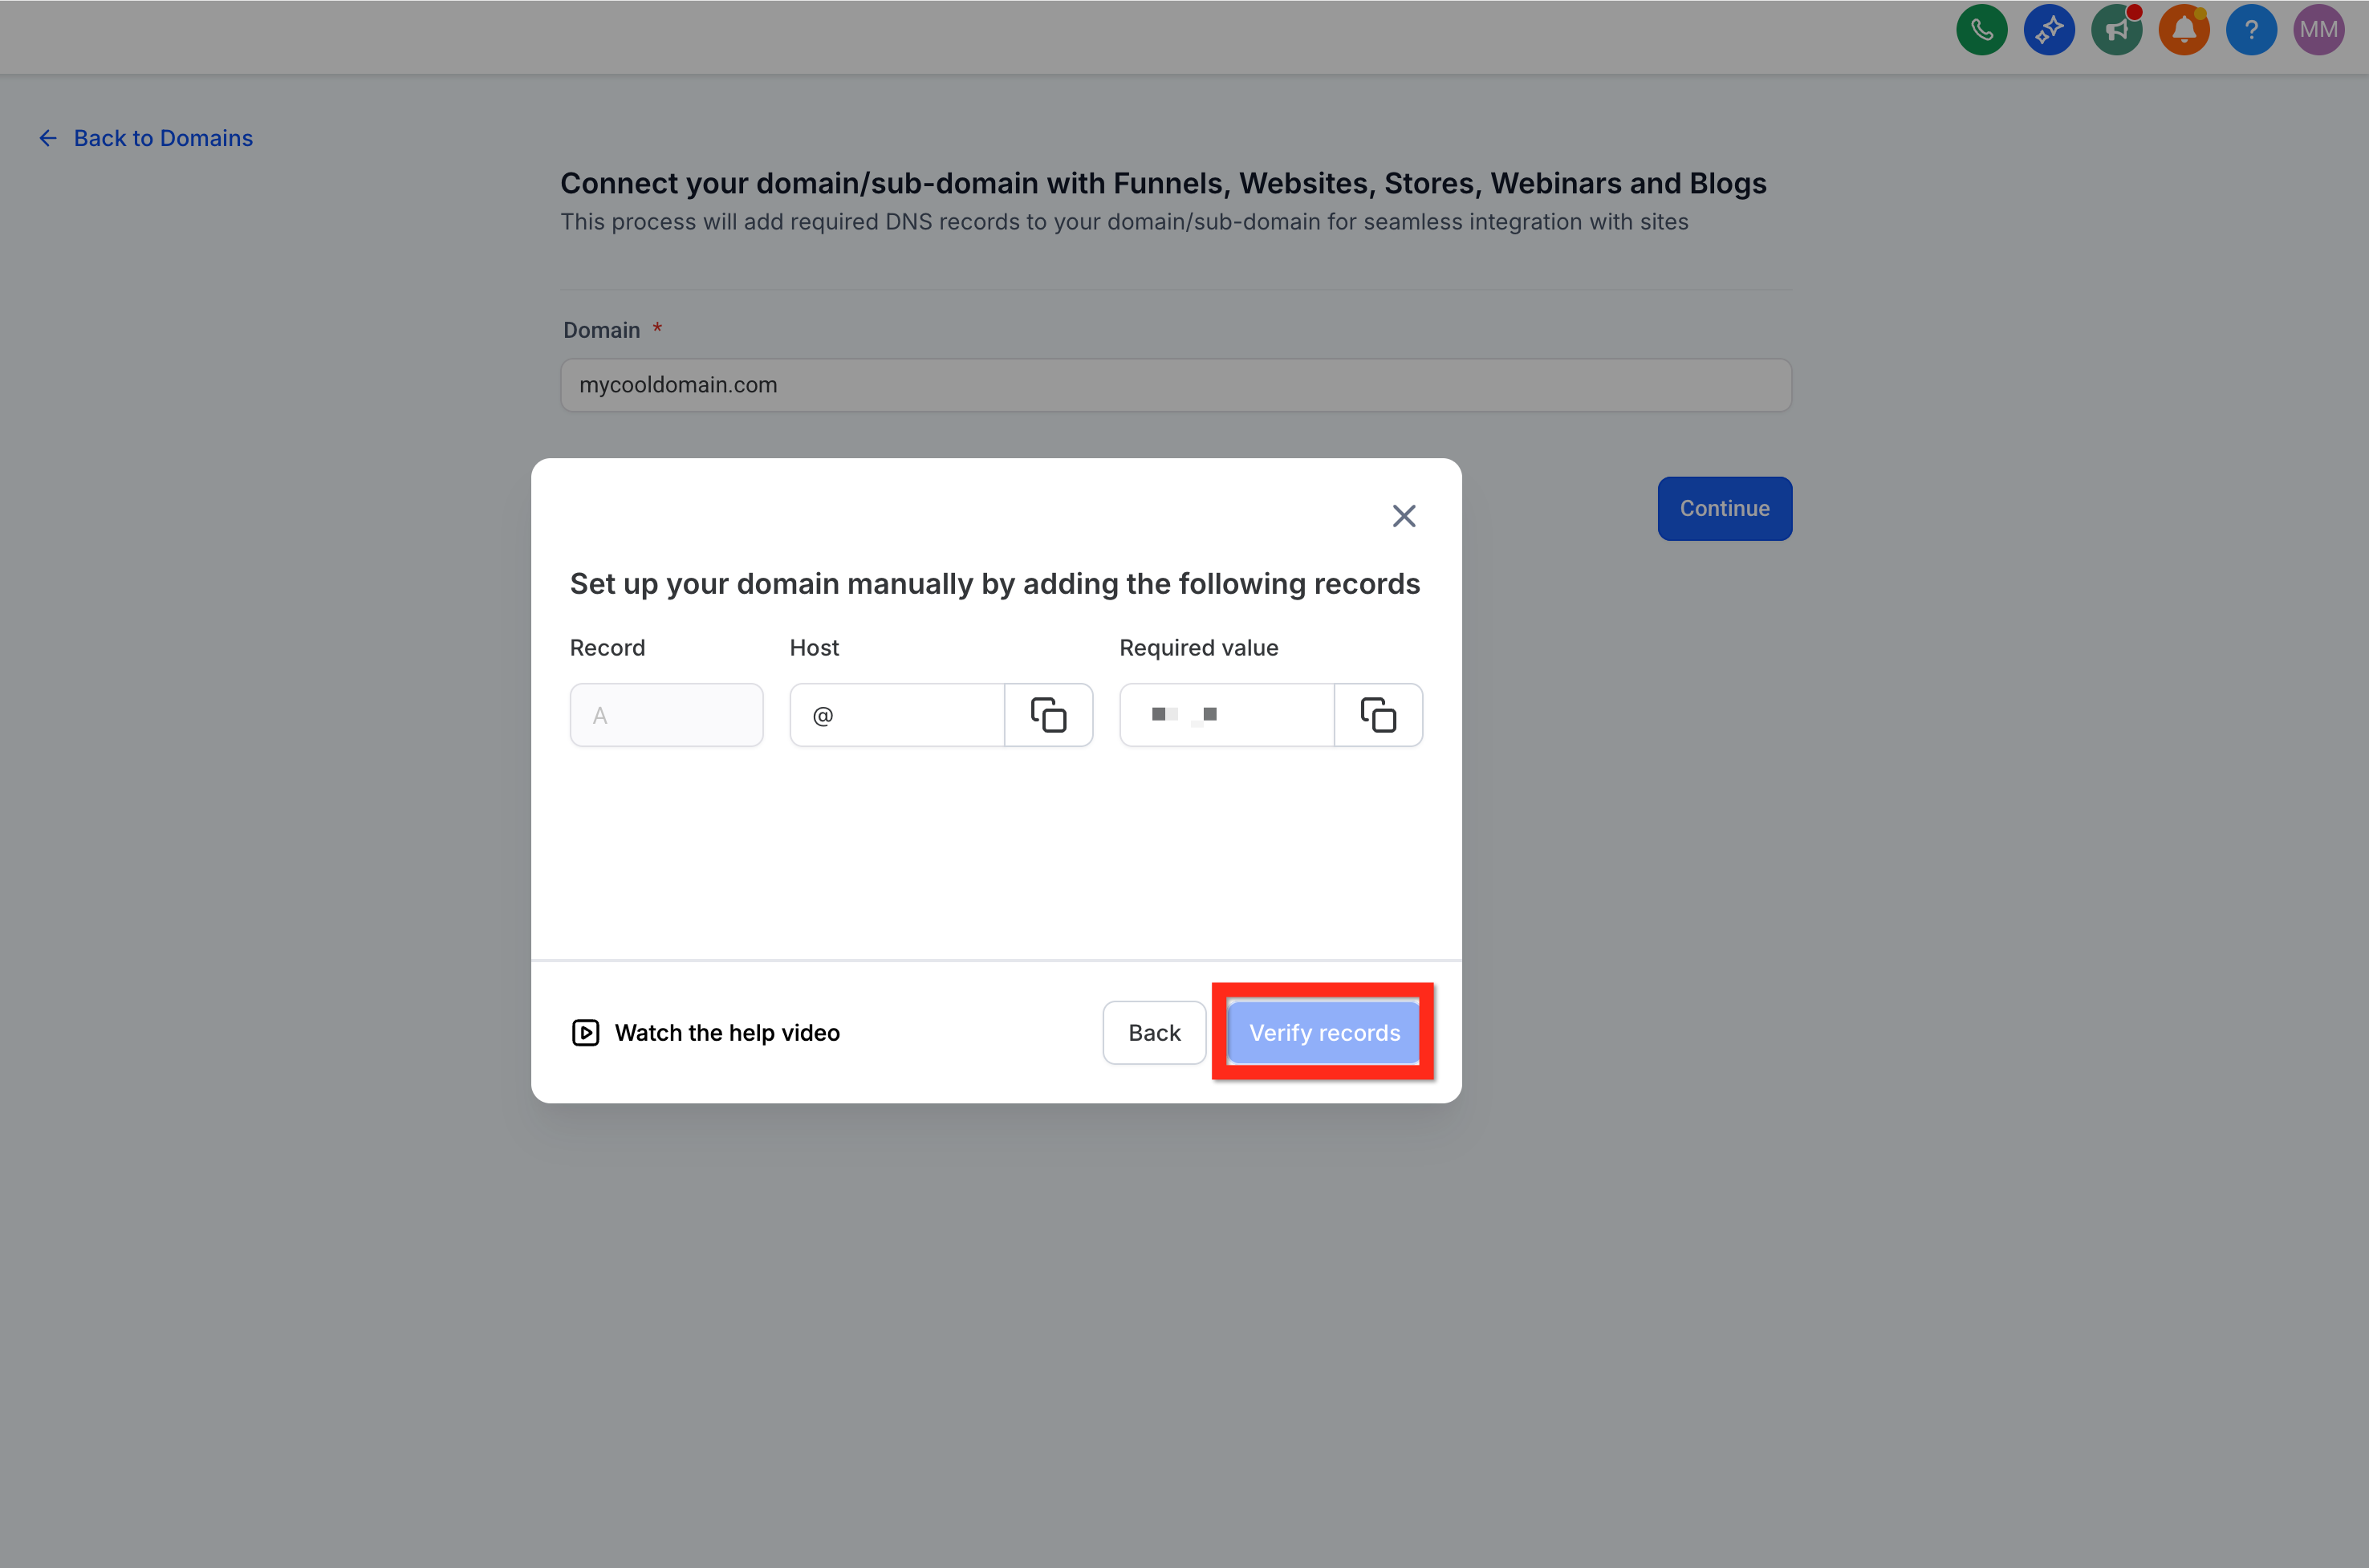
14. Continue and Configure DNS (varies by registrar)
Follow the provided instructions. Don't worry, it's simpler than it sounds!
15. Click Verify Records
Let's make sure everything checks out.
16. Navigate back to Website Settings Tab
Return to settings one last time.
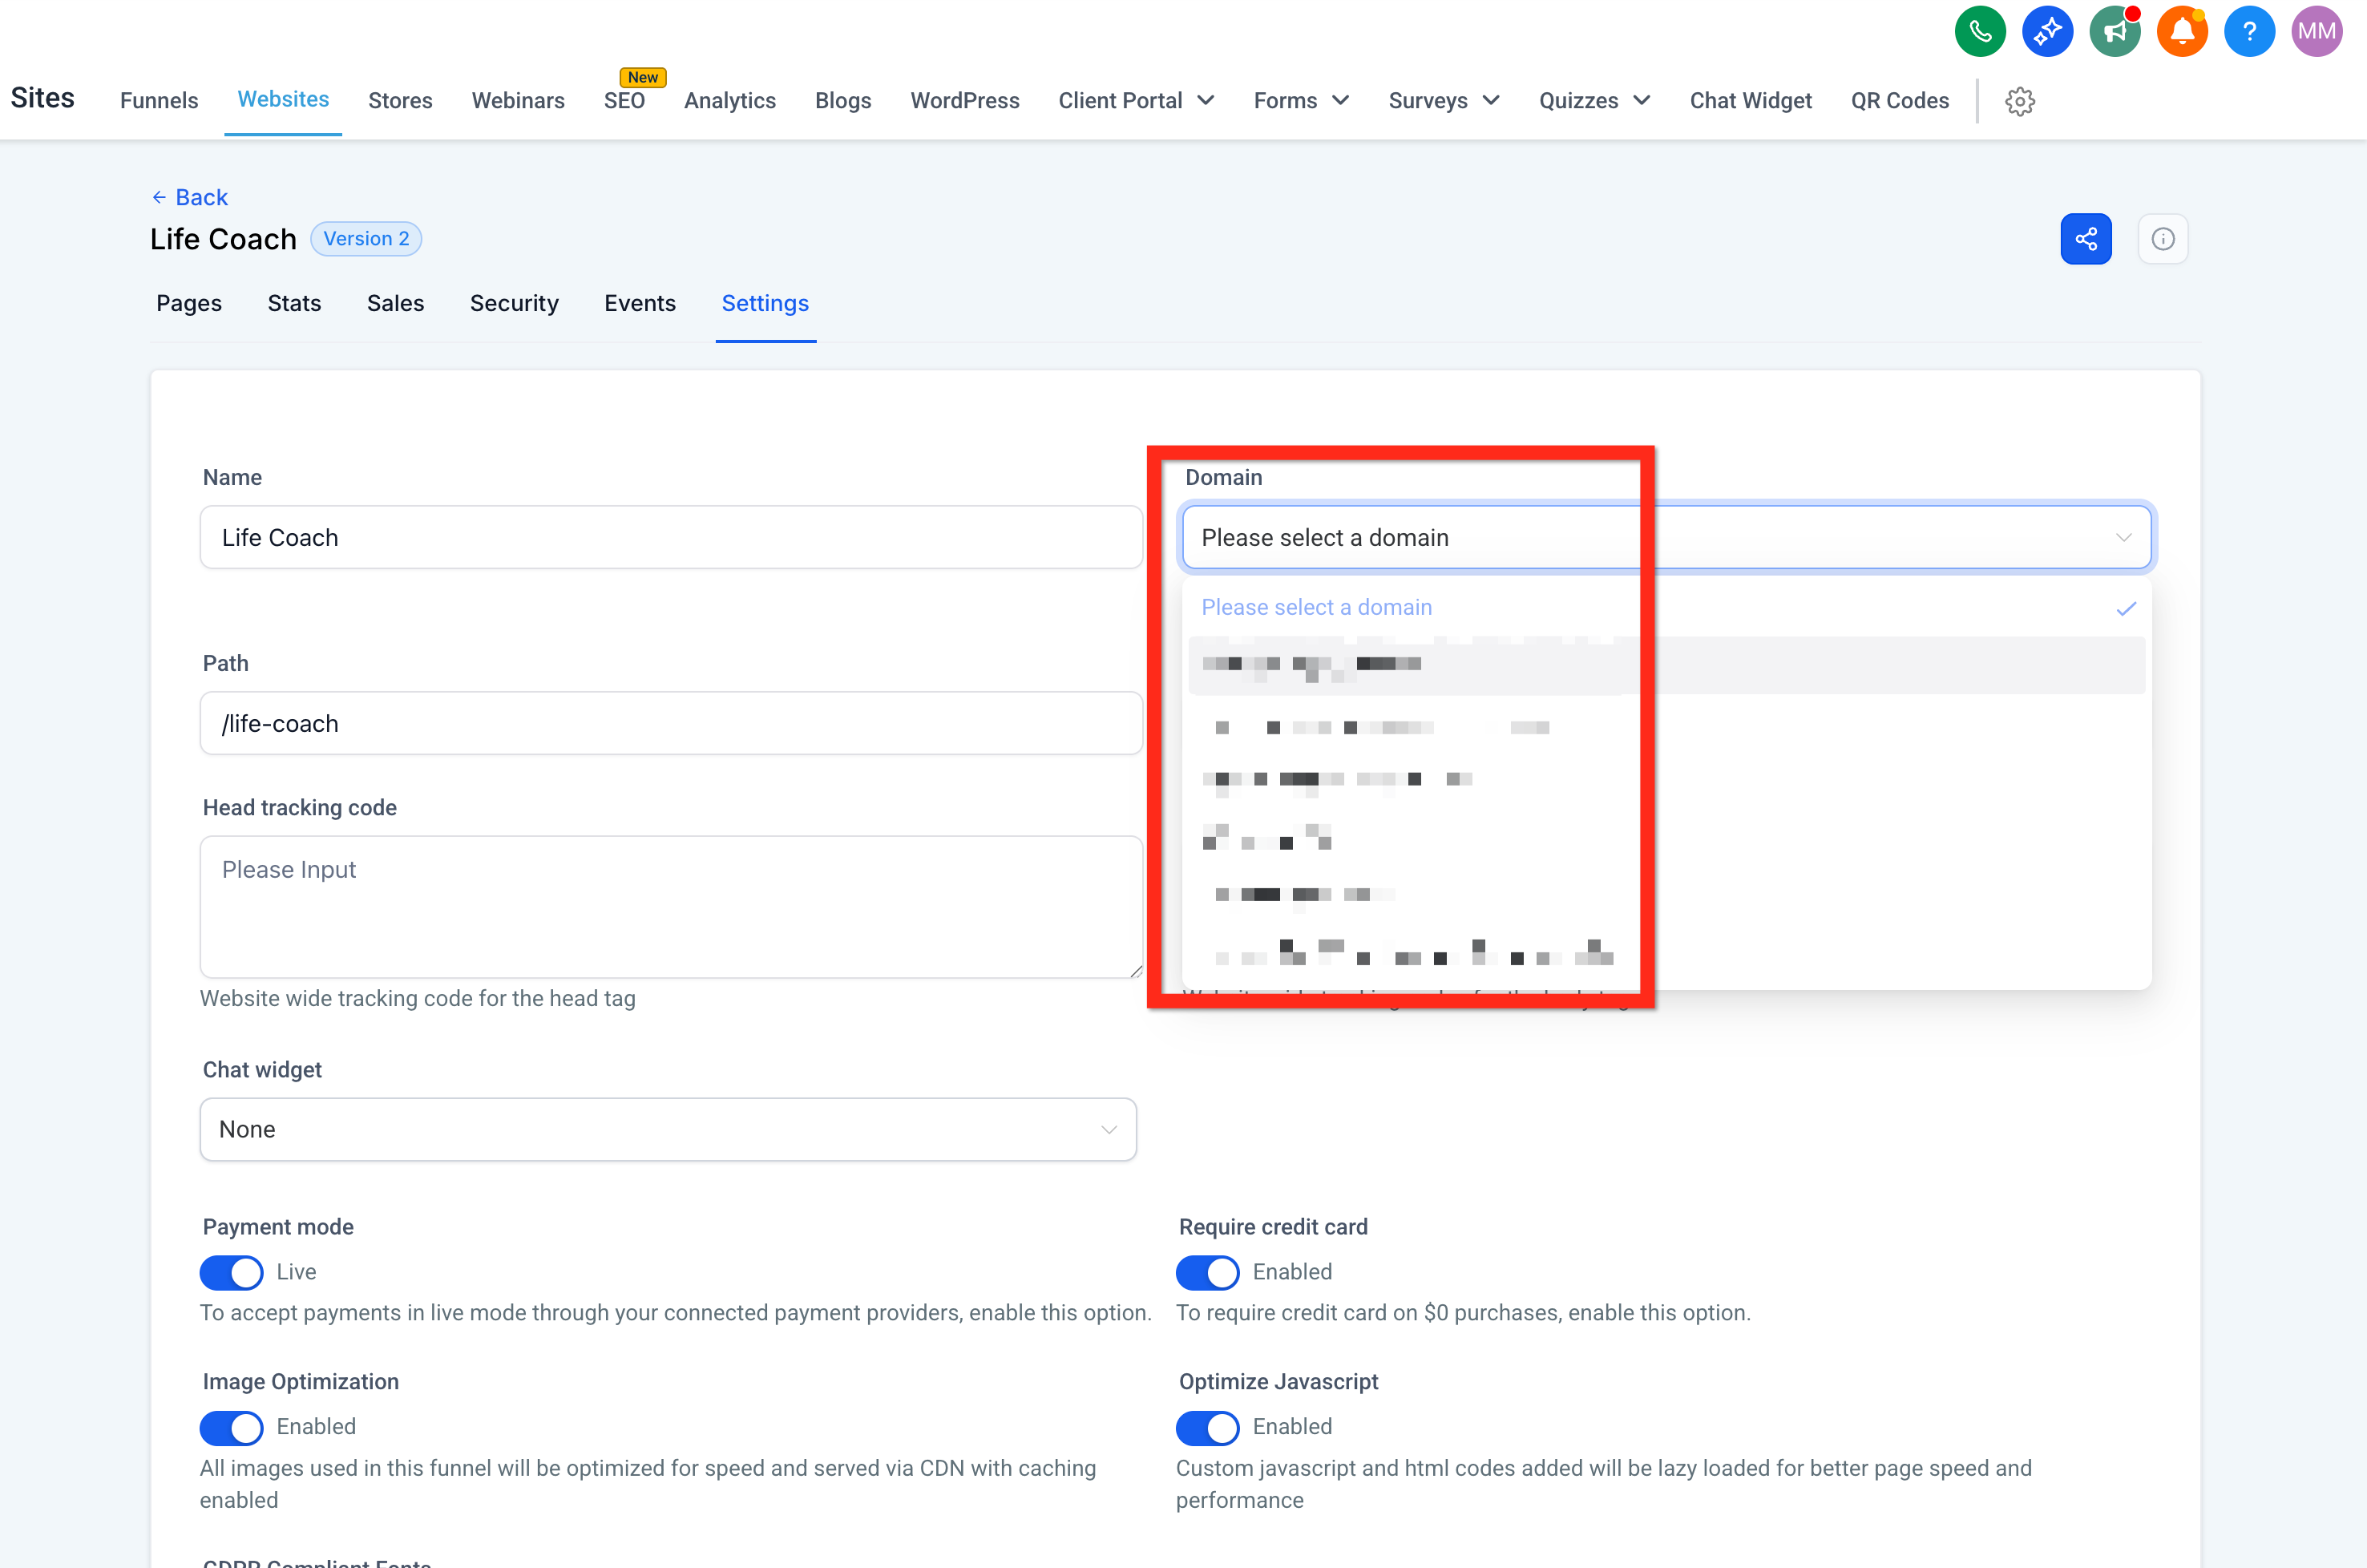
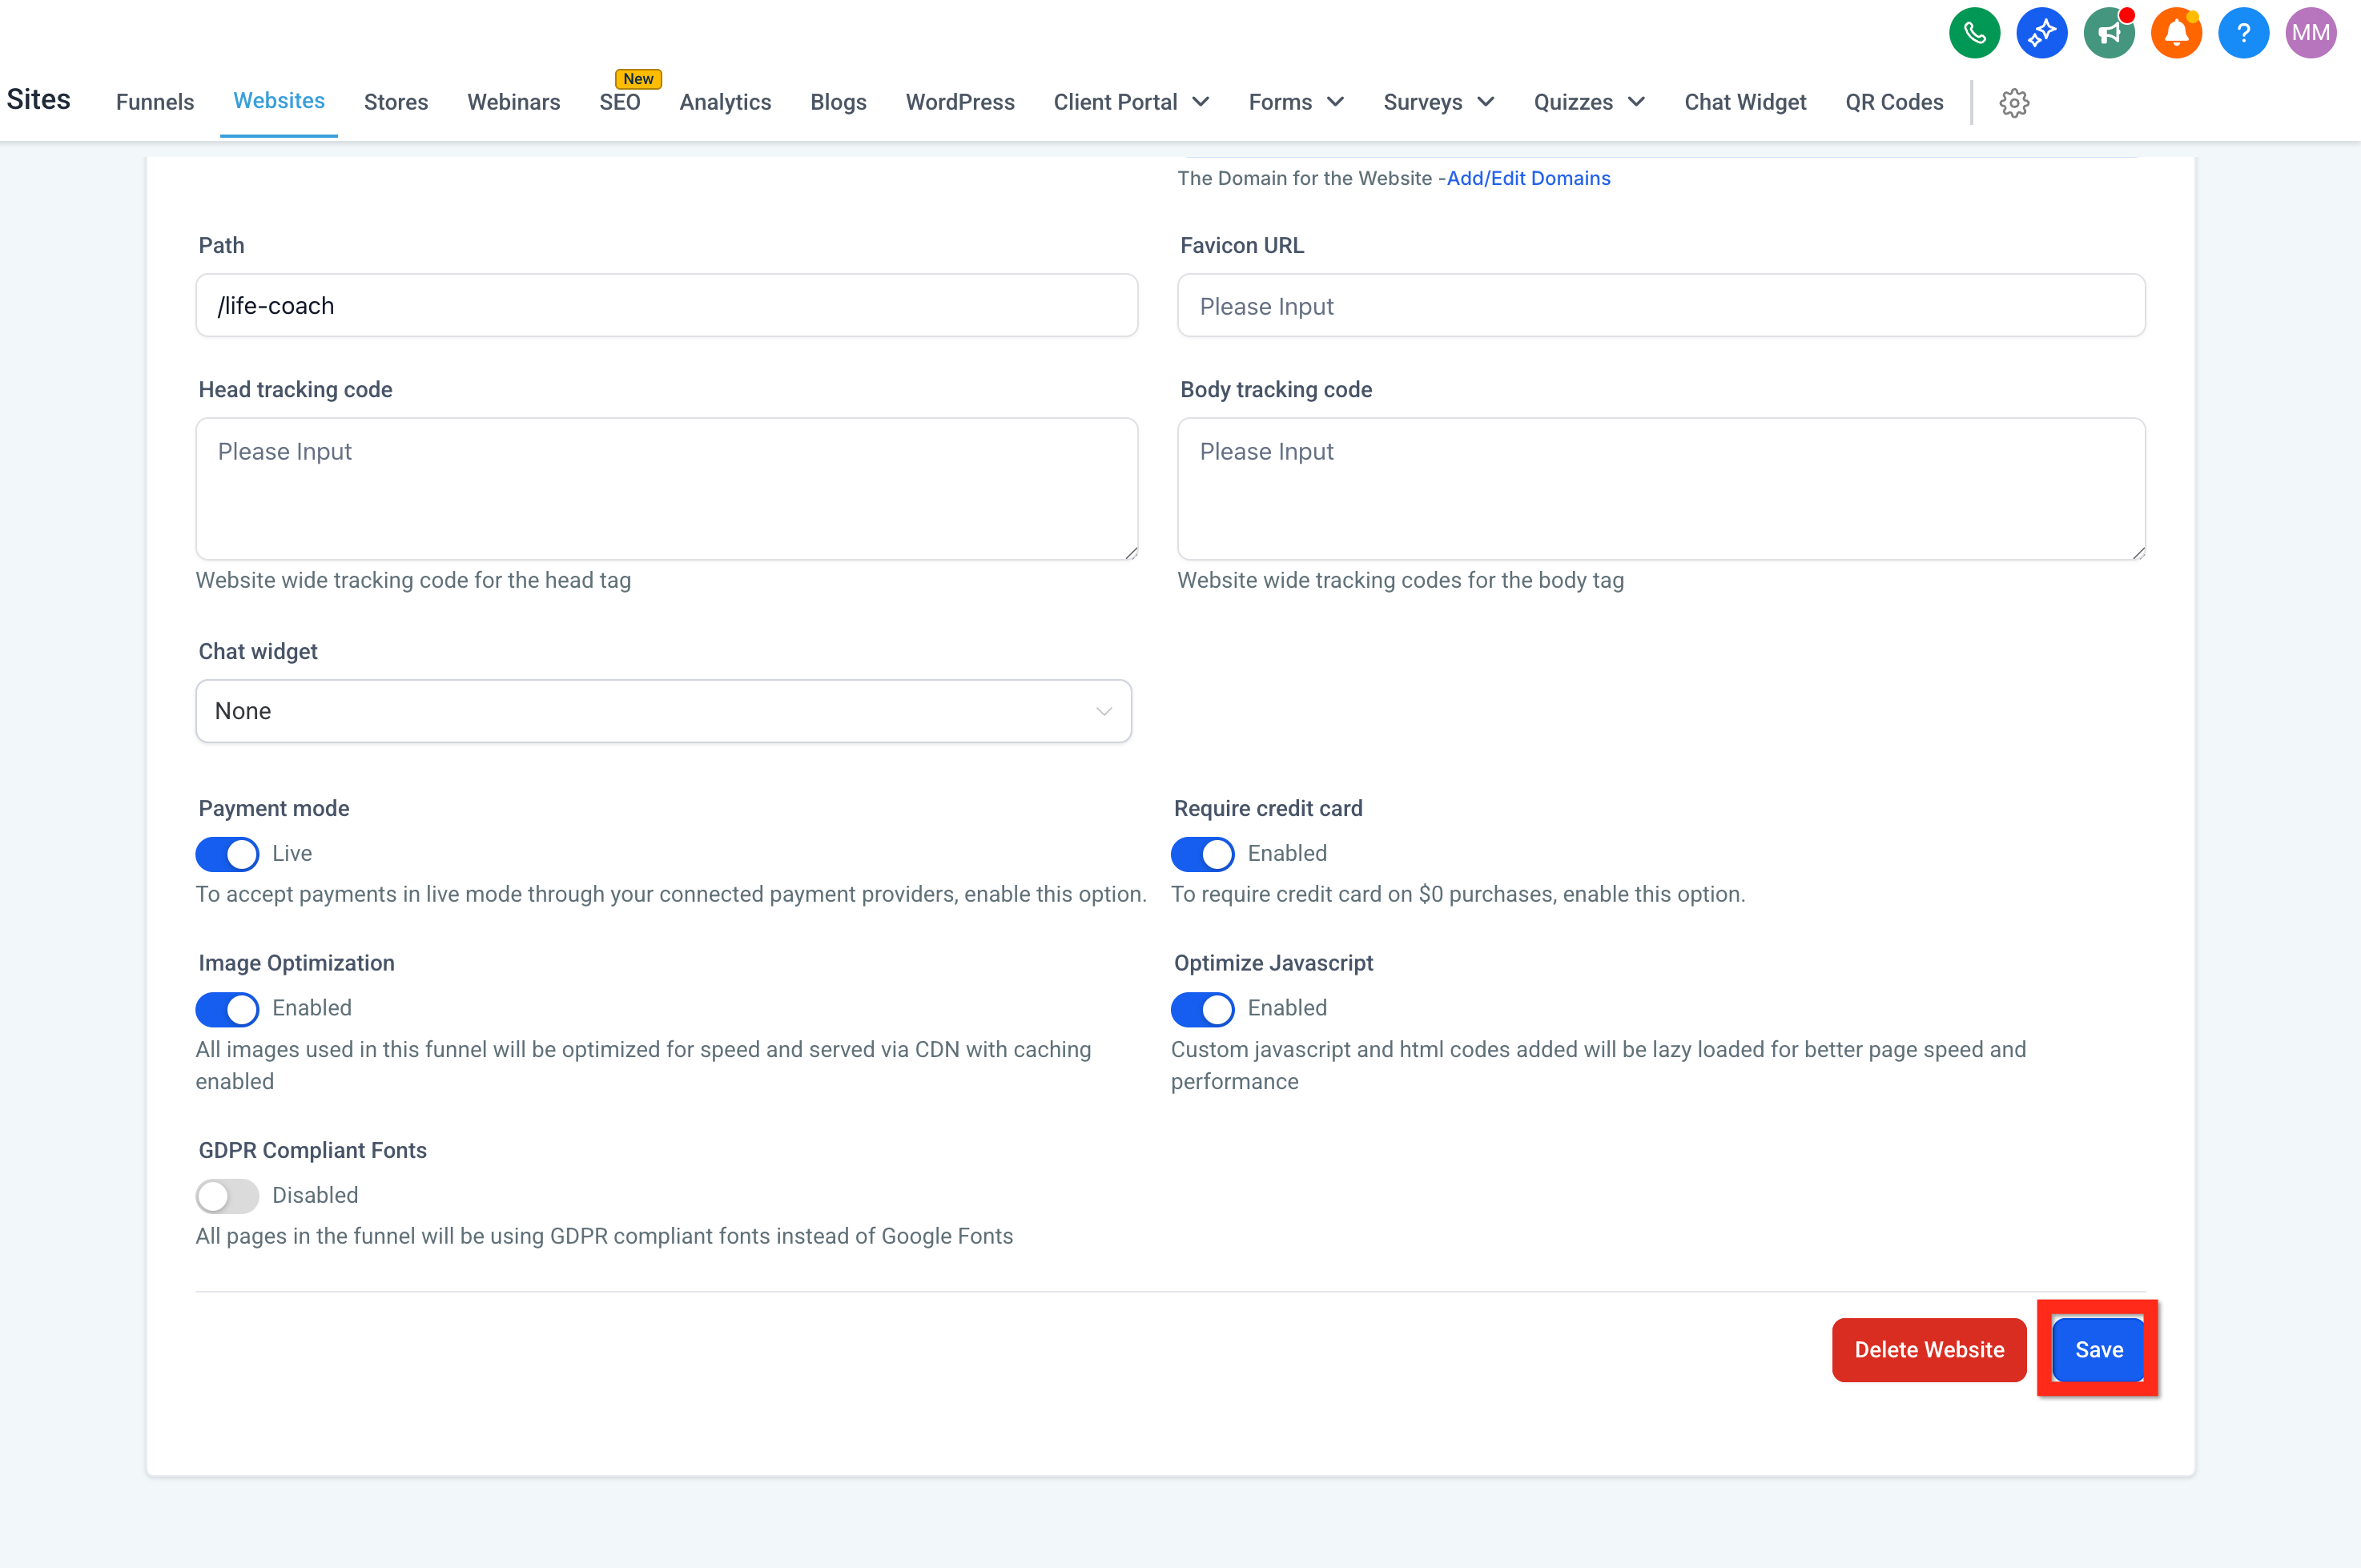
17. Select Domain and Click Save
Choose your shiny new domain and save your changes. Congratulations, your website is live!
Next Steps
You can share your new website link with your audience, start exploring analytics, or add more content to enhance your online presence. Happy launching!