Email Setup Guide
👍 SalesMFast Email Setup Guide
✉️ Step 1: Setting Up Your Email Sending Configuration
Before sending emails, you need to configure your sender email to ensure your messages reach inboxes instead of spam folders.
Choosing Your Sender Email
- Unassigned Contacts: Emails will be sent from the logged-in user’s email.
- Assigned Contacts: Emails will be sent from the assigned user’s email.
- Automated Emails: The email address used depends on workflow and campaign settings.
To configure your sender email:
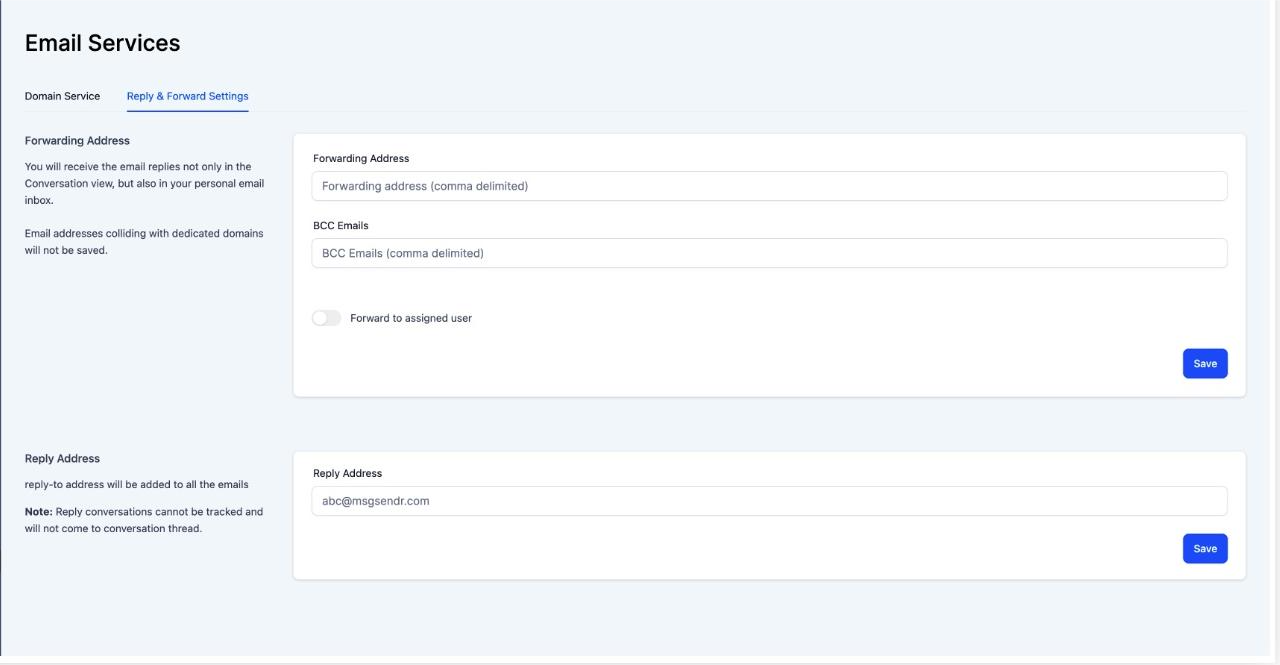
- Navigate to Settings > Email Services in your SalesMFast account.
- Choose your preferred reply-to email address and configure forwarding addresses if needed.
- Enable reply tracking for better engagement tracking.
🗂️ Step 2: Organizing Your Contacts for Email Campaigns
A well-segmented contact list ensures that your emails reach the right audience.
Steps to Organize Your Contacts in SalesMFast
-
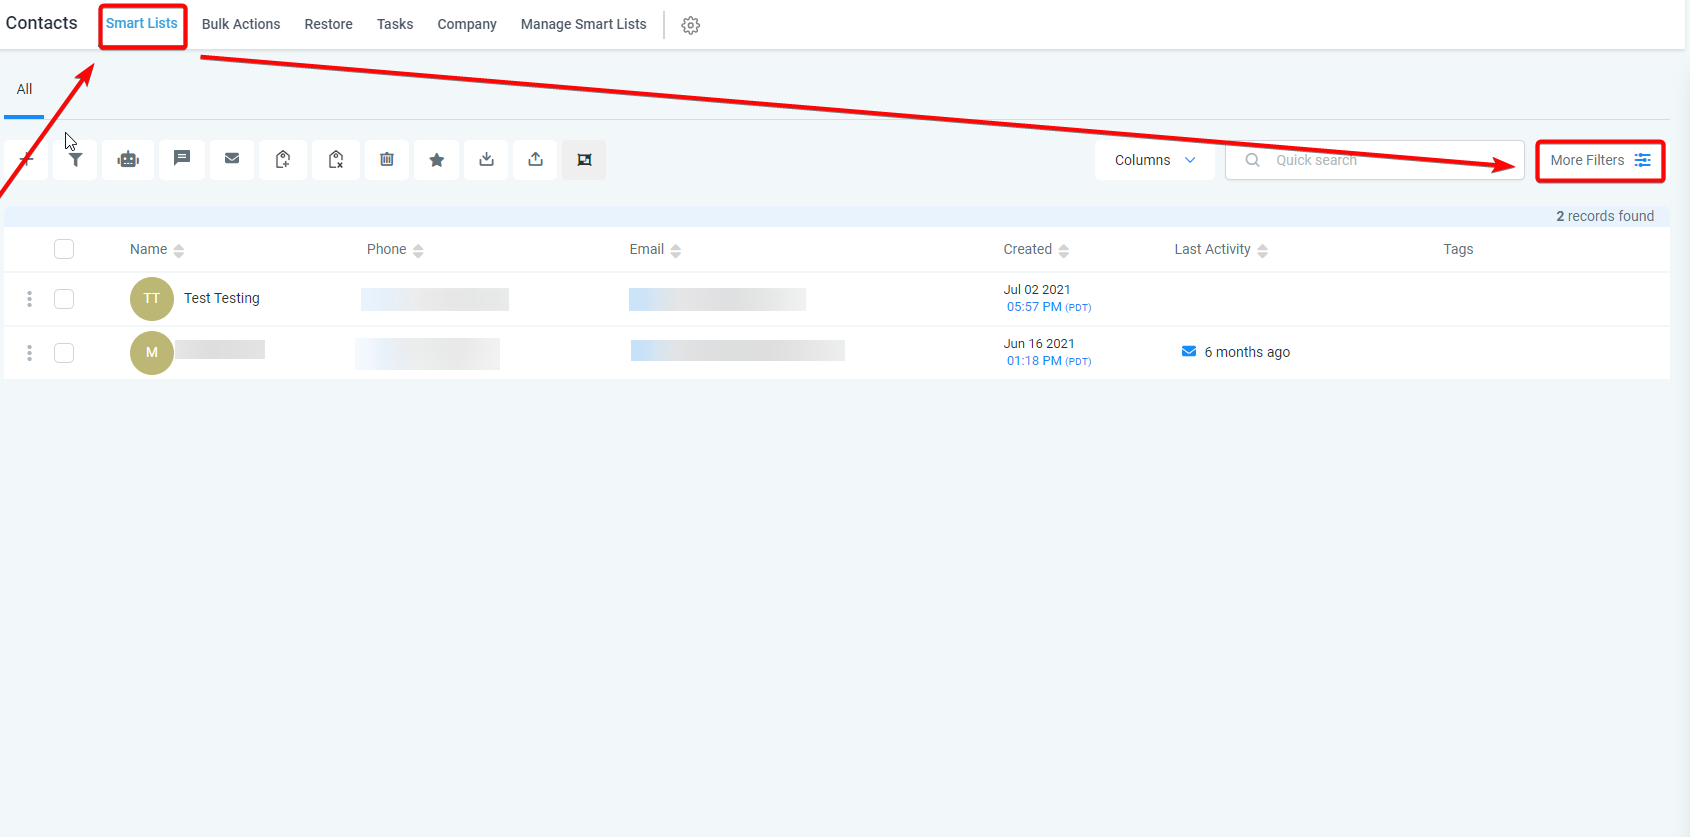
Access the Contacts Section
- Go to Contacts > Smart Lists.
- Here, you’ll see all records with details such as names, emails, phone numbers, and tags.
-
Create Smart Lists for Targeted Emails
- Use filters like lead source, last interaction, or tags to create a dynamic email list.
- Click on “Create New Smart List” and define segmentation criteria.
-
Bulk Action to Create an Email List
- Select contacts you want to email.
- Click “Bulk Action” > “Send Email” to start a campaign.
📧 Step 3: Creating & Sending Bulk Email Campaigns
Once your contacts are organized, you can start creating email campaigns in SalesMFast.
How to Create a Bulk Email Campaign
-
Navigate to the Email Builder
- Go to Marketing > Emails > Templates > +New.
- Choose a pre-designed template or create a custom email.
-
Customize Your Email Content
- Add dynamic fields like the recipient’s first name for personalization.
- Use trigger links to track clicks and engagement.
- Optimize your subject line for higher open rates.
-
Choose Between One-Time or Drip Campaigns
- One-Time Campaign: Send an email to all recipients immediately.
- Drip Campaign: Schedule emails over a set period for better engagement.
-
Send or Schedule the Campaign
- Test emails by sending them to yourself first.
- Monitor stats such as open rates, click-through rates, and bounce rates.

🤖 Step 4: Automating Emails with Workflows
Using workflows in SalesMFast can help automate follow-ups, lead nurturing, and client communication.
Setting Up Automated Email Workflows
- Navigate to Automation > Workflows > Create New Workflow.
- Select Start from Scratch or use a template.
- Add a Trigger (e.g., New Contact Added, Form Submission, Tag Applied).
-
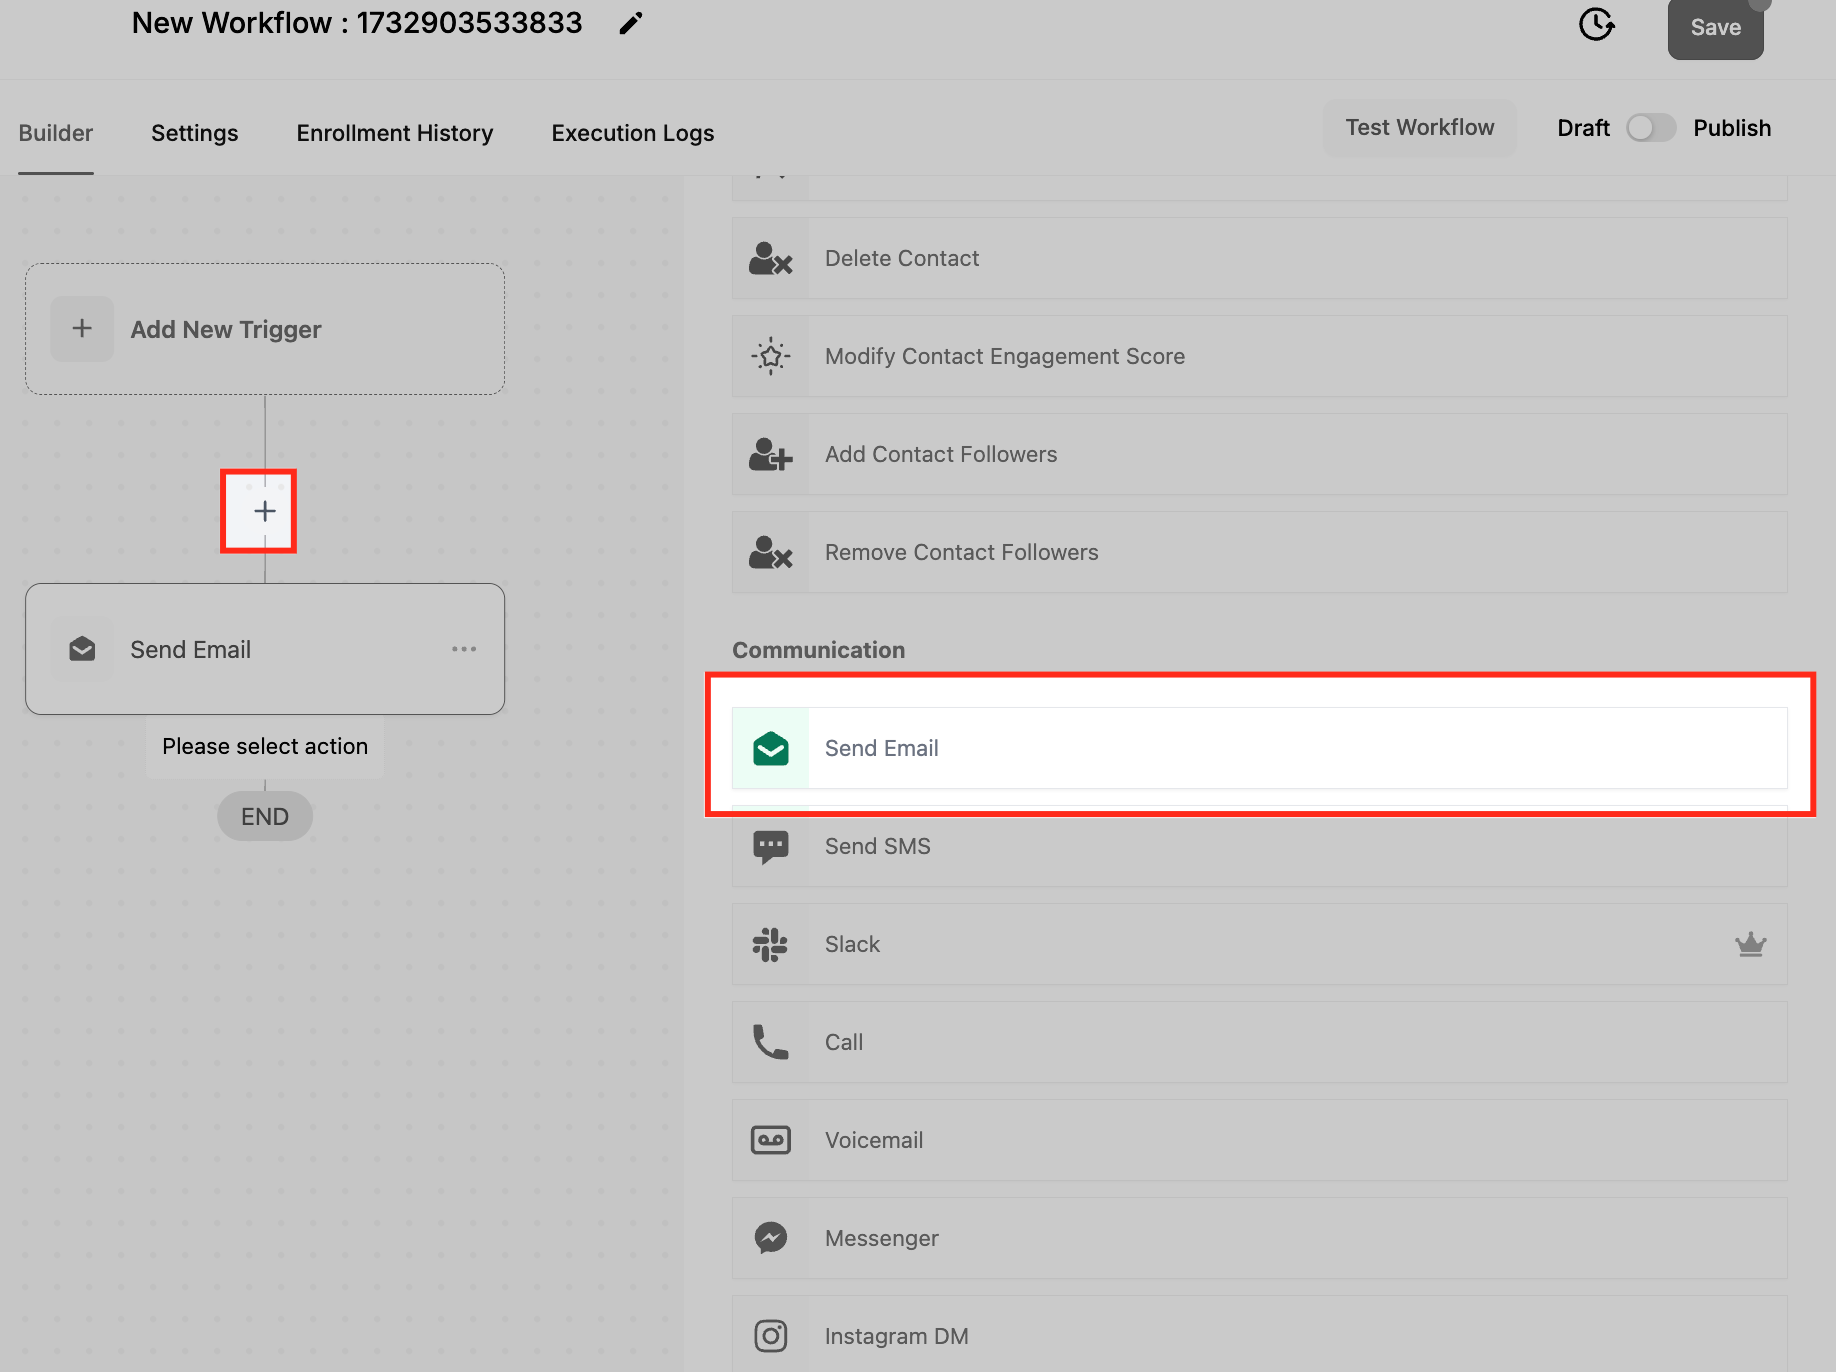
Add an Action > Send Email.
- Choose an existing template or create a new email.
-
Schedule Follow-Ups with Time Delays.
-
Set delays (e.g., 1 hour, 1 day) between emails in a drip sequence.
- Save & Activate the Workflow.
📬 Step 5: Improving Email Deliverability
Deliverability is crucial to ensure your emails land in inboxes rather than spam folders.
Best Practices for Higher Deliverability
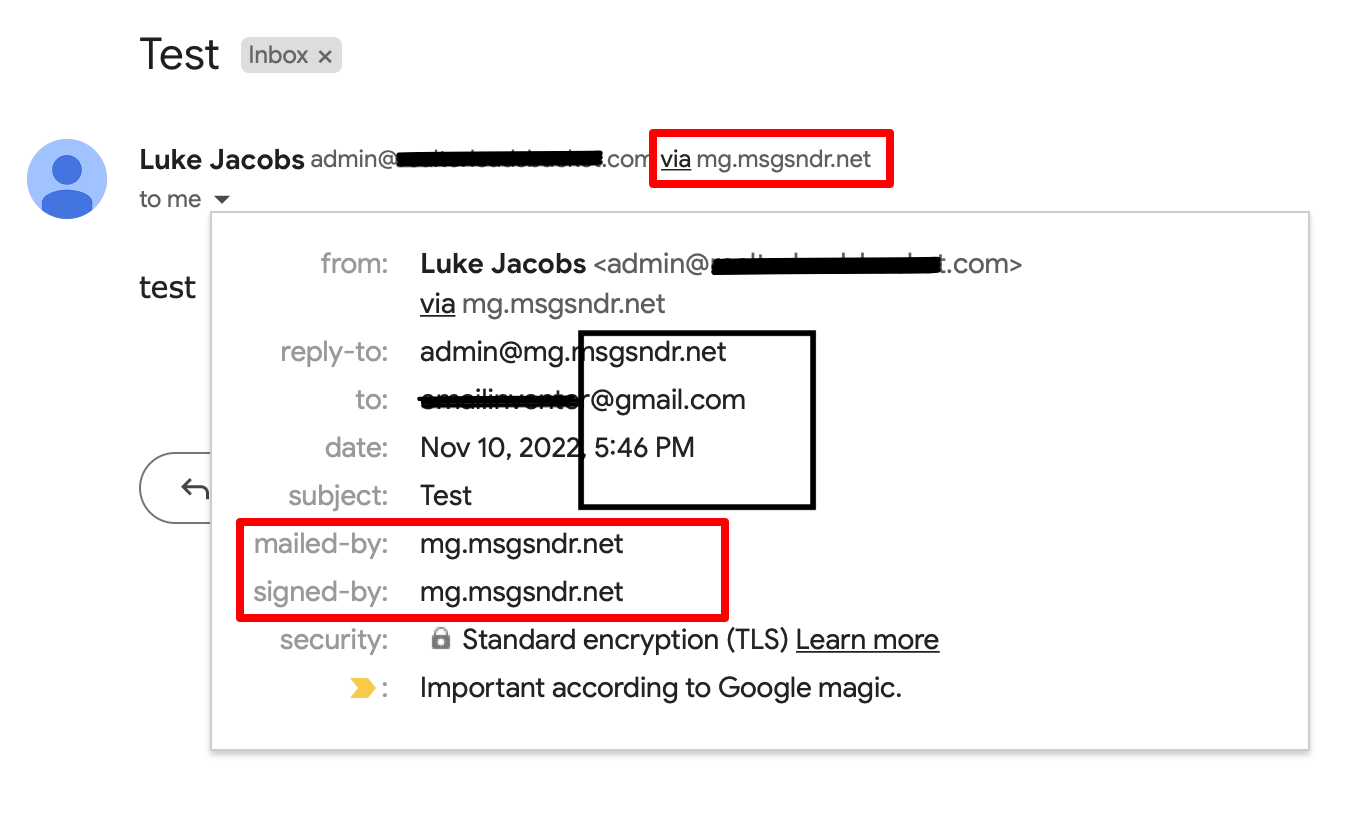
✅ Use a Verified Domain – Set up SPF, DKIM, and DMARC authentication.
✅ Avoid Spammy Words – Don’t use phrases like “FREE,” “Buy Now,” or excessive exclamation marks.
✅ Maintain List Hygiene – Remove bounced emails and inactive subscribers regularly.
✅ Monitor Email Analytics – Keep track of open rates, CTR, and unsubscribe rates.
✅ Enable the List-Unsubscribe Feature – Helps improve sender reputation and compliance.
❓ FAQs: SalesMFast Email Setup for 2025
Can I send emails from my own domain? Yes, but you need to set up SPF, DKIM, and DMARC authentication to ensure proper deliverability.
Can I segment my contacts for targeted email campaigns? Yes! Use Smart Lists to filter contacts based on tags, engagement, purchase history, or other conditions.
How do I track email performance? Go to Analytics > Email Reports to check: 📊 Open rates 📊 Click-through rates (CTR) 📊 Bounce rates 📊 Unsubscribe rates
What should I do if my emails aren’t sending?
- Check email service settings (SMTP, Mailgun, or LeadConnector).
- Verify contact email addresses (remove invalid ones).
- Ensure your domain authentication (SPF, DKIM, DMARC) is correctly set up.