Manually Adding Customers
👤 Create New Contact
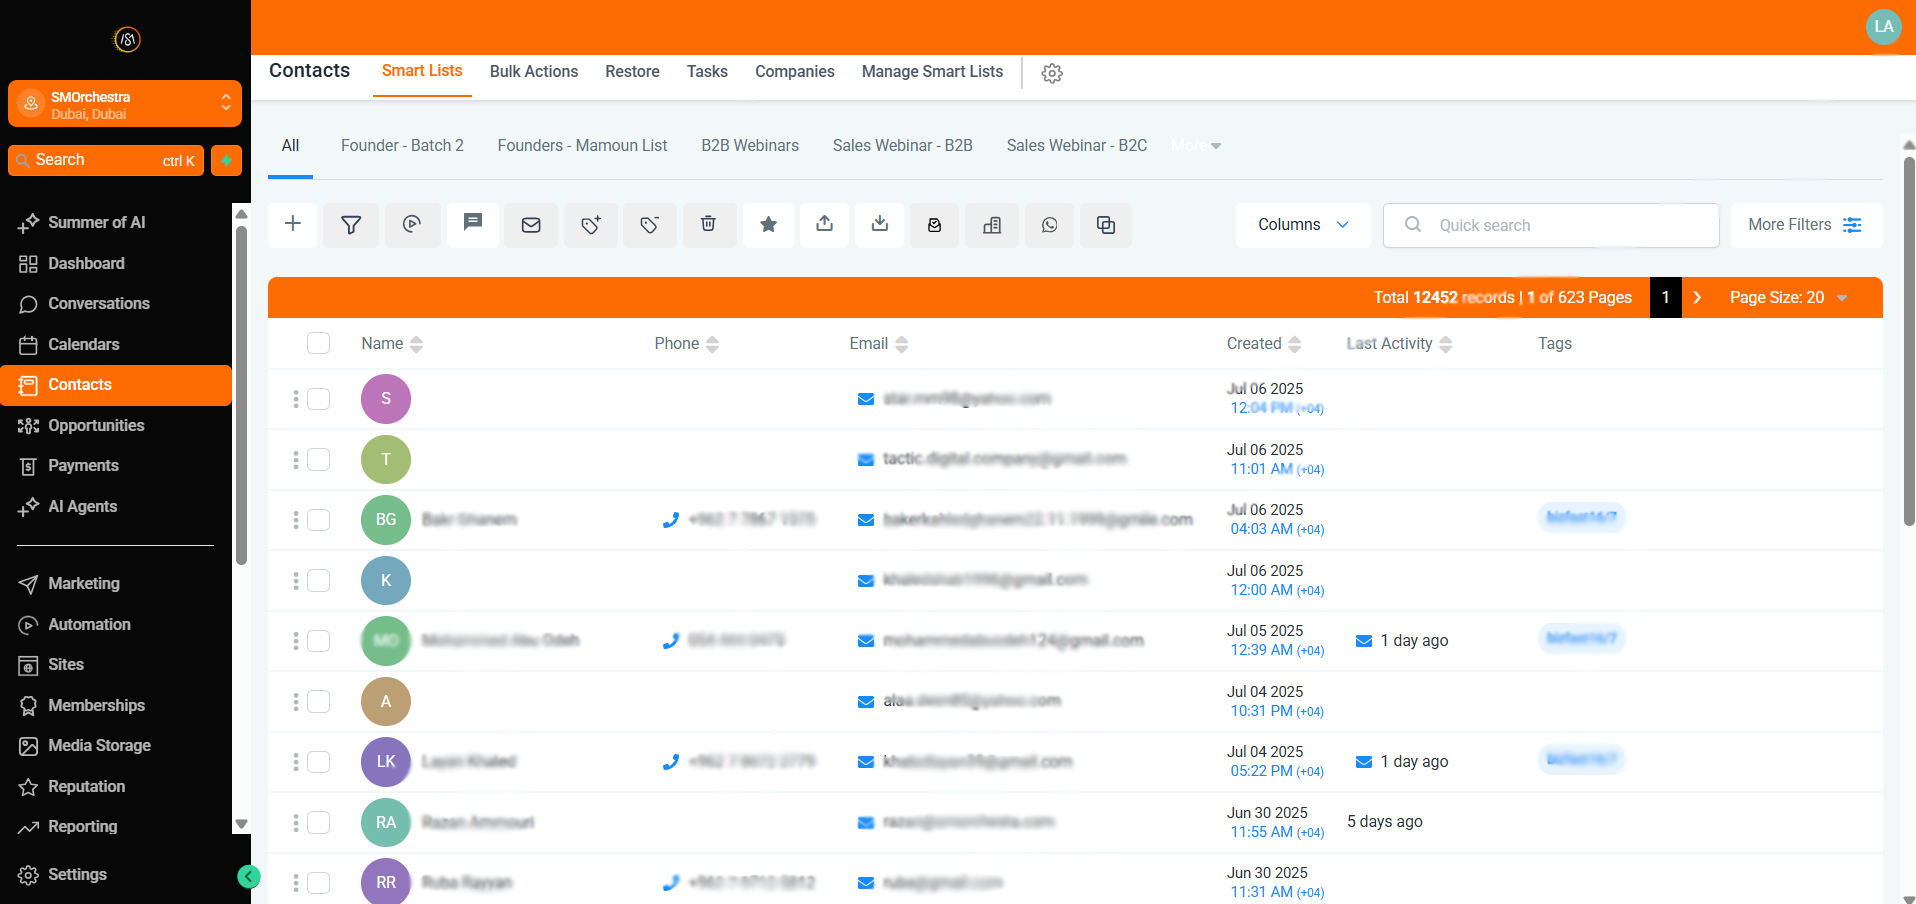
Let's dive right in by adding your very first contact. Establishing your network starts with this simple step:
- Navigate to Contacts in the main menu.
- Click the Add Contact button.
-
Enter the contact details (e.g., name, email, phone, etc.).
💡 Remember, the more information you provide, the easier it will be to personalize your engagements. If you don't see the contact field you need to add information to, use the Create New Custom Field checklist.
-
Click Save.
✏️ Edit Existing Contact
Keep your contact information current and accurate. Editing contacts is quick and straightforward, ensuring your data stays up-to-date:
- Navigate to Contacts.
- Click on a contact row to open the contact card you wish to edit.
- Make the necessary changes on the left-hand panel.
🛠️ Need a field that’s not listed? Use the Create New Custom Field checklist.
4. Click Save to apply your updates.
🛠️ Create New Custom Fields
Custom fields allow you to tailor your contact database to fit your specific business requirements. Easily track the data that's most important to you and your team:
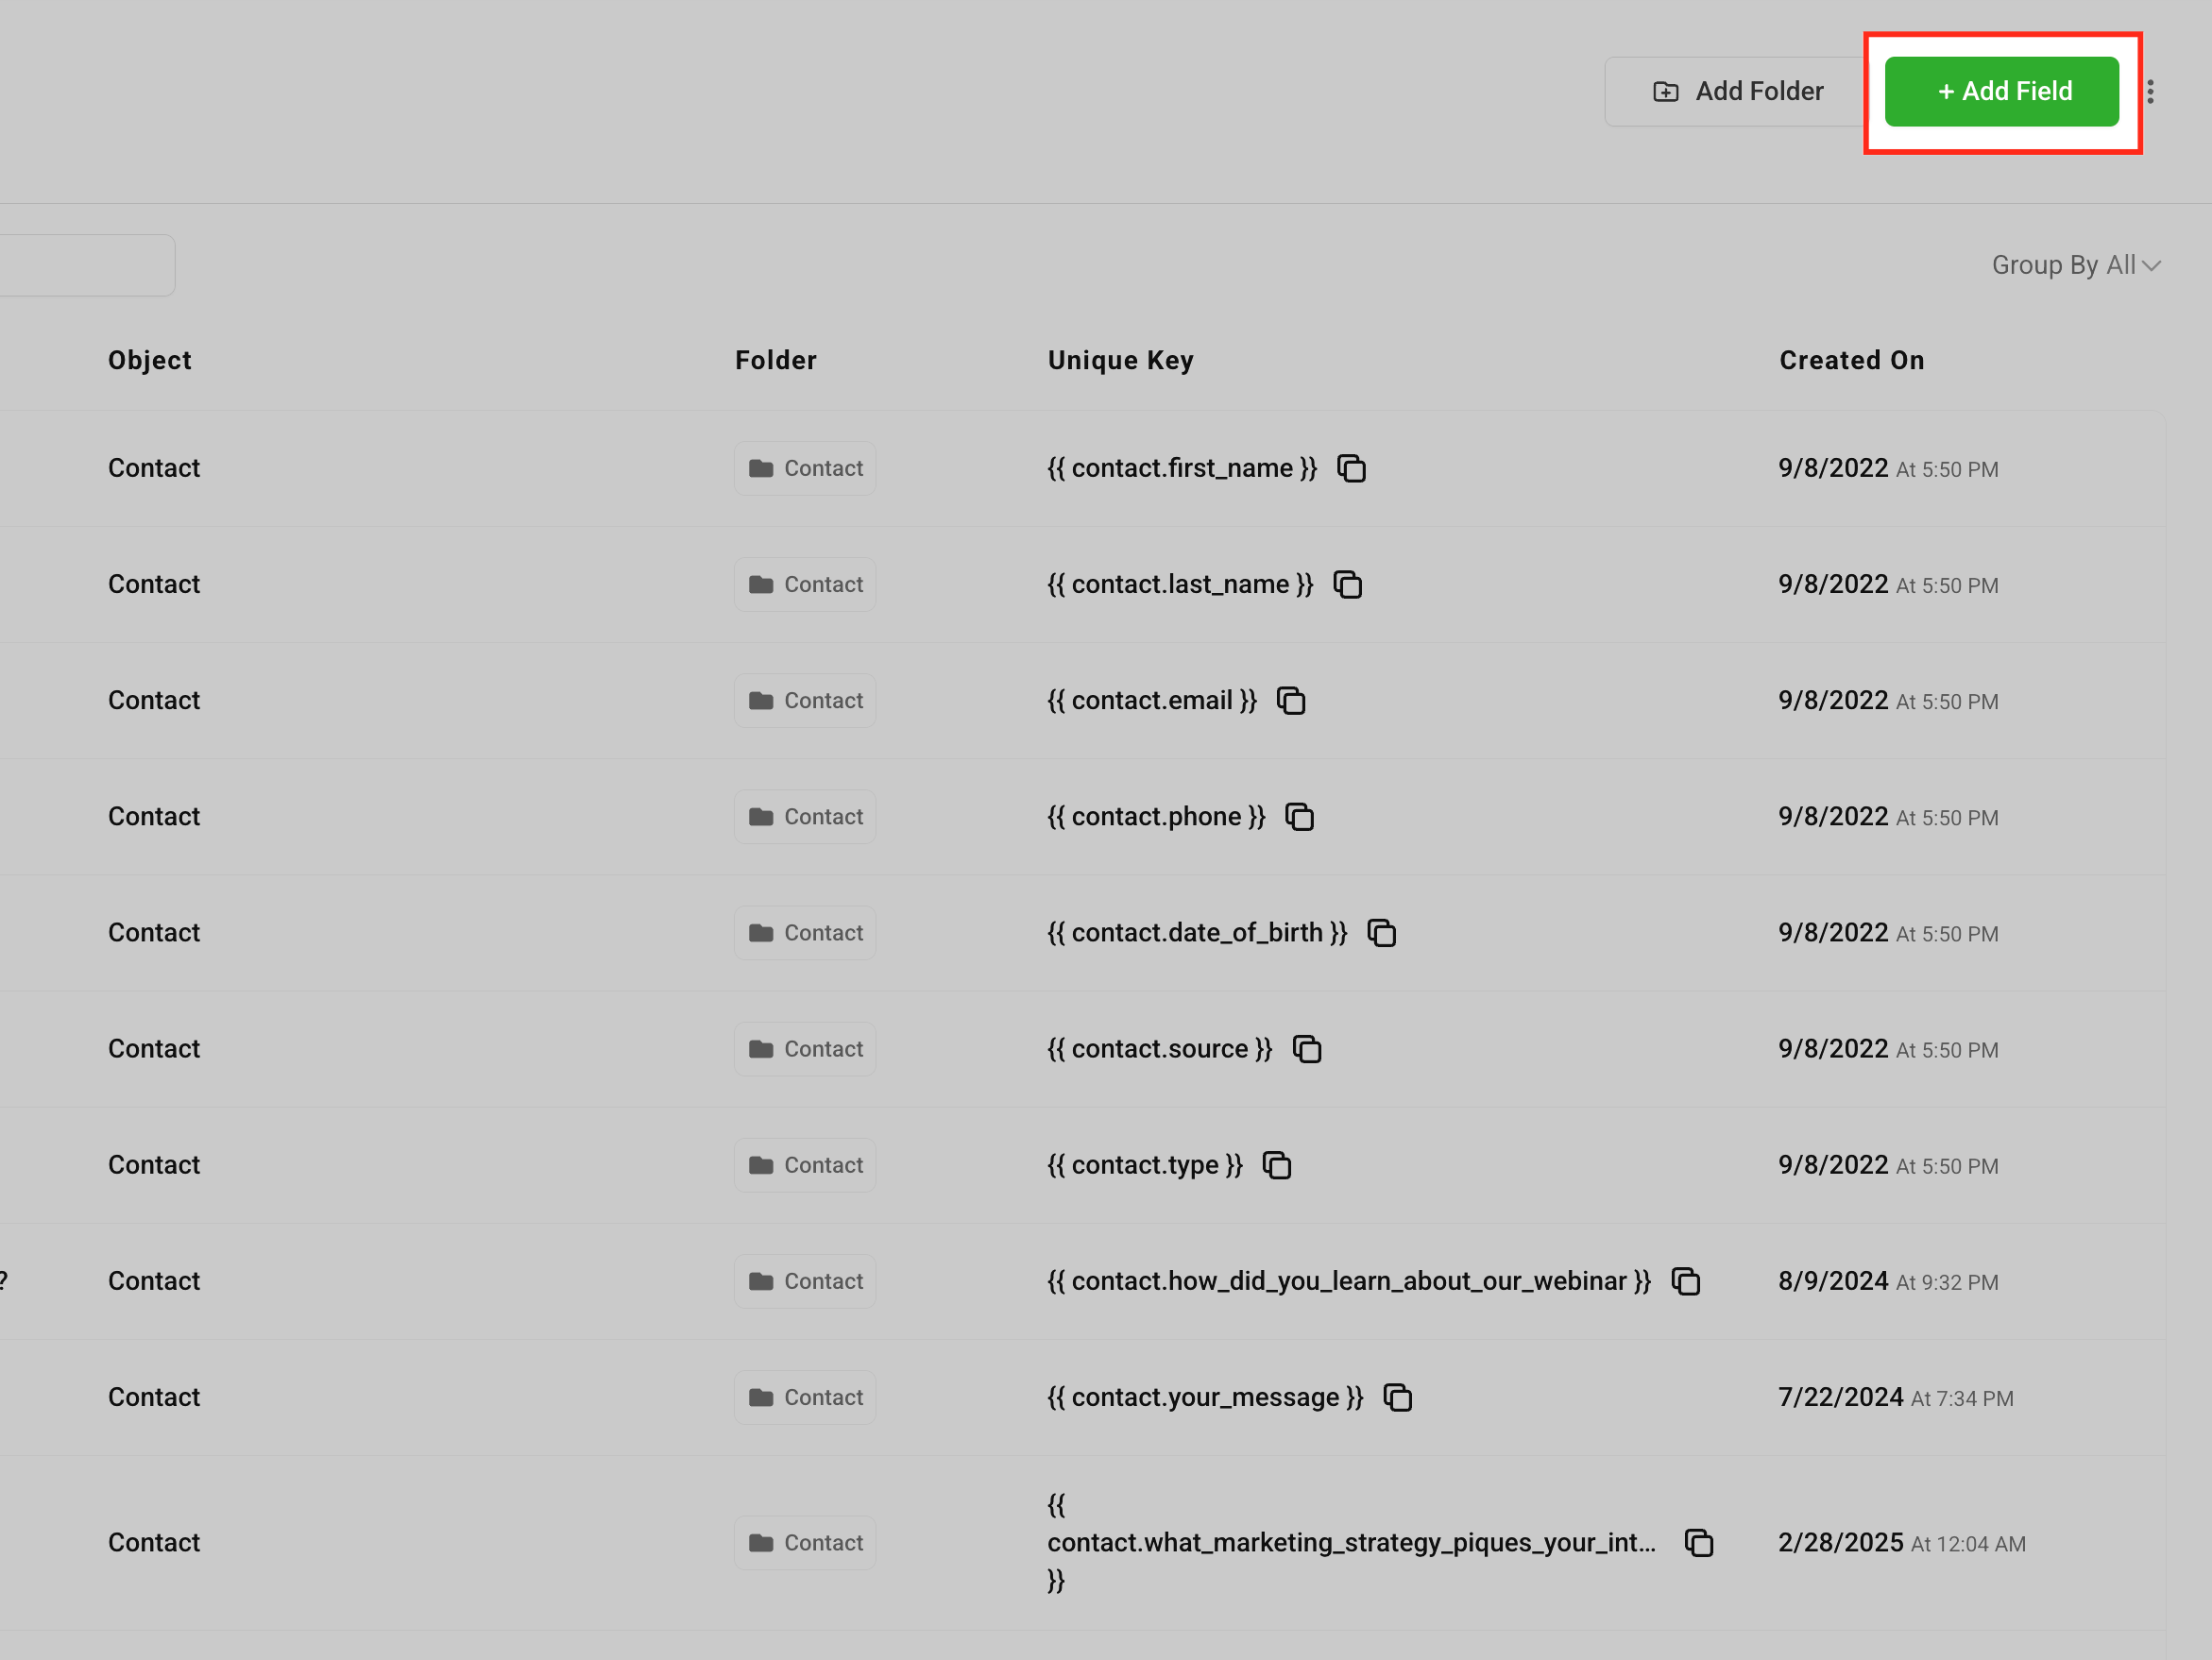
- Navigate to Settings > Custom Fields.
- Click the Add Field button.
- Select the field type (e.g., Text, Dropdown, Date).
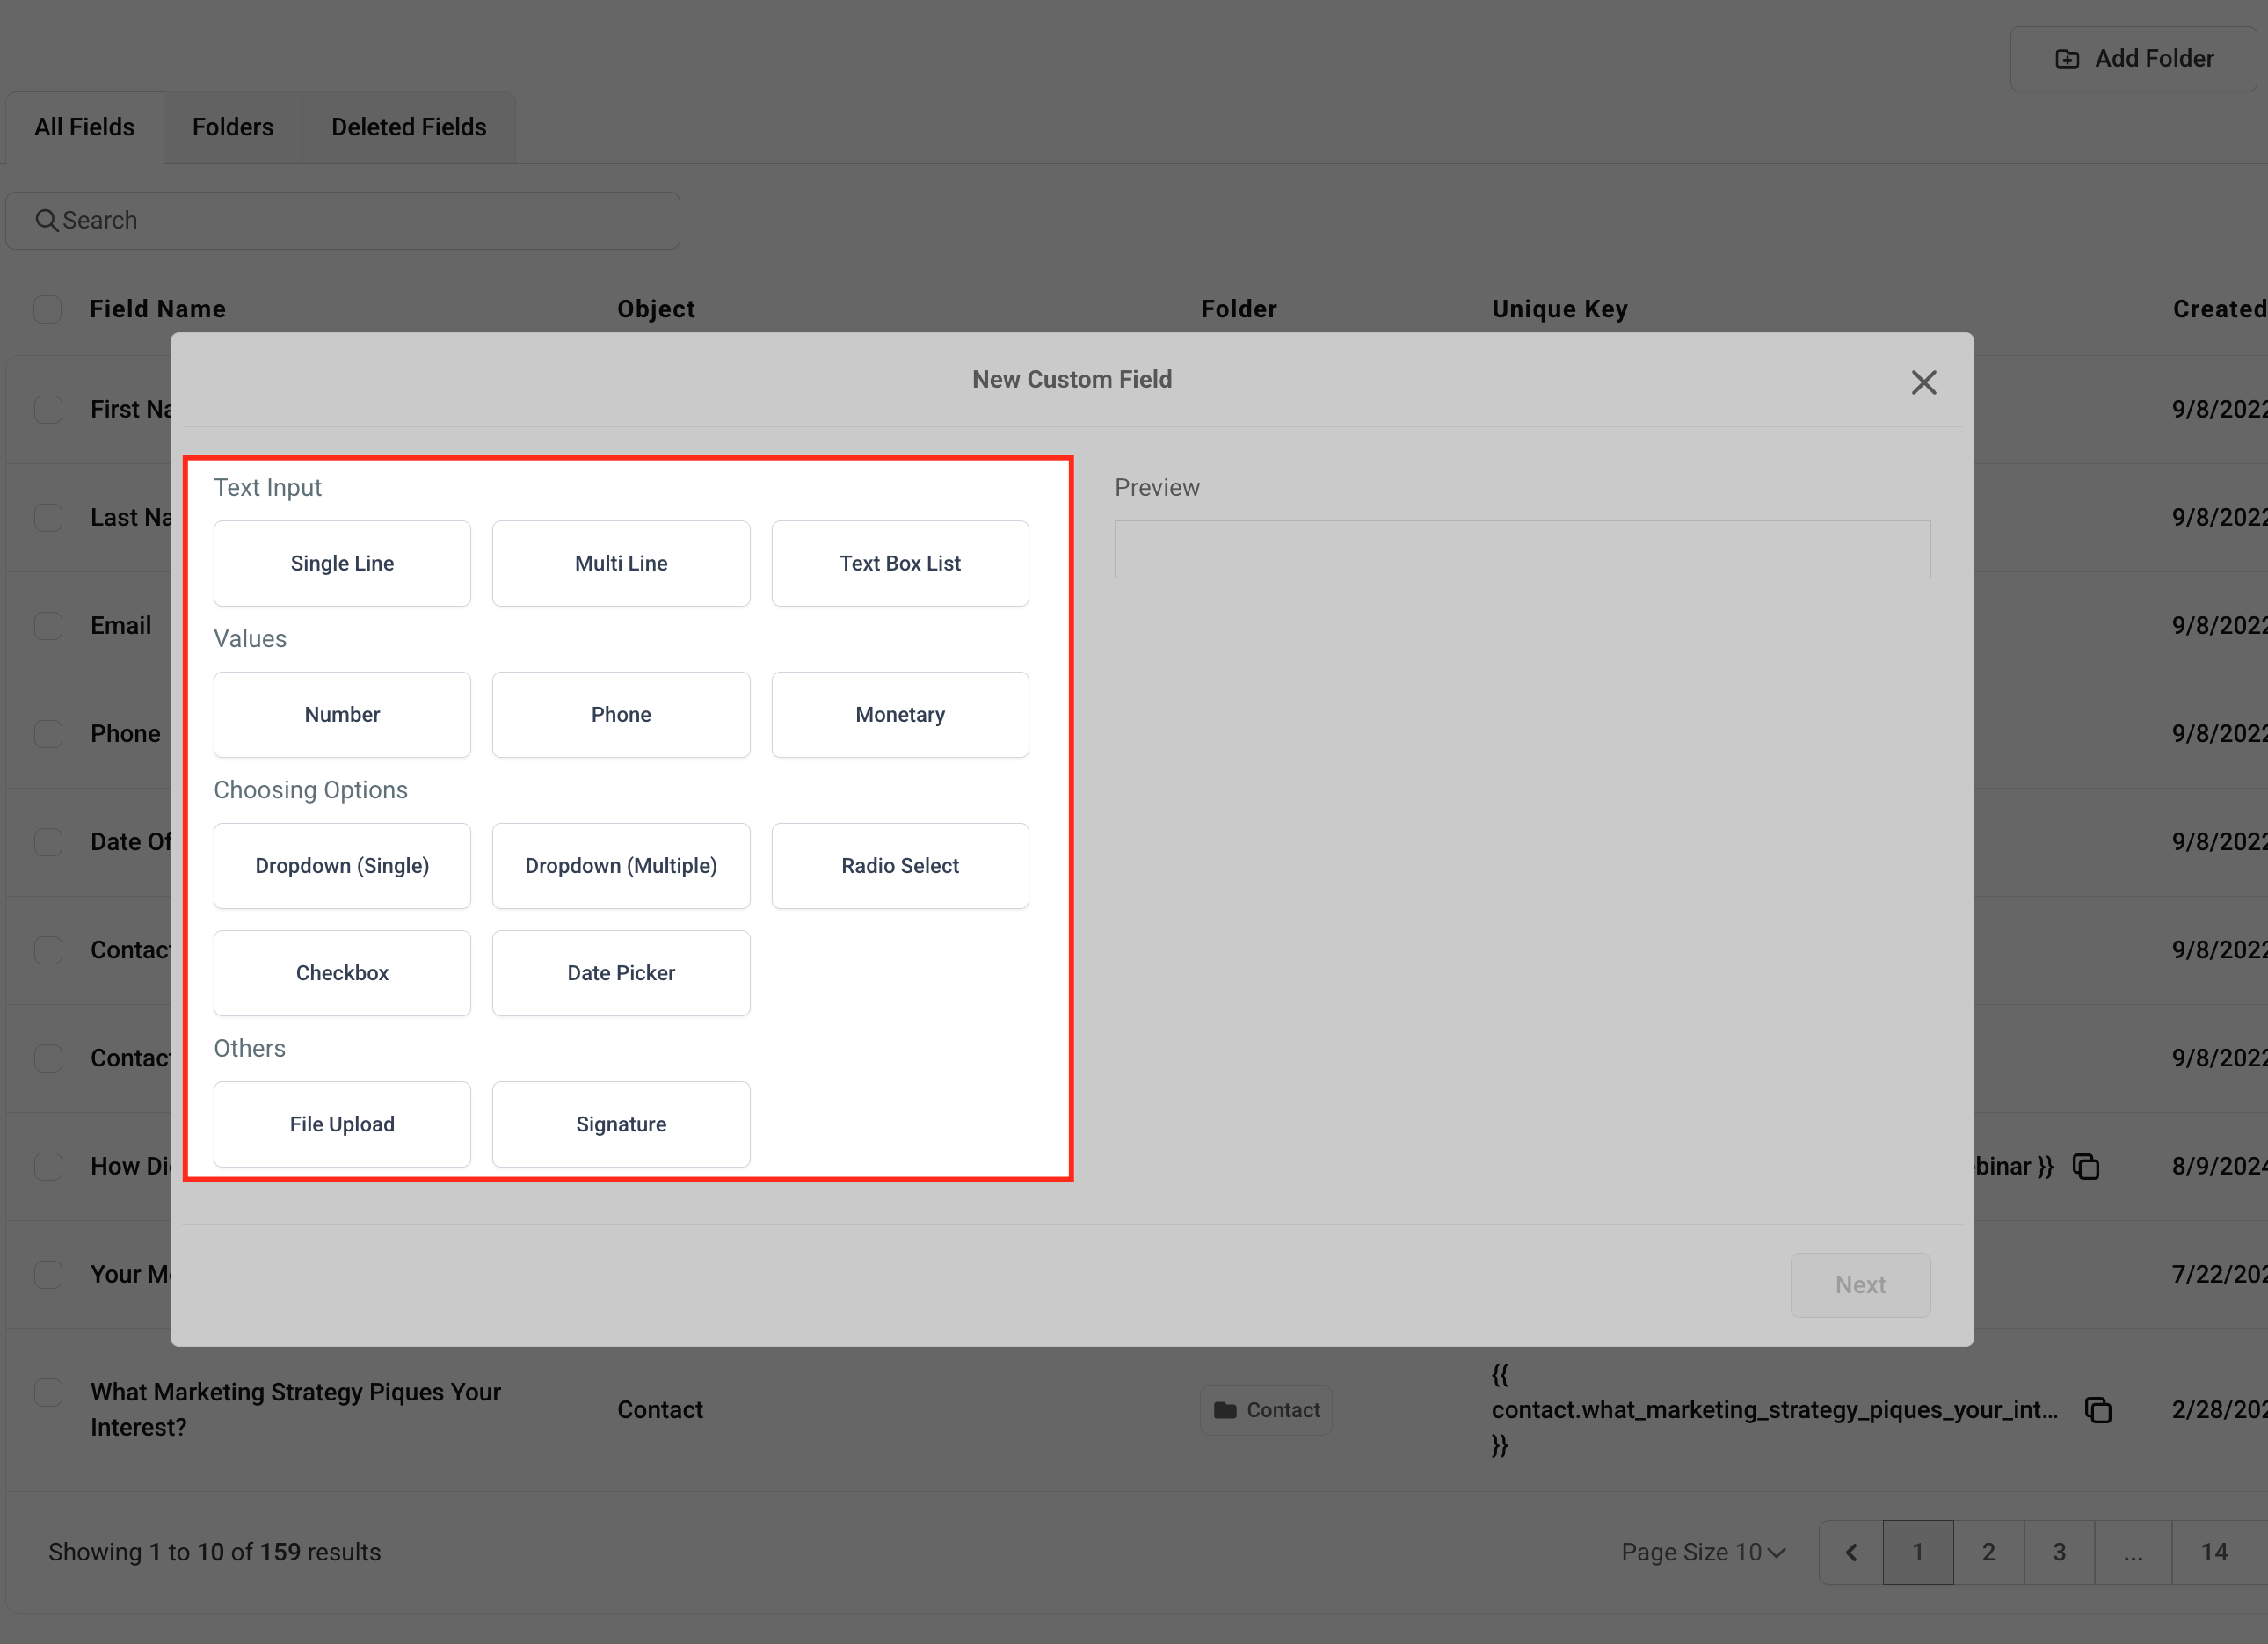
- Complete the field details (name, group, placeholder, etc.). This helps ensure your team understands exactly what information is needed. Click Save

📌 Make it clear so your team knows what info to enter.