How To Create A Custom Dashboard
📊 Effortlessly tailor your reporting experience by creating and managing multiple dashboards, ensuring they cater to your unique needs and insights. Streamline your data visualization by organizing related widgets into a unified view using our dashboard feature.
🧭 Step 1: Go to the Dashboard Area
Navigate to the Dashboard section within your subaccount .
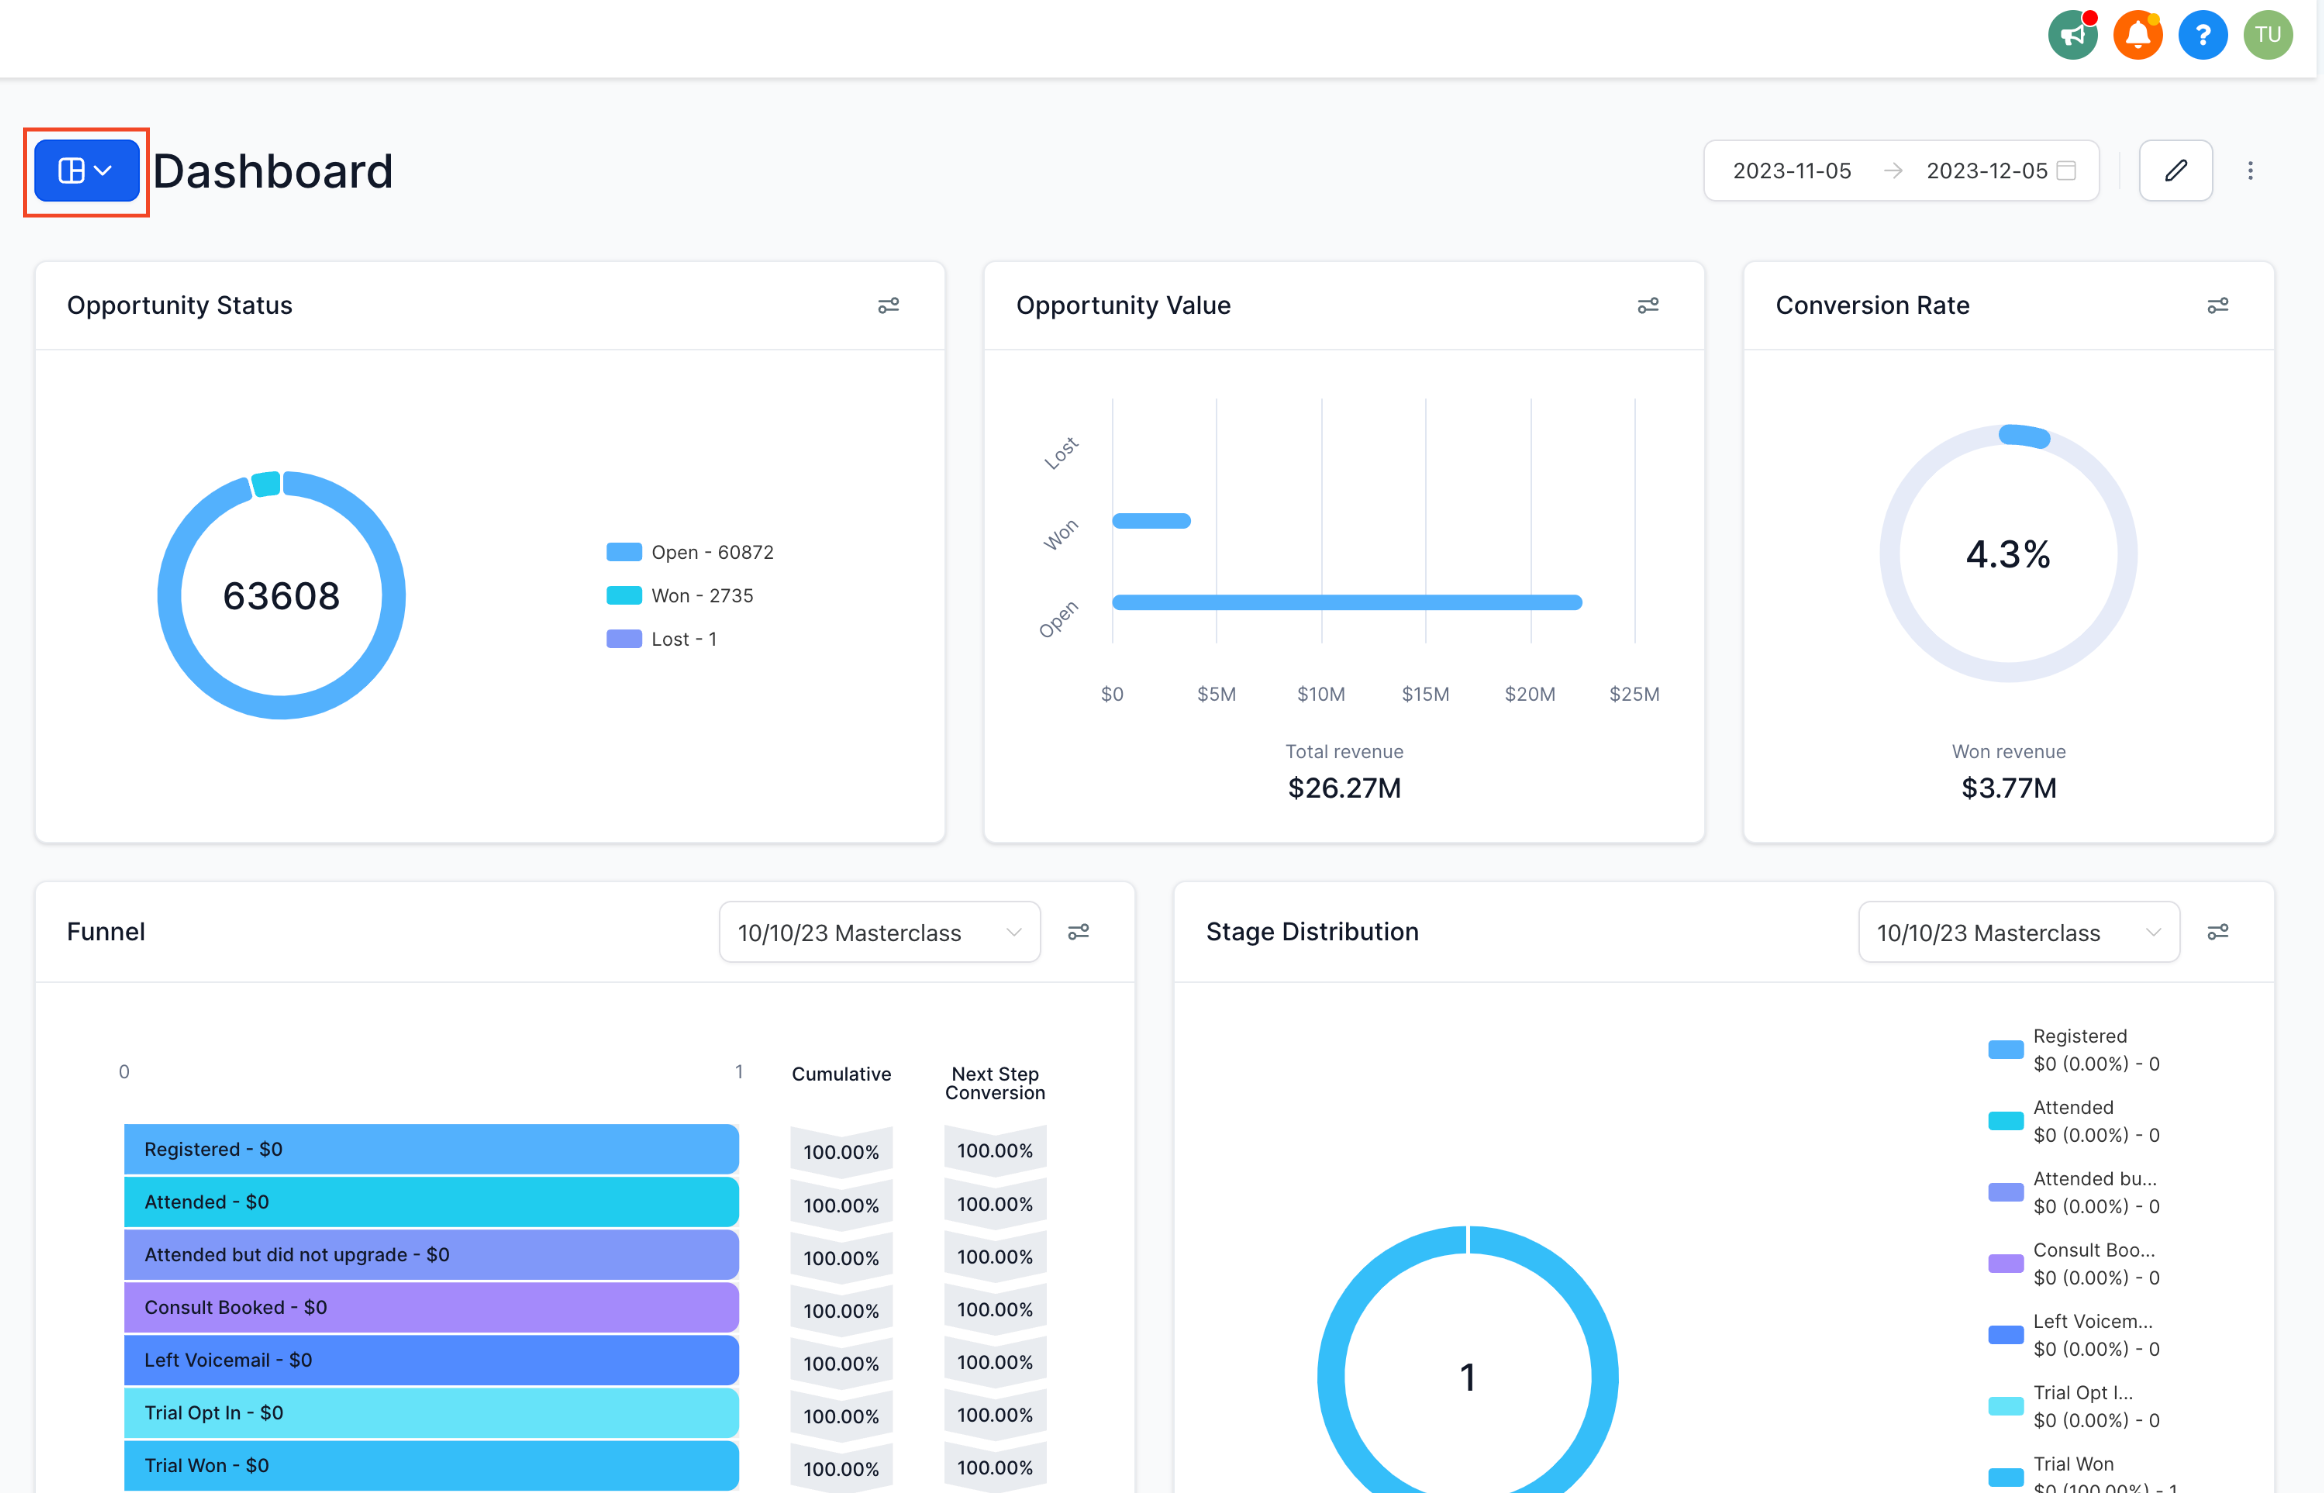
➕ Step 2: Add a New Dashboard
Click the Dashboard Selection Menu and in the dropdown click the "+ Add Dashboard" button.
💡 Note: If you don’t see this button, make sure you're in dashboard view mode.

🏷️ Step 3: Enter a Dashboard Name
Type a name into the Dashboard Name field.
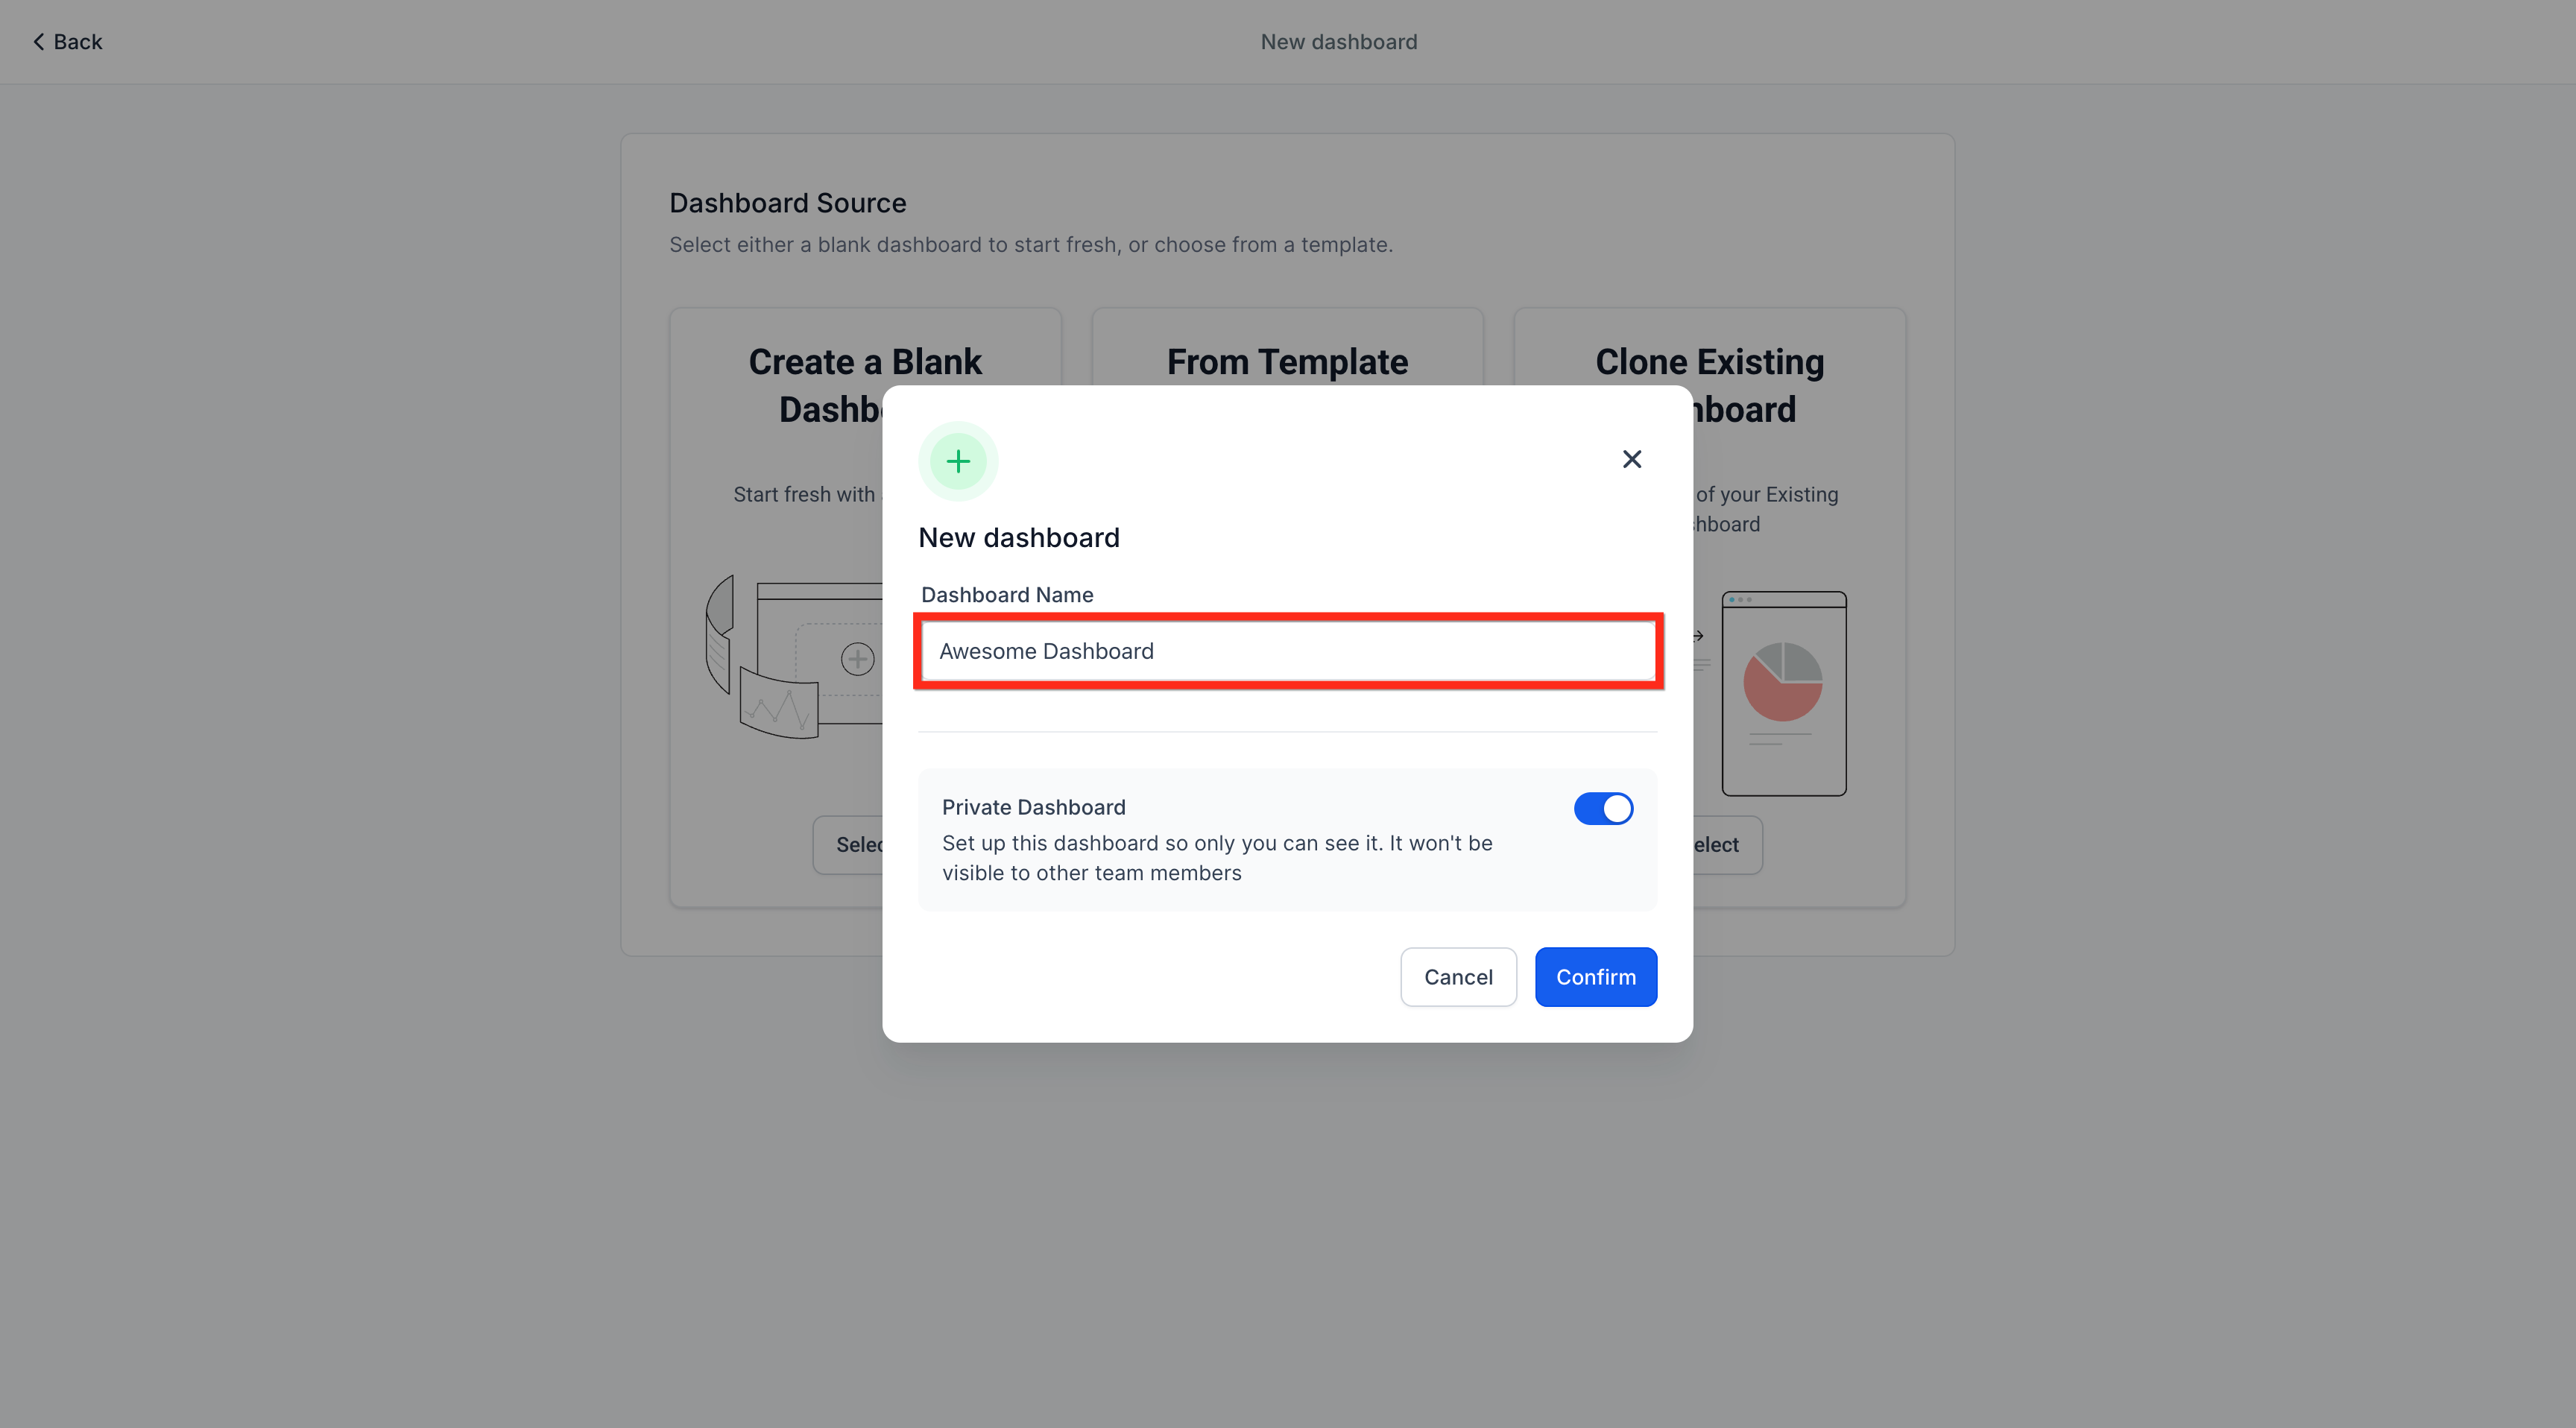
🔐 Step 4: Set Dashboard Permissions
Use the Private Dashboard toggle to control visibility. Turn it ON to make it private, or OFF to allow team access.
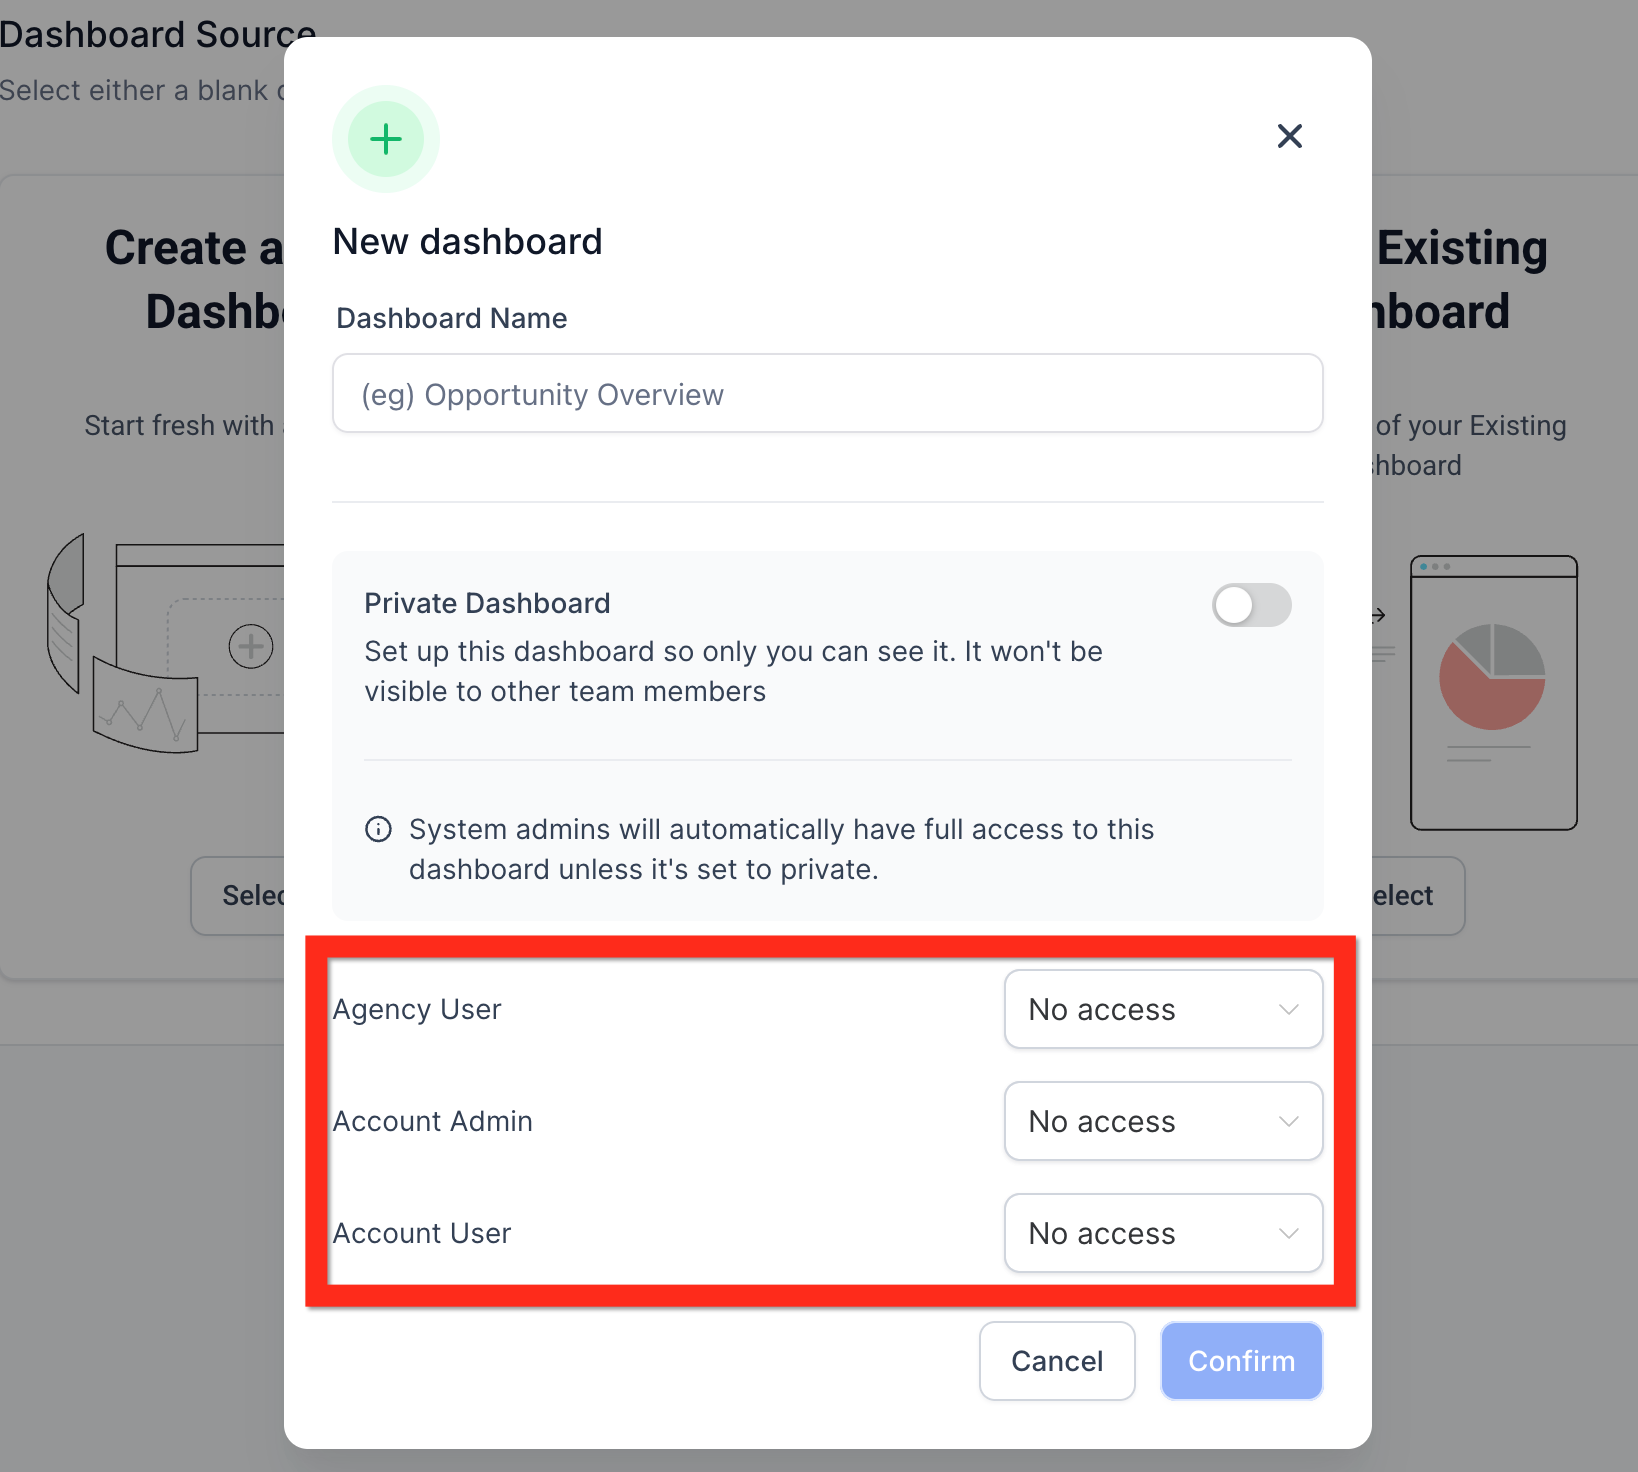
If Private Dashboard is turned OFF, set access levels for:
- Agency User
- Account Admin
- Account User
💡 Note: If this toggle is missing, ensure you're still on the "New Dashboard" page.
✅ Step 5: Confirm and Create the Dashboard
Click the "Confirm" button to finalize creation.
This will open your new blank dashboard.
🎛️ Step 6: Choose How to Add Widgets
After the dashboard is created, you'll arrive at the Quick Start Widgets page. This is the default you always see when a dashboard is blank (no widgets). Choose one of the following:
🧠 Option A: Use Suggested Widgets
Use the "What is your goal?" or "Top used widgets" quick start options. Click "Confirm & Add" to quickly insert top-used widgets.
➡️ Continue to Step 9.
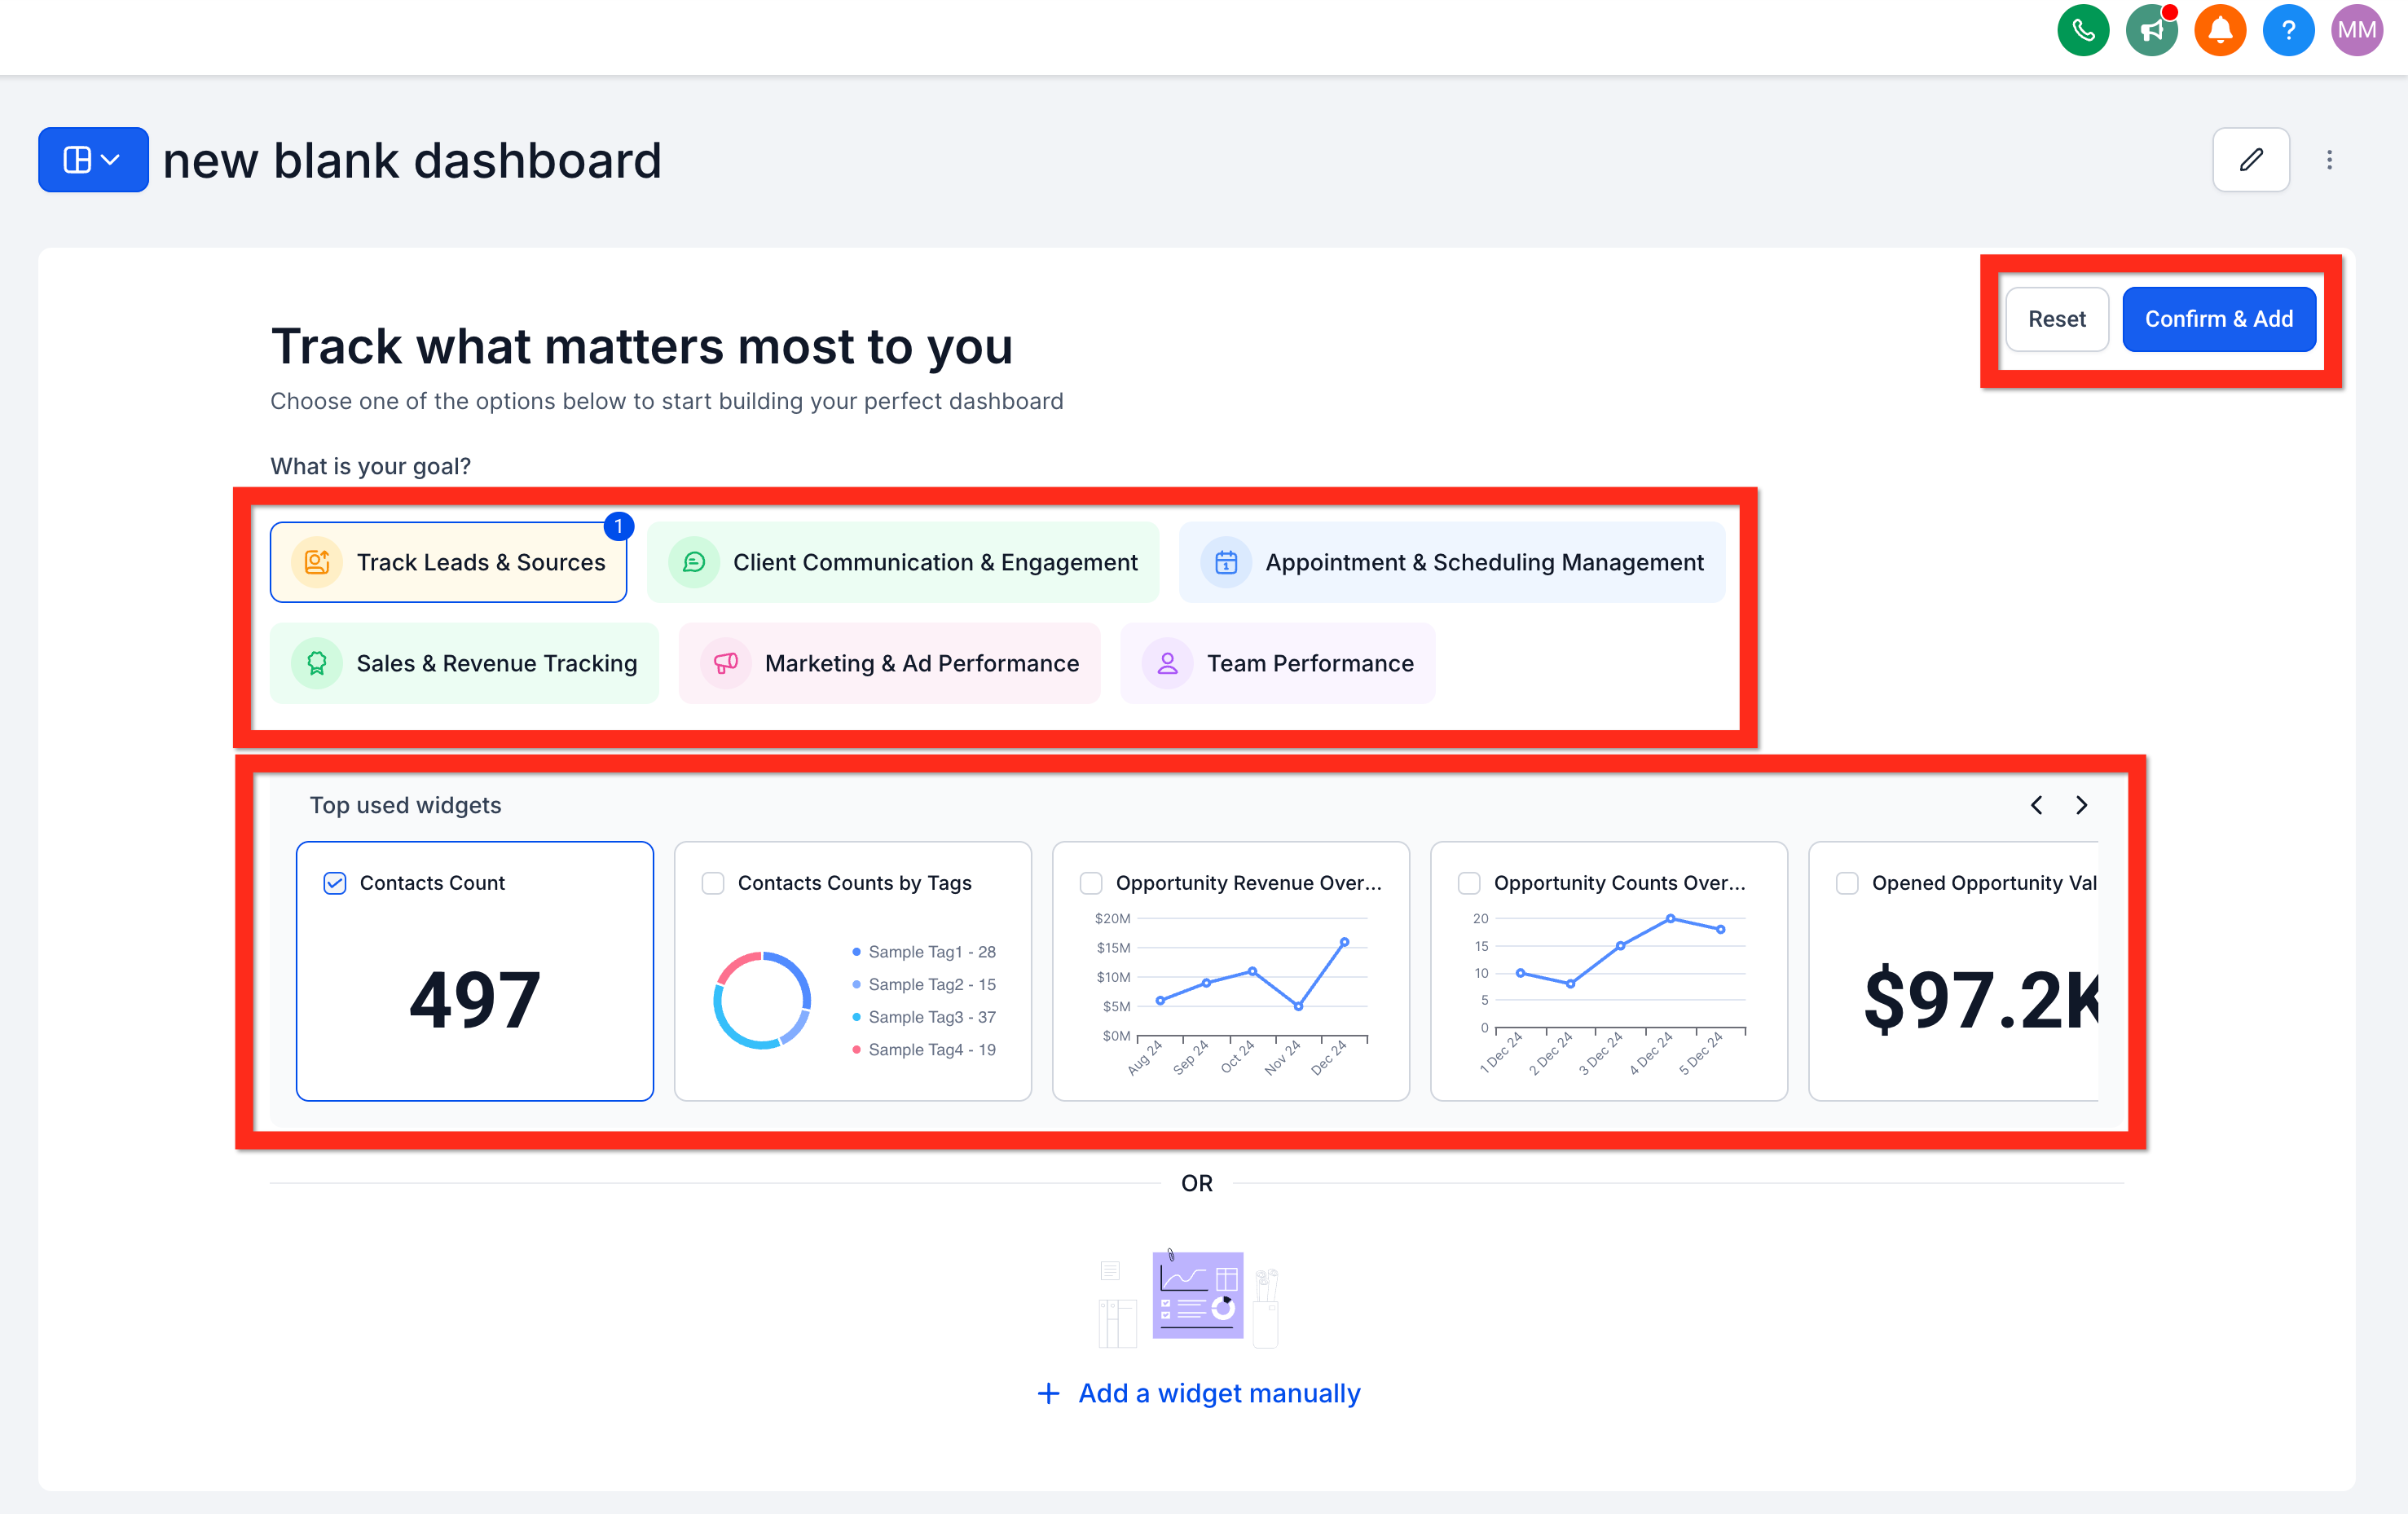
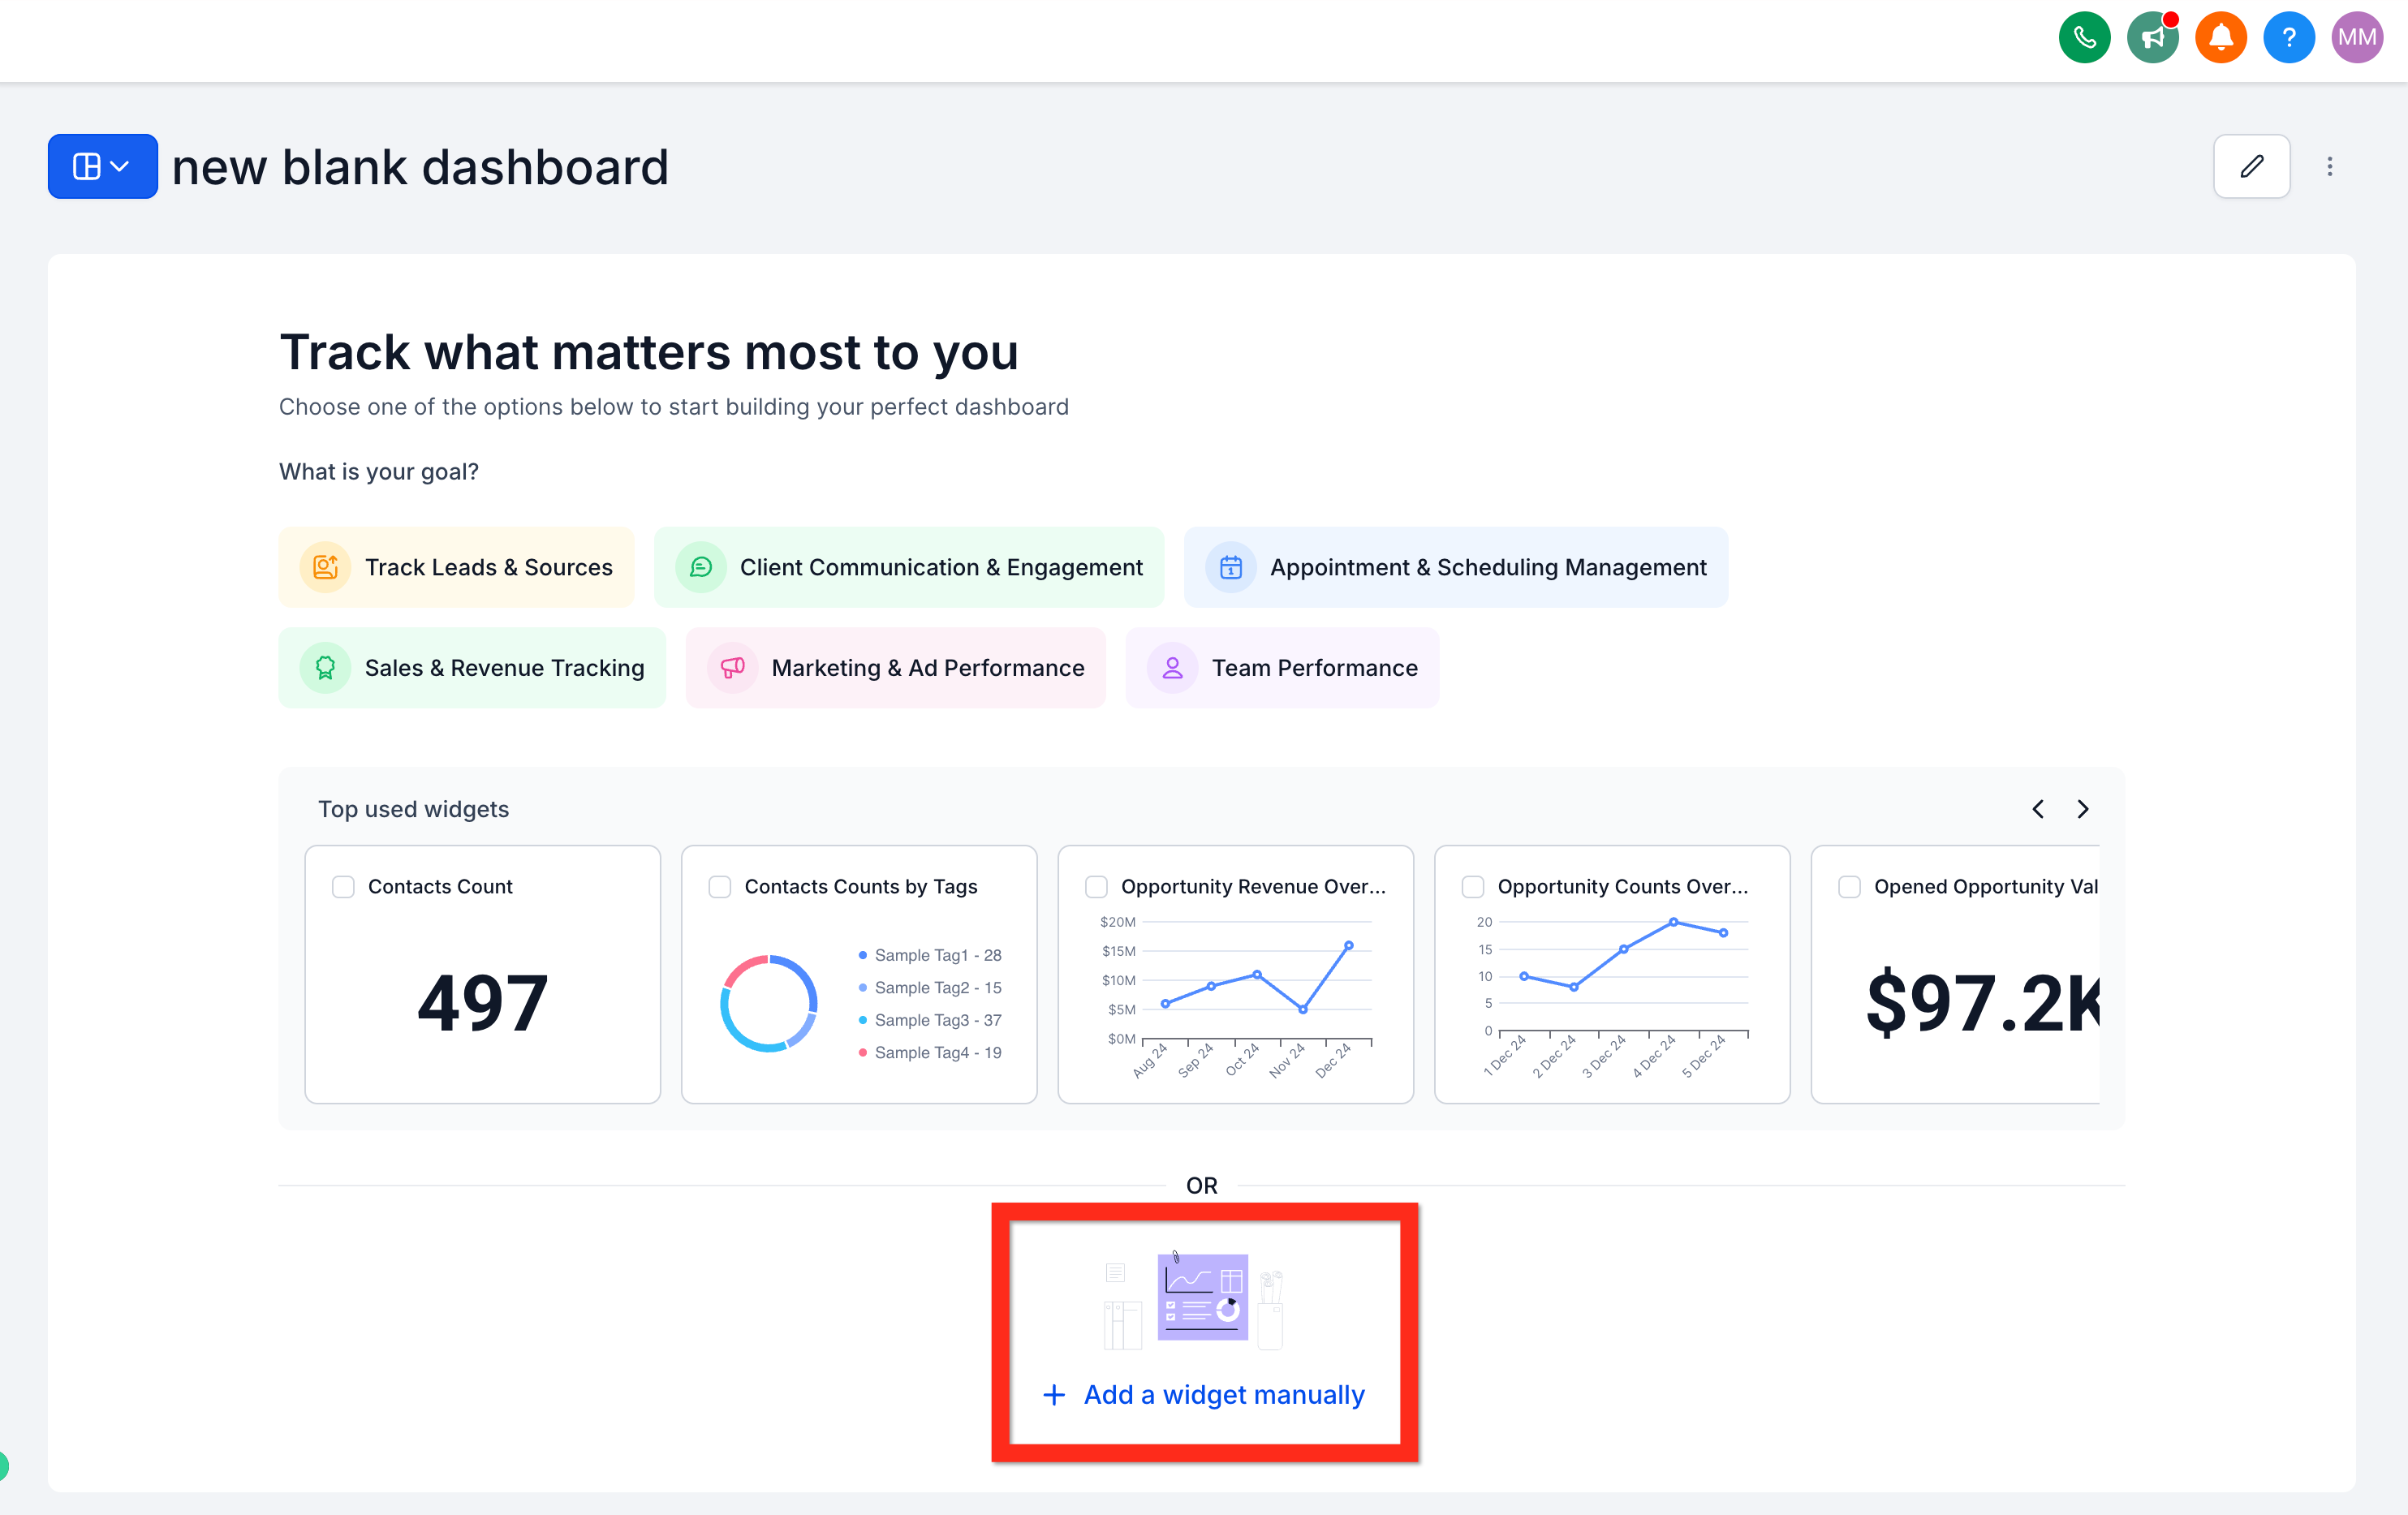
✍️ Option B: Manually Add a Widget
Click "+ Add a widget manually" to open the Add New Widget panel.
➡️ Proceed to Step 7.
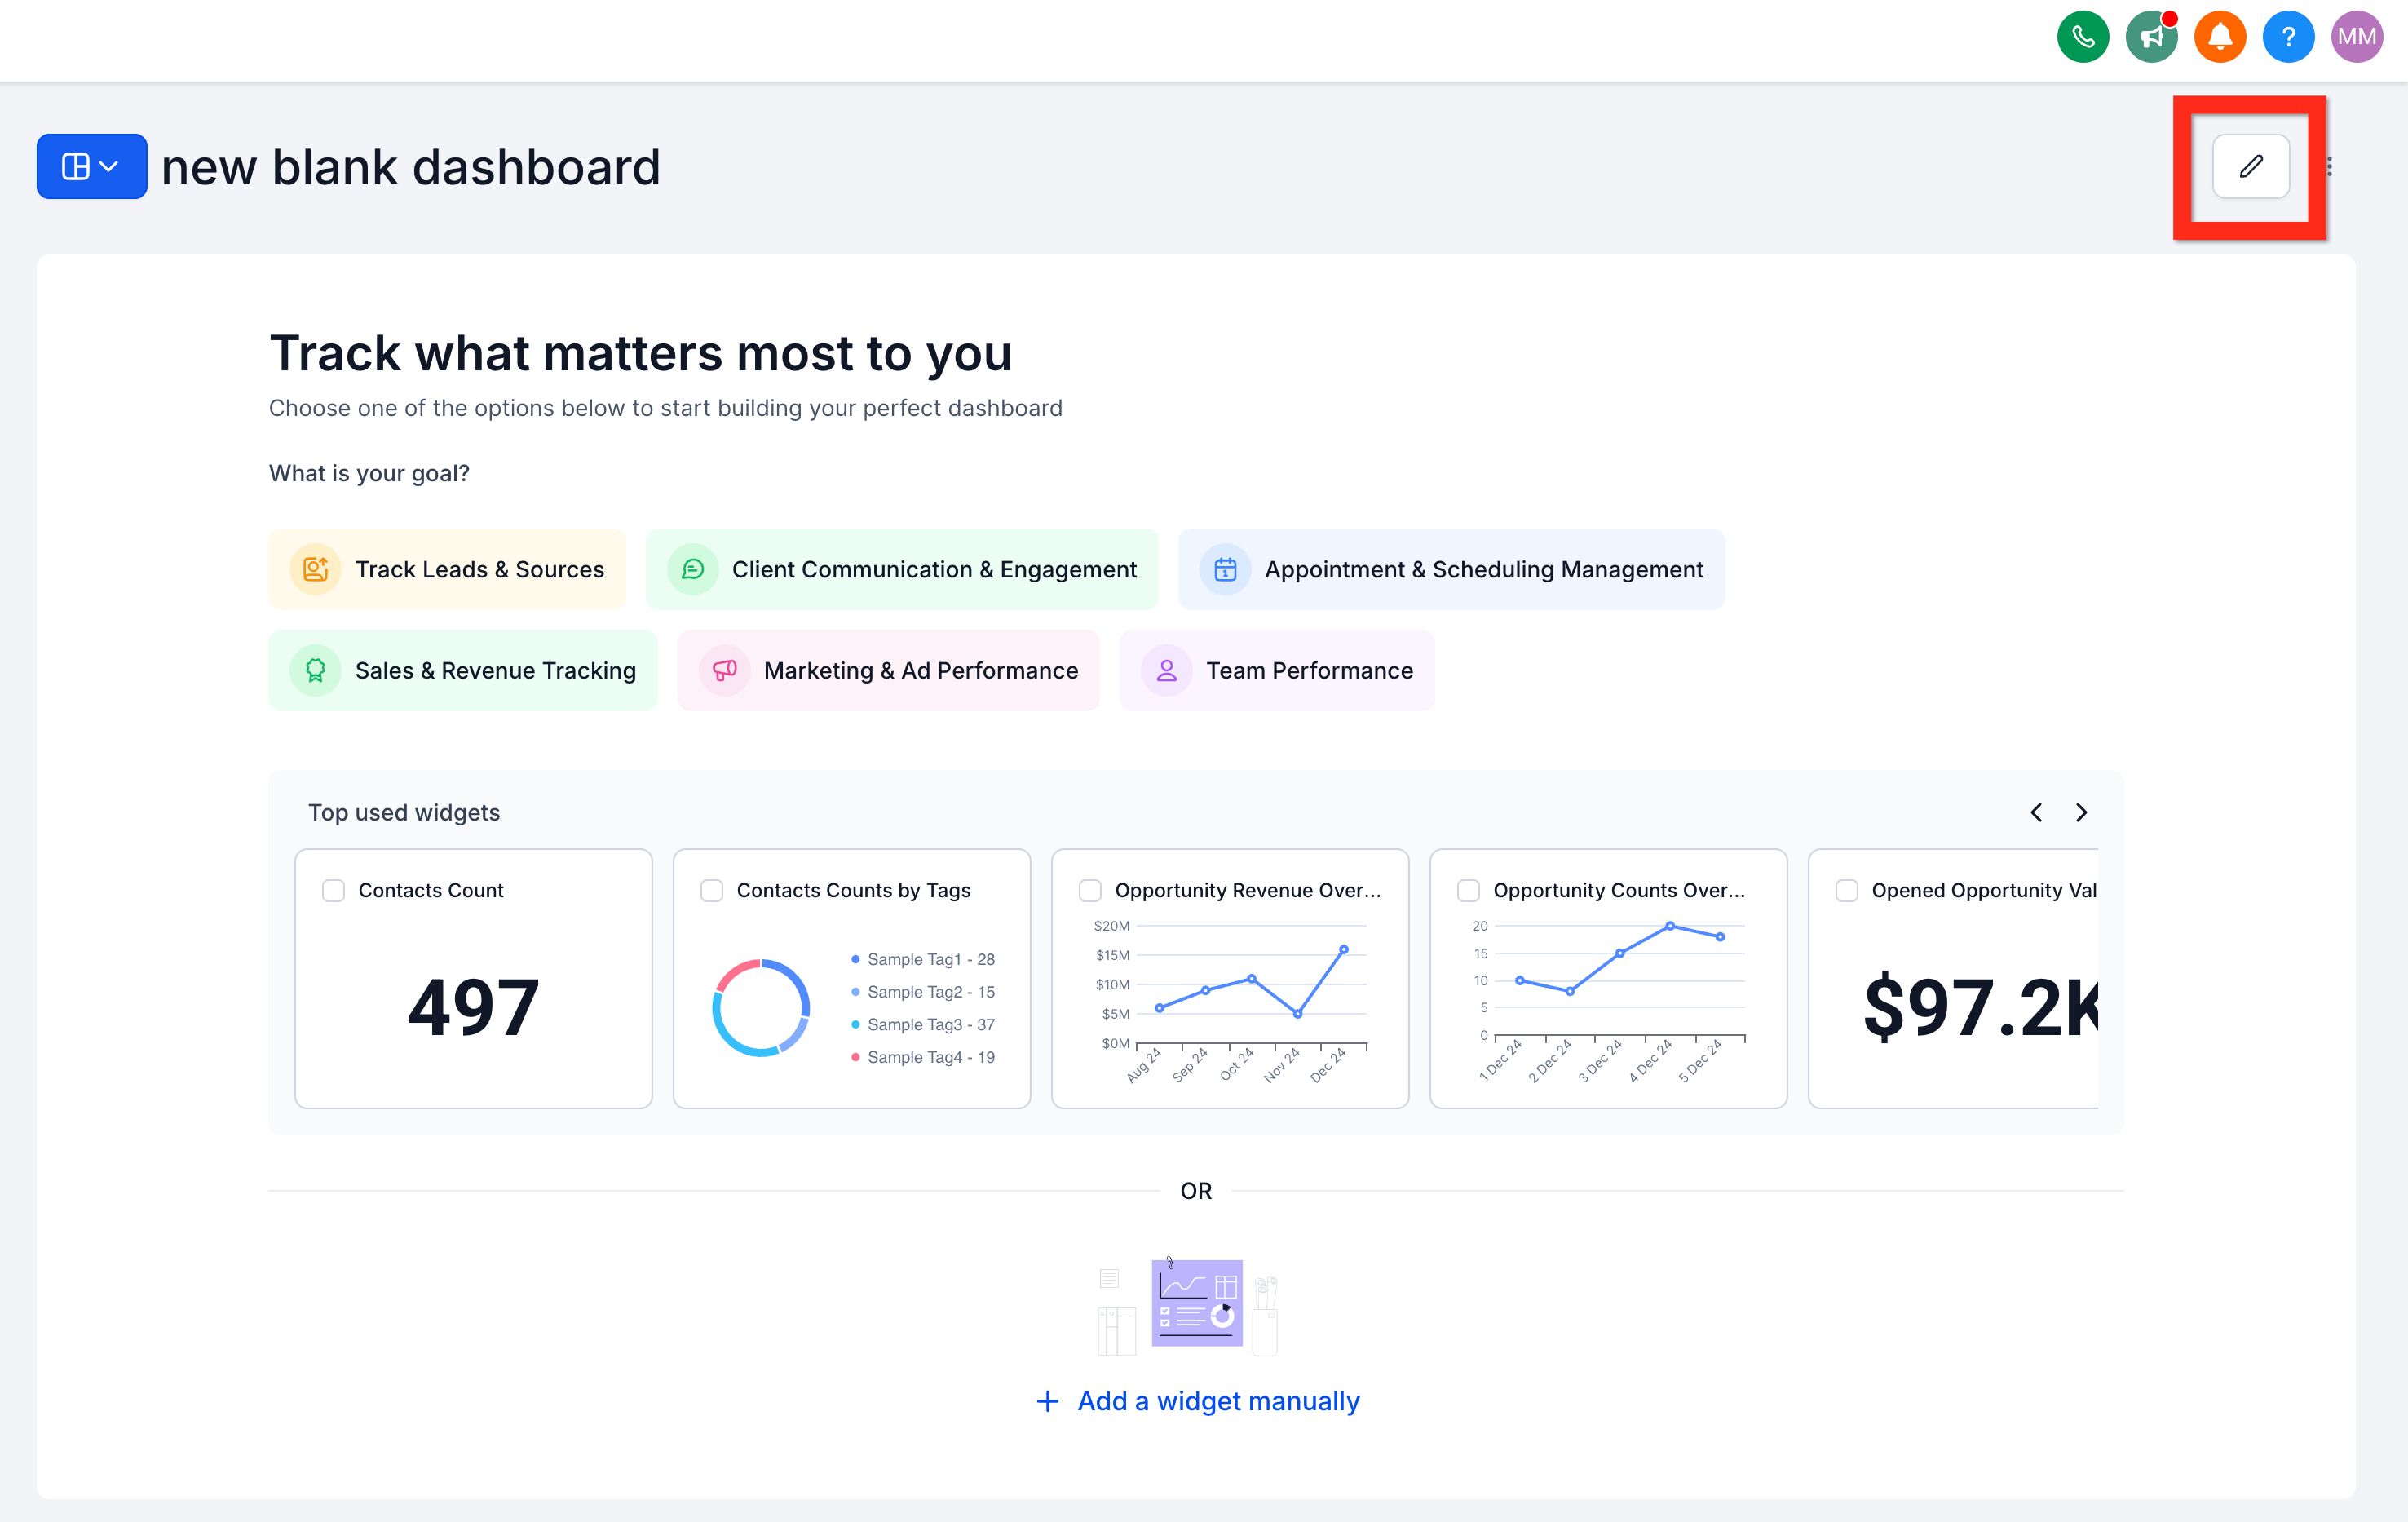
✏️ Option C: Add a Widget in Edit Mode
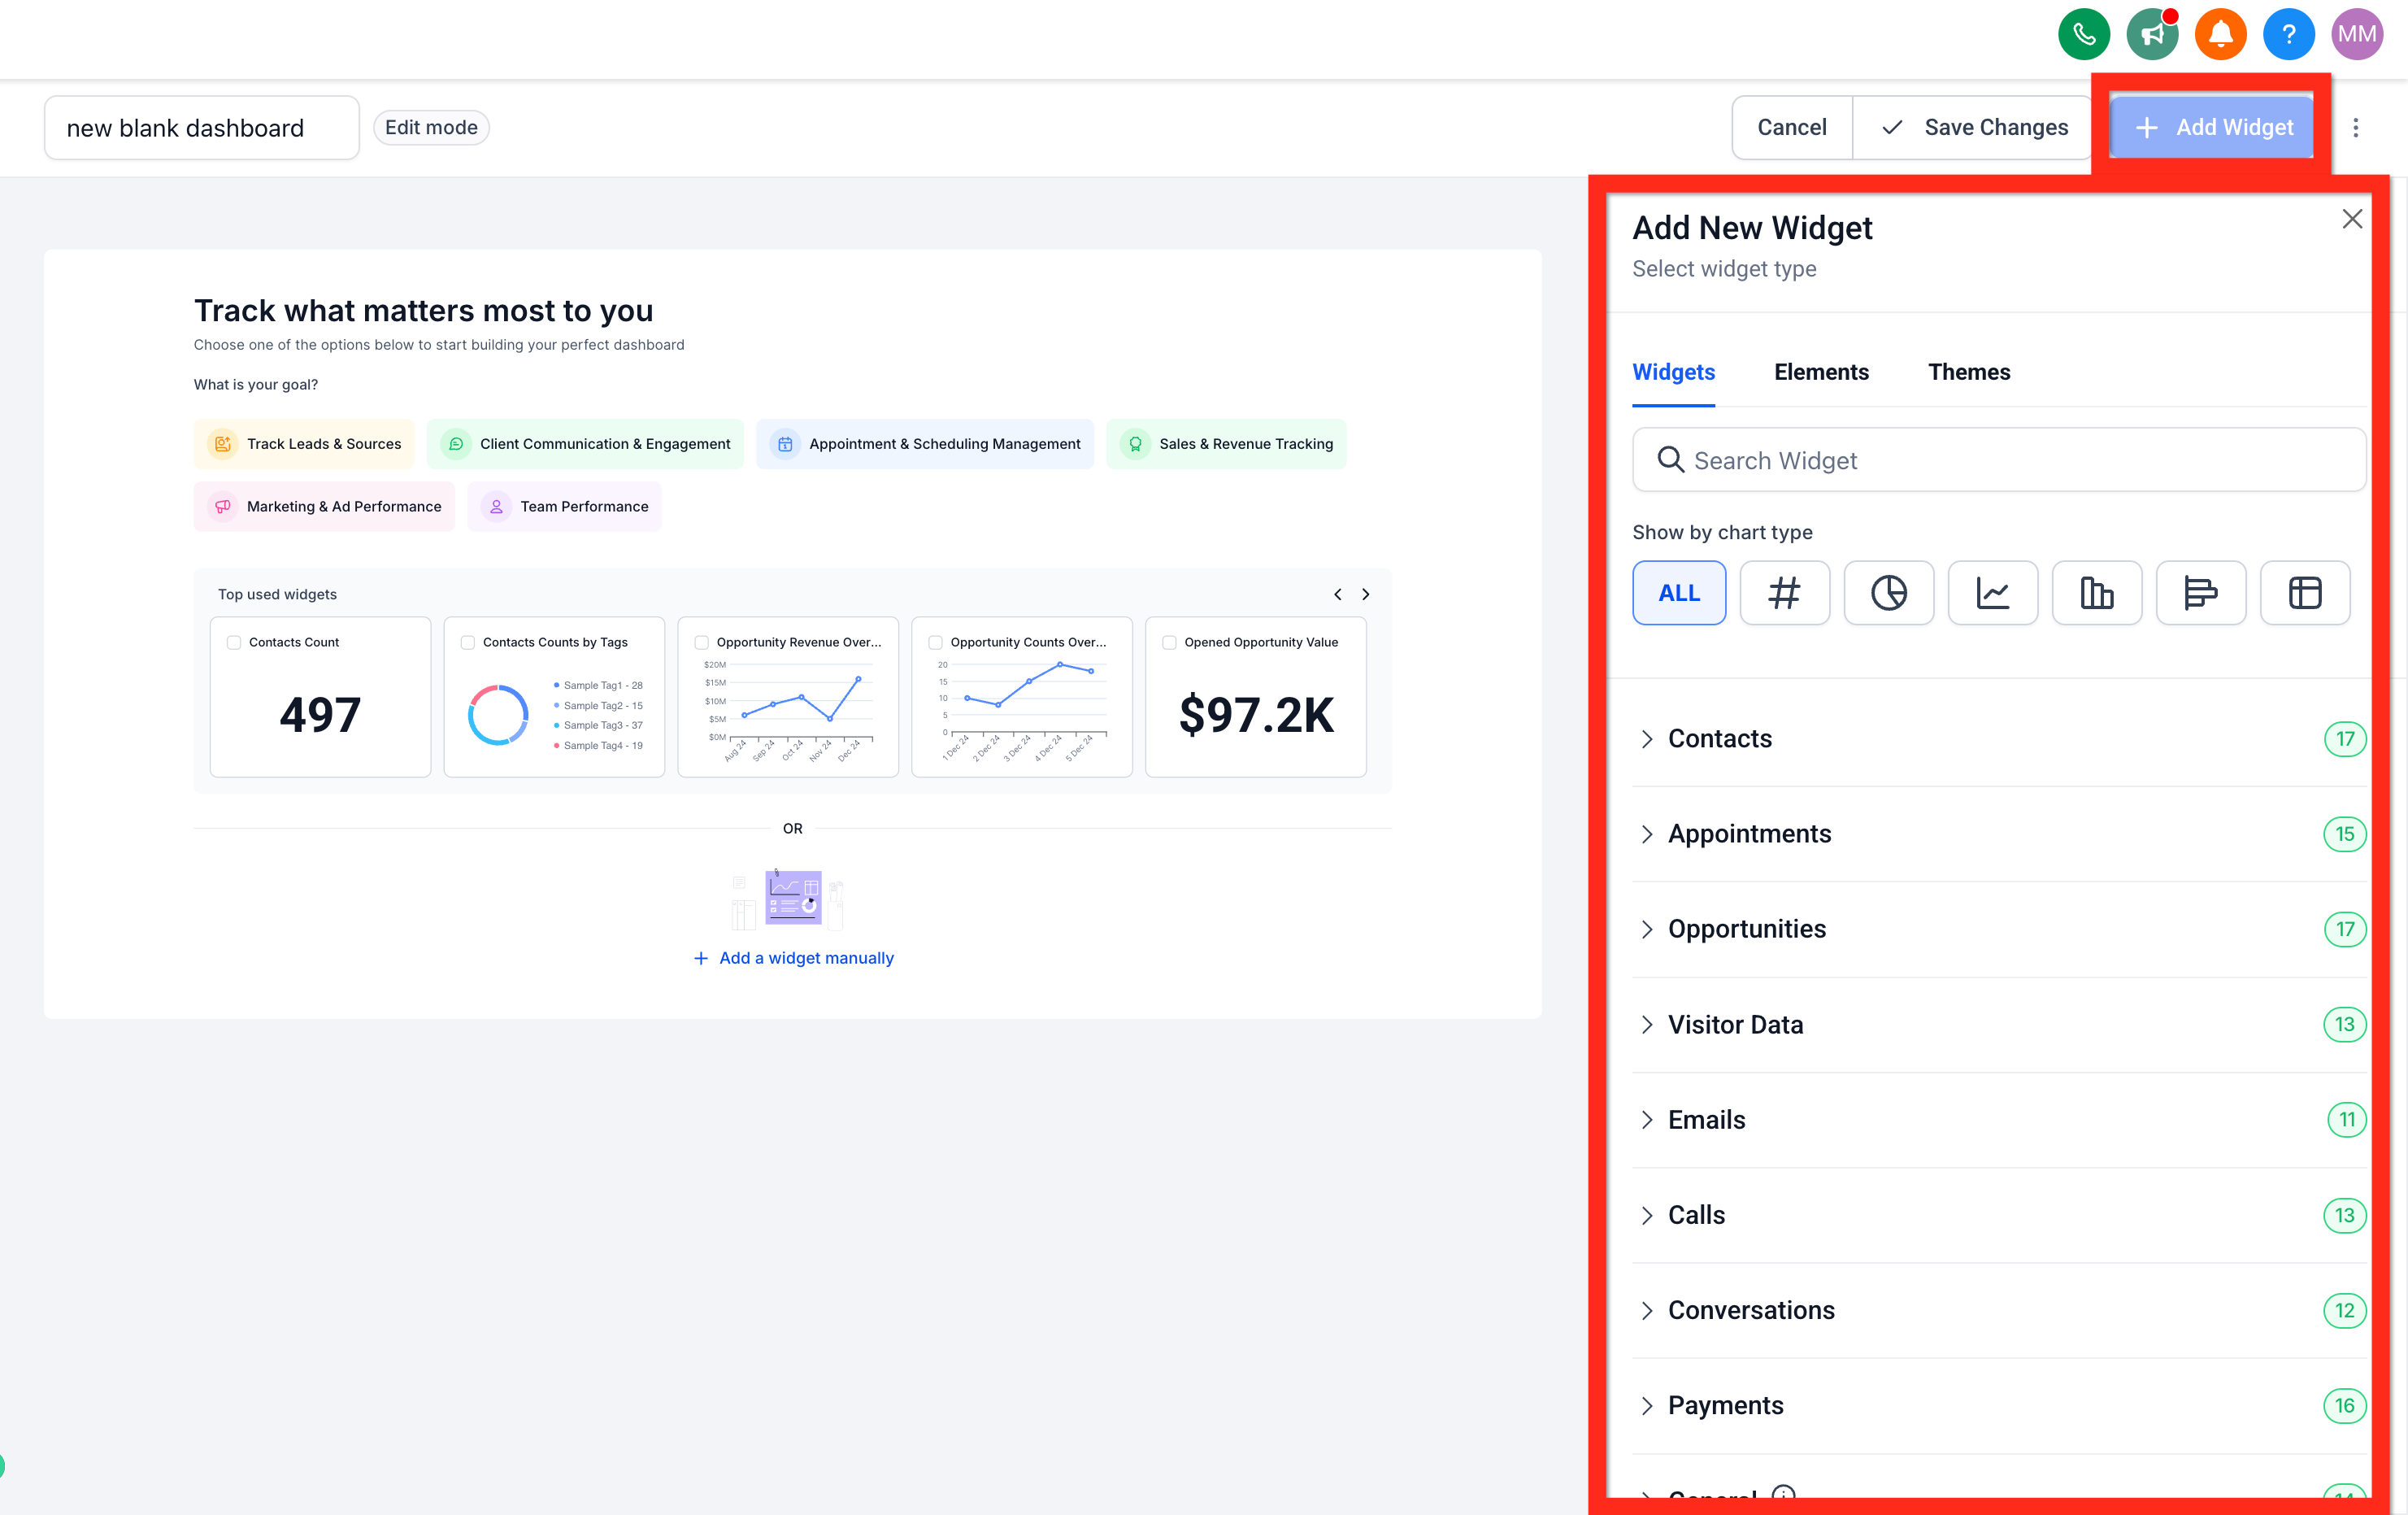
Click the Edit button (pencil icon) and then click "+ Add Widget" from edit mode.
💡 Note: If you don’t see this button, make sure you have entered edit mode.
➡️ Proceed to Step 7.
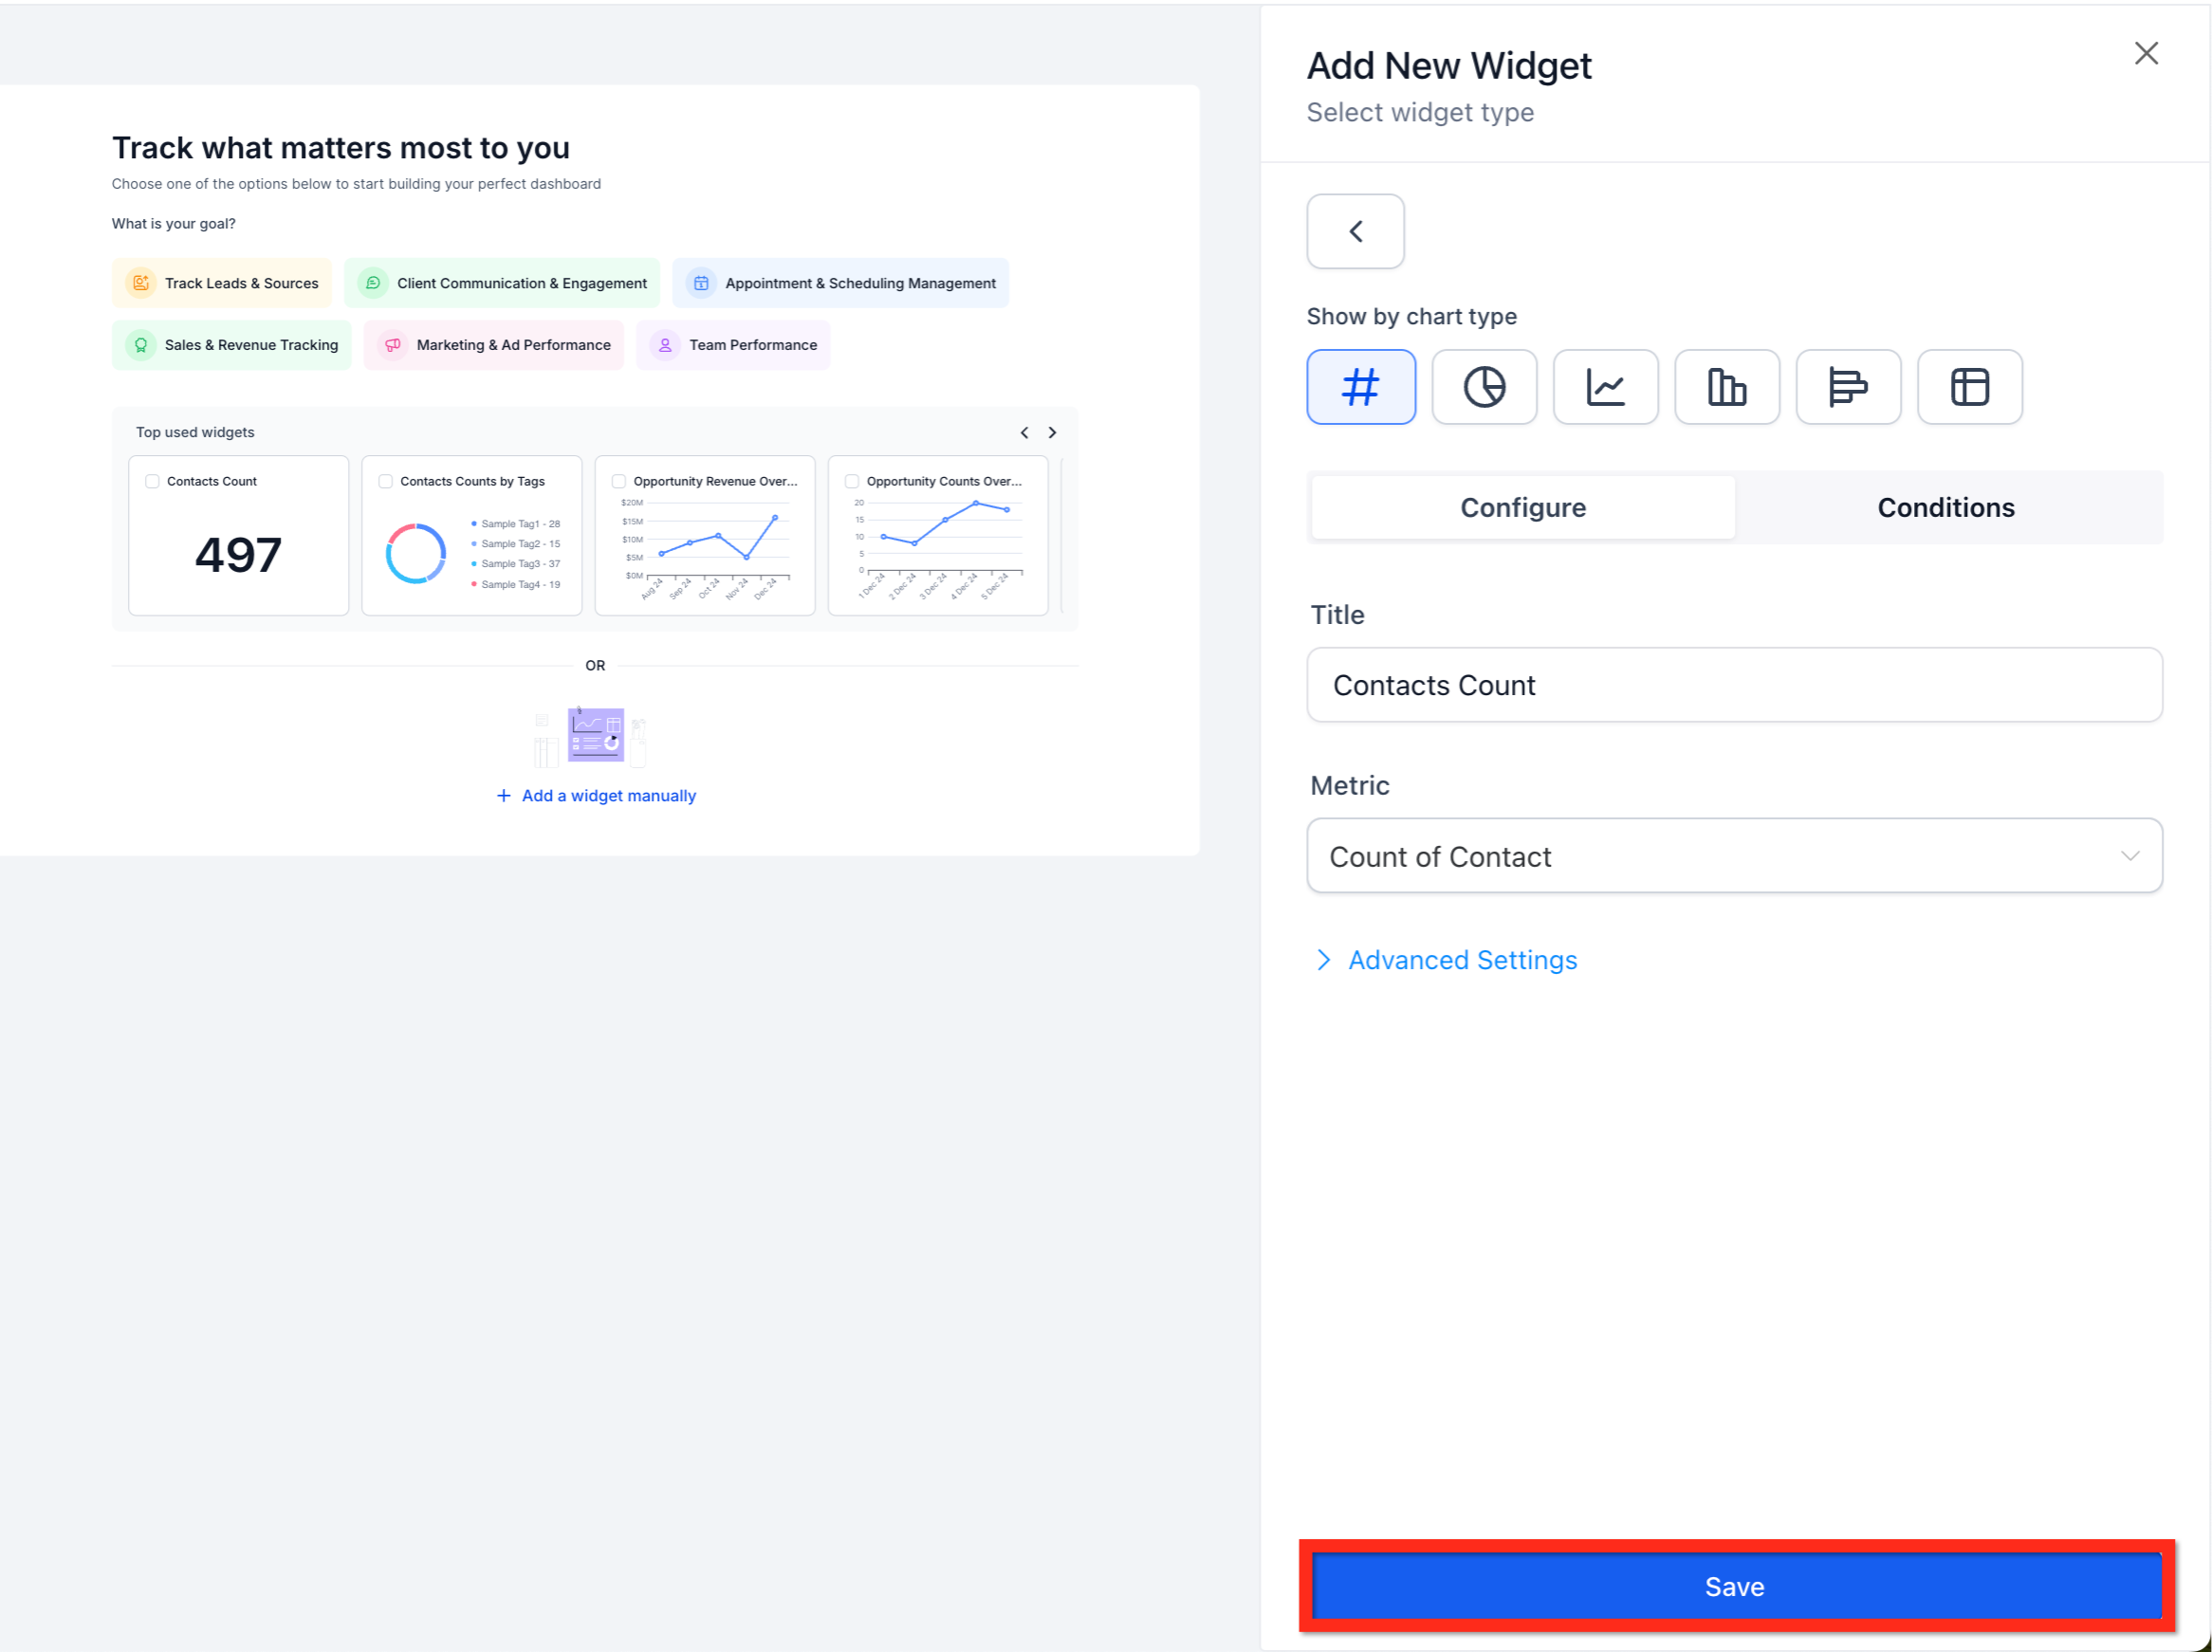
⚙️ Step 7: Configure a New Widget
Use the Add New Widget panel to define your widget settings.
📘 For full details see the article: Subaccount Dashboard Page - Widgets Add or Edit.
💾 Step 8: Save the Widget
Click the "Save" button within the widget panel.
💡 Step 9: Save Dashboard Edits
Click the "✓ Save Changes" button to finish.
This saves your layout and exits edit mode.
